Revamp Your RV: How to Paint Walls Easily
gorvlifestyle.com and its partners may earn a commission if you purchase a product through one of our links
Painting the interior walls of your RV can give it a fresh and stylish upgrade. Whether you want to personalize your RV, cover up an aging interior, or hide water damage, painting is a great way to transform the space. To get started, you’ll need the right supplies, including shellac primer, paint in various colors, TSP cleaner, rollers, paint brushes, and painter’s tape. This step-by-step guide will walk you through the process of painting your RV walls, from prepping the walls to choosing the right paint colors and applying the paint.
Key Takeaways:
- Painting the walls of your RV can give it a fresh and stylish look.
- Gather the necessary supplies, including shellac primer, paint, TSP cleaner, rollers, paint brushes, and painter’s tape.
- Prepare the walls by removing obstacles, filling in holes, and cleaning with TSP cleaner.
- Apply a bonding primer before painting to ensure proper adhesion.
- Choose paint colors that complement your desired aesthetic and apply 2 coats for best results.
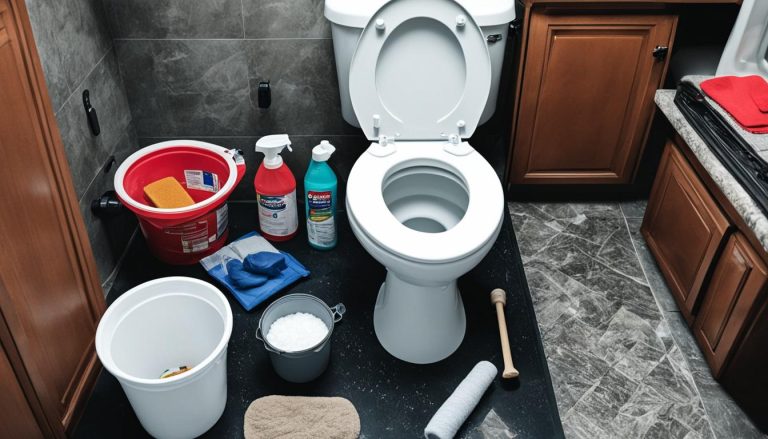
Supplies Needed for Painting RV Walls
Before you begin painting your RV walls, it’s important to gather all the necessary supplies. The right tools and materials will ensure that you achieve a professional-looking paint job and a long-lasting finish. Here are the key supplies you’ll need:
- Shellac primer: This type of primer is ideal for prepping RV walls as it seals the surface and provides excellent adhesion for the paint.
- Paint: Choose high-quality paint in your desired colors. Consider using low-VOC or zero-VOC paints for a healthier indoor environment.
- TSP cleaner: TSP (trisodium phosphate) cleaner is a powerful solution for removing grime, grease, and other contaminants from the walls.
- Rollers: Use rollers with a medium nap to apply paint to larger areas quickly and efficiently.
- Paint brushes: Have a selection of paint brushes in different sizes for cutting in edges and corners.
- Painter’s tape: Use painter’s tape to protect trim, windows, and other areas where you don’t want paint to go.
- Caulk: Caulk is essential for filling in gaps and cracks in the walls, ensuring a smooth and seamless finish.
By gathering these supplies, you’ll be well-prepared to start your DIY RV wall painting project. Remember, investing in high-quality materials will result in a more professional and durable paint job.
| Supplies Needed for Painting RV Walls |
|---|
| Shellac primer |
| High-quality paint |
| TSP cleaner |
| Rollers |
| Paint brushes |
| Painter’s tape |
| Caulk |
Why are these supplies important?
“Using the right supplies is crucial for achieving professional-quality results when painting your RV walls. The shellac primer ensures proper adhesion of the paint, while high-quality paint provides a durable and long-lasting finish. TSP cleaner helps to remove dirt and grease, ensuring a clean surface for painting. Rollers and paint brushes allow for efficient and precise application, while painter’s tape protects areas where you don’t want paint. Finally, caulk helps to fill in gaps, creating a seamless and polished look.”
Preparing the Walls for Painting
Before you start painting, it’s important to properly prepare the walls of your RV. This step ensures a smooth and professional-looking paint job that will last for years to come. Here’s a guide on how to prepare your RV walls for painting:
Removing Obstacles
Prior to painting, remove any blinds, valances, or wallpaper borders that could obstruct the painting process. Clearing the walls will allow for uninterrupted access and ensure a more efficient and effective paint application.
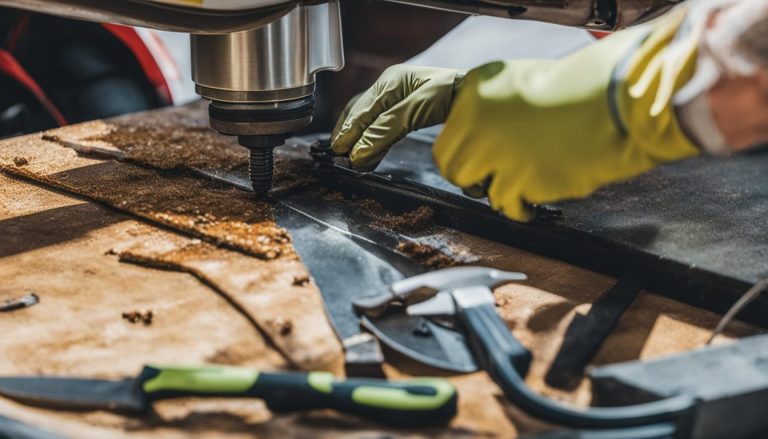
Filling in Holes and Dings
Inspect the walls for any holes, dings, or imperfections. Use a wood filler or putty to fill in these areas, creating a smooth surface for the paint. Allow the filler to dry completely before moving on to the next step.
Cleaning the Walls
To achieve optimal paint adhesion, it’s essential to clean the walls thoroughly. Use a TSP (trisodium phosphate) cleaner to remove any dirt, grease, or residues on the walls. Dilute the TSP cleaner according to the manufacturer’s instructions, then scrub the walls gently with a sponge or soft cloth. Rinse the walls with clean water to remove any remaining cleaner. Allow the walls to dry completely before proceeding.

By following these steps to prepare your RV walls, you’ll ensure a surface that is ready to be transformed with fresh paint. Remember, proper preparation is key to achieving professional and long-lasting results.
Applying Primer and Paint
After preparing the walls, it’s time to apply primer. Primer is essential for ensuring that the paint adheres properly and lasts longer on the walls.
Choose a high-quality bonding primer that is specifically designed for RV walls. This will provide excellent adhesion and create a smooth surface for the paint. One popular option is the Zinsser Bulls Eye 1-2-3 Primer, which is known for its superior bonding properties and stain-blocking capabilities.
Before you begin applying the primer, make sure to clean the walls to remove any dirt, debris, or grease. This will help the primer adhere better to the surface. You can use a solution of TSP cleaner mixed with water to clean the walls effectively. Follow the manufacturer’s instructions for proper dilution and application.
Applying the Primer
Start by pouring a small amount of primer into a paint tray. Use a brush or roller to apply the primer to the walls. Work in small sections, starting from the top and working your way down. Apply a thin and even coat of primer, making sure to cover all corners, edges, and uneven areas.
If you’re using a brush, use long, smooth strokes to apply the primer. For larger areas, a roller can be more efficient. Make sure to apply the primer evenly, without leaving any drips or streaks.
Allow the primer to dry completely before applying the paint. Follow the manufacturer’s instructions for drying times, as it can vary depending on the specific primer you choose. It’s recommended to wait at least 24 hours to ensure the primer is fully cured and ready for the paint.

Choosing Colors and Applying Paint
Once the primer has dried, it’s time to choose the colors for your RV walls. Consider the overall aesthetic you want to achieve and select colors that create the desired atmosphere. Lighter shades can make the space appear more open and airy, while darker shades can add warmth and coziness.
Before applying the paint, it’s recommended to test the color on a small, inconspicuous area of the wall to ensure it matches your expectations. This will help you avoid any surprises once the paint is applied to the entire wall.
When applying the paint, use a brush for corners and edges, and a roller for larger sections of the wall. This will help you achieve a smooth and even finish. Apply two coats of paint for the best results, allowing sufficient drying time between coats.
Remember to follow the manufacturer’s instructions regarding drying and curing times for the paint. Once the final coat is applied and dried, you can start enjoying your newly painted RV walls.
Finishing Touches and Recommendations
Now that you’ve completed painting your RV walls, it’s time to add those final touches that will truly bring your space to life. Begin by removing any painter’s tape that you used to protect areas from paint splatter. Take a close look at the walls and touch up any missed spots or imperfections with a small paintbrush.
If necessary, lightly sand and wipe down the walls between coats to ensure a smooth and even finish. This step is especially important if you’re applying multiple coats of paint. Once you’re satisfied with the appearance of the walls, allow the paint to dry completely before reassembling any furniture or decorations.
Consider this opportunity to enhance the new look of your RV walls by adding some decorative accents. Hang up artwork, photographs, or mirrors to create focal points and add personal style to your space. You can also incorporate decorative molding or trim to give your walls an extra touch of elegance.
Finally, take a moment to appreciate the stunning transformation of your RV interior. The freshly painted walls will breathe new life into your space, making it feel brighter, cleaner, and more inviting. Be sure to clean up any paint spills or messes and dispose of any used materials properly. With these simple finishing touches, your RV will become a cozy and stylish home away from home.
FAQ
What supplies do I need to paint my RV walls?
To paint your RV walls, you’ll need shellac primer, paint in your desired colors, TSP cleaner, rollers, paint brushes, painter’s tape, and caulk.
How do I prepare my RV walls for painting?
To prepare your RV walls, remove blinds, valances, or wallpaper borders, fill in holes or dings with wood filler, and clean the walls with TSP cleaner.
Do I need to apply primer before painting my RV walls?
Yes, applying primer is essential to ensure the paint adheres properly and lasts longer on your RV walls. Choose a high-quality bonding primer designed for RV walls.
What type of paint should I use for my RV walls?
Use paint that is specifically formulated for RV walls. Choose colors that complement your desired aesthetic and apply 2 coats for the best results.
How do I add finishing touches to my painted RV walls?
Remove any painter’s tape, touch up any missed spots or imperfections, and consider adding accents or decorations to enhance the new look of your RV walls.