Connect Your RV Trailer: Simple Setup Guide
gorvlifestyle.com and its partners may earn a commission if you purchase a product through one of our links
Hooking up a RV trailer to your vehicle can seem daunting, but with the right steps, it can be a simple process. In this guide, we will break down the steps for hooking up a RV trailer, including connecting the coupler, securing the safety chains, and plugging in the wiring harness. Whether you’re a beginner or just need a refresher, this step-by-step guide will ensure a stress-free RV trailer hookup experience.
Key Takeaways:
- To hook up a RV trailer, find a friend to assist you for easier and safer setup.
- Position your vehicle in a straight line with the trailer setup to make backing up easier.
- Adjust the height of the coupler to ensure it clears the trailer ball during hookup.
- Back your vehicle up slowly until the coupler aligns perfectly with the trailer ball.
- Lower the coupler onto the ball, secure the connection with a latch, safety pin, or coupler lock.
- Attach the safety chains in a crisscross pattern and retract the trailer jack to complete the hookup process.
- Remember to always check the electrical connection and wiring for a safe and reliable tow.
Step 1: Find a Friend to Help
The first step in hooking up a RV trailer is to find a friend to assist you. Having an extra set of eyes and hands outside the vehicle can make the process much easier and safer.
Before starting, make sure you establish clear communication signals with your helper. They should stand on the driver’s side of the trailer, even with the trailer tongue, to provide guidance during the hookup process.
Why is it important to have a friend?
Having a friend to help you with the RV trailer hookup can provide several benefits. First of all, they can help you spot any potential issues or obstacles as you maneuver the trailer into position. They can also assist with aligning the trailer correctly with your vehicle, ensuring a secure connection. Additionally, having someone outside the vehicle can help with communication and coordination, making the entire process smoother and more efficient.
| Benefits of Having a Friend to Help with RV Trailer Hookup |
|---|
| 1. Enhanced safety |
| 2. Improved accuracy in alignment |
| 3. Better communication and coordination |
| 4. Reduced risk of accidents or damage |
| 5. Shared responsibilities and workload |
Step 2: Line up Your Vehicle
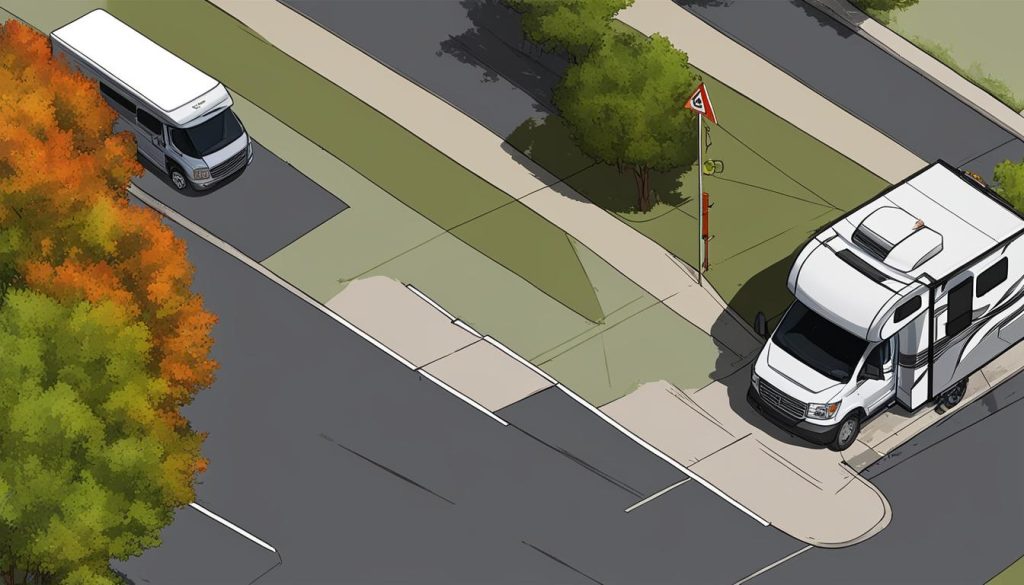
Once you have found a friend to assist you with the RV trailer hookup, it’s time to line up your vehicle to make the backing up process easier. Proper alignment between your vehicle and the trailer is crucial for a successful connection.
Here are the steps to align your vehicle with the RV trailer:
- Position your vehicle in a straight line with the trailer setup.
- Have your helper stand off to the side and provide signals to guide you in the correct direction.
- Go slow and take your time during this step to ensure accurate alignment.
Tip: Communicate with your helper using clear signals, such as hand gestures or a two-way radio, to avoid any misinterpretation during the alignment process.
Remember, patience is key when aligning your vehicle with the RV trailer. Don’t rush this step to prevent any potential damage or accidents.
| Common Signals for Alignment | Description |
|---|---|
| Left/Right Hand Pointing | Indicates the direction the vehicle should turn. |
| Both Hands in Front | Tells the driver to stop moving forward or backward. |
| Both Hands on Hips | Signals the driver to straighten the steering wheel. |
Step 3: Raise the Coupler
When your vehicle is approximately a foot away from the trailer tongue, stop and adjust the height of the trailer coupler. Ensure that the coupler will clear the trailer ball as you back the vehicle up the rest of the way. If needed, lower or raise the coupler until it is only a few inches higher than the ball.
| Adjusting the Coupler Height | Instructions |
|---|---|
| 1 | Locate the manual override or electric jack on the trailer tongue. |
| 2 | If using a manual jack, insert the crank handle or socket into the manual override and rotate it clockwise to raise the coupler. If using an electric jack, use the control panel to raise the coupler. |
| 3 | Check the height of the coupler and ensure it is only a few inches higher than the ball on your vehicle hitch. |
| 4 | If the coupler is too high, lower it by rotating the manual override counterclockwise or using the electric jack control panel to lower it. |
| 5 | Repeat steps 2-4 until the coupler height is adjusted correctly. |
Properly adjusting the coupler height is crucial for a secure RV trailer hookup. Take your time during this step to ensure that the coupler will align properly with the trailer ball when you back up your vehicle. By following these instructions, you’ll be able to adjust the coupler height with ease.
Step 4: Align the Ball and Coupler
Now that your vehicle is in position, it’s time to carefully align the ball and coupler. This step is crucial for a secure RV trailer hookup.
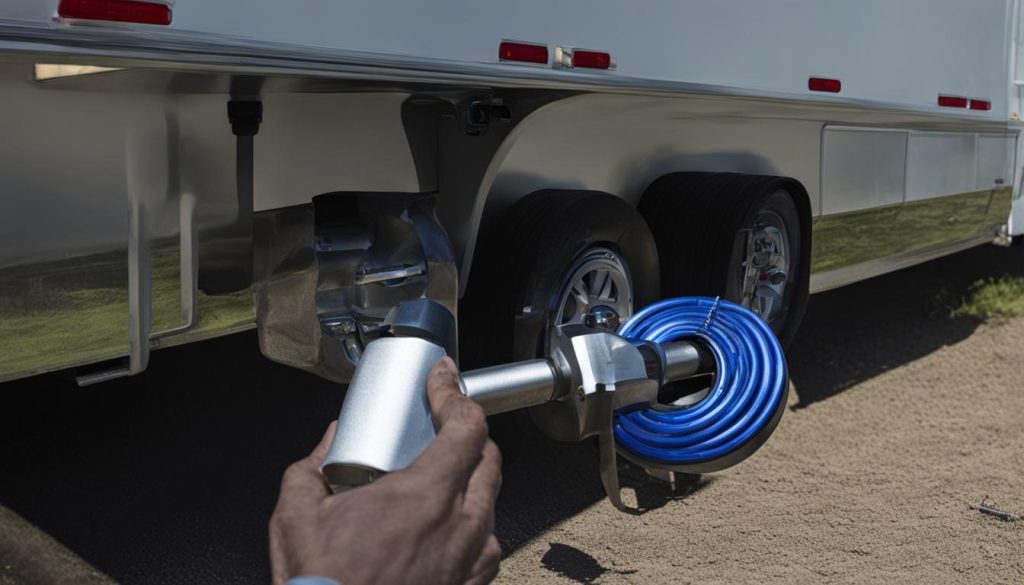
Back your vehicle up slowly, relying on your helper’s directions. They will guide you to ensure the coupler lines up perfectly with the trailer ball. Remember to communicate effectively and maintain a steady pace.
If the alignment is not accurate on the first try, don’t worry. Simply pull forward and try again. It may take a few attempts to get the perfect alignment, so patience and careful maneuvering are key.
By aligning the ball and coupler correctly, you’ll ensure a solid connection between your vehicle and the RV trailer, minimizing the risk of separation during travel.
Remember, backing up an RV trailer can be challenging, especially for beginners. Don’t hesitate to take your time and ask for assistance when needed.
Step 5: Lower the Coupler and Secure the Connection
Now that your vehicle is in park and the emergency brake is engaged, it’s time to lower the coupler and secure the connection for a safe RV trailer hookup.
Using the trailer jack, carefully lower the coupler until it rests securely on the ball hitch. Before lowering, ensure that the coupler latch is in the upright, unlocked position. This will allow the coupler to properly engage with the ball.
Once the coupler is in place, engage the latch and secure it with a safety pin or a reliable coupler lock. These safety measures will prevent accidental disconnection during travel, ensuring your RV trailer stays securely attached to your vehicle.
It’s important to test the connection to guarantee that it is properly seated on the ball. Slightly lift the trailer tongue to ensure that it is securely in place. This step will give you confidence that the connection is strong and will hold up throughout your journey.
With the coupler secured and tested, it’s time to attach the safety chains. Cross the chains in a crisscross pattern, providing an additional layer of security in the event of a potential hitch failure. Ensure that the chains are properly attached and have enough slack to allow for turns without dragging.
Finally, retract the trailer jack to its upright position, making sure that it is fully secured. This will prevent any unnecessary movement or damage to the jack during travel. With the lowering of the coupler and the securing of the connection, you have successfully completed the RV trailer hookup process and are ready to hit the road with confidence.
FAQ
How do I hook up a RV trailer?
To hook up a RV trailer, you need to follow a simple step-by-step process. Start by finding a friend to assist you and establish clear communication signals. Then, line up your vehicle with the trailer setup, taking your time and going slowly. Adjust the height of the trailer coupler and back your vehicle up until the coupler lines up with the trailer ball. Lower the coupler and secure it with the latch and safety pin. Lastly, attach the safety chains and retract the trailer jack.
Why do I need a friend to help with the RV trailer hookup?
Having an extra set of eyes and hands outside the vehicle can make the RV trailer hookup process much easier and safer. Your friend can stand on the driver’s side of the trailer to provide guidance during the hookup process, ensuring accurate alignment between your vehicle and the RV trailer.
How do I line up my vehicle with the RV trailer?
To line up your vehicle with the RV trailer, position it in a straight line with the trailer setup. Have your helper stand off to the side and provide signals to guide you in the correct direction. Take your time and go slowly during this step to ensure accurate alignment between your vehicle and the RV trailer.
How do I adjust the height of the trailer coupler?
When your vehicle is approximately a foot away from the trailer tongue, stop and adjust the height of the trailer coupler. Ensure that the coupler will clear the trailer ball as you back the vehicle up the rest of the way. If needed, lower or raise the coupler until it is only a few inches higher than the ball.
How do I align the ball and coupler during the RV trailer hookup?
Back your vehicle up slowly, relying on your helper’s directions, until the coupler lines up perfectly with the trailer ball. If the alignment is not accurate on the first try, pull forward and try again. Patience and careful maneuvering are key during this step to ensure a proper alignment between the ball and coupler.
How do I lower the coupler and secure the RV trailer connection?
With the vehicle in park and the emergency brake engaged, use the trailer jack to lower the coupler until it rests securely on the ball. Ensure that the coupler latch is in the upright, unlocked position before lowering. Once the coupler is in place, engage the latch and secure it with a safety pin or coupler lock. Test the connection by slightly lifting the trailer tongue to ensure it is properly seated on the ball. Finally, attach the safety chains in a crisscross pattern and retract the trailer jack to complete the RV trailer hookup process.

