RV Air Conditioner Service Guide – Stay Cool!
gorvlifestyle.com and its partners may earn a commission if you purchase a product through one of our links
Proper maintenance of your RV air conditioner is crucial to ensure it keeps you cool during your summer adventures. Regular servicing is recommended, usually once every twelve months, to keep your unit in top condition. This guide will provide you with tips and tricks to service your RV air conditioner effectively and keep it running smoothly.
Key Takeaways:
- Regularly service your RV air conditioner to maintain optimal performance.
- Prepare your RV’s air conditioning system before summer trips by checking and replacing filters.
- Follow practical tips to stay cool on the road, such as starting the air conditioner in the morning and parking with the windshield facing north or south.
- Maximize the use of your RV air conditioner by paying attention to power requirements and using surge protectors.
- Perform DIY maintenance tasks, including cleaning filters and clearing debris around the rooftop unit.
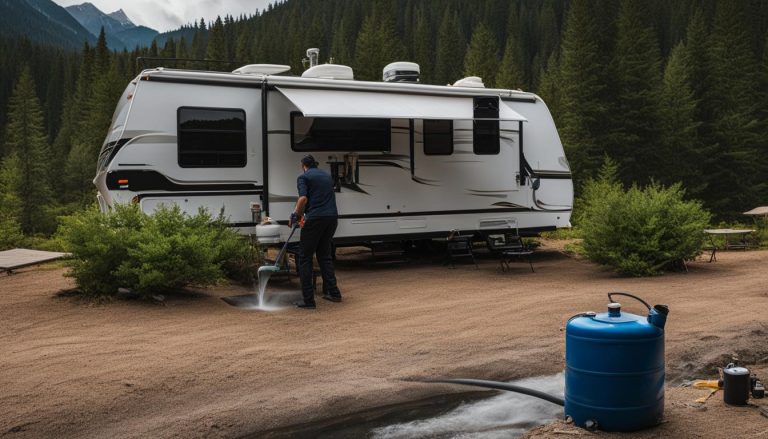
Preparing Your RV for Summer
Before embarking on your summer trip, it’s important to prepare your RV’s air conditioning system. Taking the time to perform some simple maintenance tasks can help ensure that your RV air conditioner keeps you cool throughout your adventures. Here are some essential tips to get your RV air conditioner ready for the summer season:
1. Cleaning RV AC Filters
Dirty air filters can restrict airflow and reduce the cooling efficiency of your RV air conditioner. Regularly cleaning or replacing the filters is crucial to optimize its performance. To clean the filters:
- Turn off the air conditioner and unplug the RV from the power source.
- Locate the filters, which are usually located behind the return air grill.
- Carefully remove the filters from the grill.
- Gently wash the filters with warm water and mild soap.
- Allow the filters to dry completely before reinstalling them.
Make it a habit to clean or replace your RV AC filters regularly to keep the air flowing freely and maintain a comfortable indoor environment.
2. Cleaning the Interior AC Vents
Over time, dirt and debris can accumulate in the interior AC vents, obstructing airflow and reducing cooling efficiency. Cleaning the vents is a simple yet essential step in maintaining your RV air conditioner. Follow these steps:
- Turn off the air conditioner and unplug the RV from the power source.
- Remove the vent covers and use a vacuum cleaner with a brush attachment to remove any dust or debris.
- If necessary, wipe the vent covers with a damp cloth to remove stubborn dirt.
- Allow the vent covers to dry completely before reinstalling them.
Cleaning the interior AC vents will help ensure that cool air can circulate effectively throughout your RV’s interior.
3. Consider Switching to LED Bulbs
Halogen or incandescent bulbs can generate excess heat, contributing to the overall temperature inside your RV. Consider replacing these bulbs with cooler-running LED bulbs. LED bulbs not only consume less power but also emit significantly less heat, helping to reduce heat buildup in your RV and alleviate the strain on your air conditioner.
By following these simple maintenance tips and making a few adjustments, you can ensure that your RV air conditioner is in optimal condition to keep you comfortably cool during your summer travels.
Tips for Staying Cool on the Road
While proper maintenance is essential, there are also practical tips to keep in mind while traveling to stay cool. By implementing these strategies, you can ensure an enjoyable and comfortable RV journey.
1. Start your air conditioner in the morning: Give your RV air conditioner a head start by turning it on in the morning before the heat of the day peaks. This allows the unit to cool down the interior more efficiently.
2. Select the right parking position: When parking your RV, position it so that the windshield faces north or south. This helps minimize direct sunlight and reduces the heat entering the vehicle.
3. Make use of window shades: Install window shades or sun visors to block out direct sunlight and prevent excessive heat from entering your RV. This can significantly improve the effectiveness of your air conditioner.
4. Cook outdoors: Cooking inside your RV generates heat, which can make the interior warmer. Consider cooking meals outdoors on a grill or portable stove to avoid adding more heat to the confined space.
5. Maintain a comprehensive RV AC maintenance checklist: Proper maintenance is key to ensuring your RV air conditioner operates at its best. Create a checklist that includes regular cleaning, air filter replacement, and inspection of components such as the compressor, fan, and thermostat.
6. Troubleshoot RV AC problems: Familiarize yourself with common RV AC issues and their troubleshooting techniques. This knowledge will empower you to address minor problems on your own, saving you time and money on professional repairs.
Implementing these tips will help you stay cool and comfortable on your RV adventures. Remember to conduct regular maintenance, troubleshoot problems, and make use of strategies that minimize heat and maximize the effectiveness of your air conditioning system.
Maximizing the Use of Your RV Air Conditioner
To ensure your RV air conditioner operates at its best, here are some tips to maximize its performance and longevity.
-
Pay attention to power requirements: RV air conditioning units require a constant and reliable power source. To protect the compressor and prevent damage, use surge protectors that can handle the power load and safeguard against power fluctuations.
-
Utilize outside air when possible: If the temperature outside is cooler than inside your RV, take advantage of the natural breeze. Open windows and vents to let in fresh air and reduce the load on your air conditioner. This can help save energy and improve overall cooling efficiency.
-
Keep doors and windows closed: Once your RV has reached a comfortable temperature, minimize the heat transfer by keeping doors and windows closed. This helps maintain a cool interior and prevents hot air from seeping in.
-
Opt for LED lights: Incandescent bulbs emit more heat compared to energy-efficient LED lights. By swapping out your old bulbs for LEDs, you can reduce the heat emission inside your RV, keeping it cooler and reducing the strain on your air conditioner.
-
Clean or replace air filters regularly: Clogged or dirty air filters restrict airflow and reduce the efficiency of your RV air conditioner. Clean or replace the filters as recommended by the manufacturer to ensure optimal performance.

| Benefit | Maximization Tips |
|---|---|
| Improved cooling efficiency | Utilize outside air when cooler, keep doors and windows closed, replace air filters regularly |
| Longer lifespan | Pay attention to power requirements, use surge protectors, opt for LED lights |
| Energy savings | Utilize outside air when cooler, replace air filters regularly, opt for LED lights |
By following these maintenance tips and maximizing the use of your RV air conditioner, you can ensure a comfortable and cool environment inside your RV during your summer adventures.
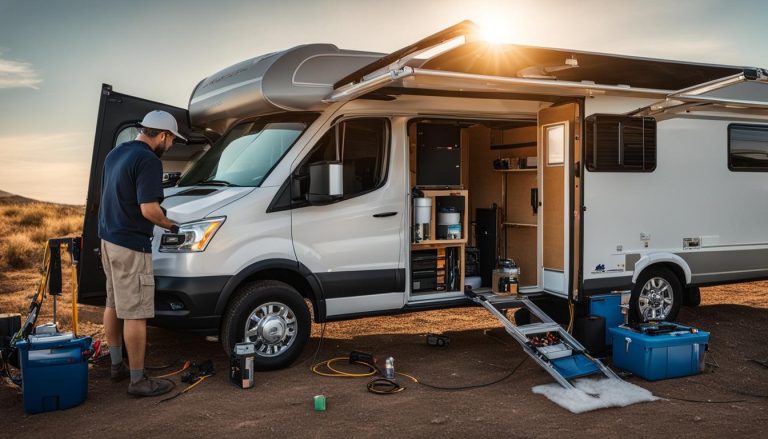
DIY RV AC Maintenance Tasks
Taking care of your RV air conditioner is essential to ensure it functions optimally. While some maintenance tasks require professional assistance, there are several tasks that you, as the owner, can perform to keep your unit running smoothly. By regularly performing these maintenance tasks, you can prolong the lifespan of your RV air conditioner and avoid costly repairs. Let’s explore some of the DIY RV AC maintenance tasks that you can easily do:
Clearing Debris Around the Rooftop Unit
One of the first tasks you should tackle is clearing debris around the rooftop unit. Over time, leaves, twigs, and dirt can accumulate around the AC unit, obstructing airflow and reducing its efficiency. Use a soft brush or a vacuum with a brush attachment to gently remove any debris from the unit’s exterior, ensuring optimal airflow.
Removing and Cleaning the Shroud
The shroud is the protective cover that encloses the rooftop AC unit. It’s important to remove the shroud periodically and clean it to prevent dirt and grime buildup. Use a mild detergent mixed with water and a soft cloth or sponge to clean the shroud thoroughly. Rinse it with clean water and allow it to dry completely before reinstalling it.
Cleaning Coils and Fins
The coils and fins of your RV air conditioner can accumulate dust and debris, hindering proper airflow and reducing cooling efficiency. Use a soft brush or a fin comb to gently clean the coils and straighten any bent fins. Be sure to follow the manufacturer’s instructions and take caution not to damage the delicate fins.
Straightening Cooling Fins
The fins on your AC unit help facilitate heat transfer and airflow. Over time, these fins may become bent or damaged, affecting the overall performance of the unit. Use a fin comb, specifically designed for AC fins, to carefully straighten any bent fins and restore optimal airflow.
Removing the Cover and Cleaning or Replacing Air Filters
Inside your RV, it’s crucial to clean or replace the air filters regularly to maintain clean and fresh airflow. Depending on the type of filter, you can either clean it with mild soap and water or replace it with a new one. Refer to your RV’s user manual for specific instructions on how to remove the cover and access the air filters.
Dusting and Vacuuming Interior Vents and Fans
Dust and debris can accumulate in the interior vents and fans of your RV air conditioner, reducing its overall efficiency. Use a soft brush or a vacuum with a brush attachment to remove any dust and dirt from the vents and fans. This will help maintain optimal airflow and ensure the cooling performance of your unit.
Inspecting for Leaks and Replacing Damaged Aluminum Sealing Tape
Check for any leaks around the AC unit and inspect the aluminum sealing tape for any damage or deterioration. If you notice any leaks or damaged tape, it’s important to address them promptly. Replace the damaged sealing tape with new tape to prevent further leaks and maintain the integrity of your AC unit.
Regularly performing these DIY RV AC maintenance tasks will help you keep your air conditioner in top condition, ensuring a comfortable and cool living space during your travels. However, it’s important to note that some maintenance tasks may require professional assistance or specific knowledge, especially when dealing with complex repairs. If you encounter any major issues or are unsure about any maintenance tasks, it’s recommended to consult a qualified RV air conditioning technician for assistance.

Checking the Operation of Your AC Unit
Now that you’ve performed the necessary maintenance tasks on your RV air conditioner, it’s time to ensure that it’s operating efficiently to keep you cool during your travels. Before conducting any checks, be sure to turn off all power to the unit for safety.
To test the air conditioner, simply turn it on and pay attention to the airflow and temperature. The air should be flowing smoothly and feel cool as it comes out of the vents. If you sense any weak airflow or the air is not as cold as expected, it’s important to take action. These signs may indicate underlying issues that require professional attention.
If you encounter any problems with your RV air conditioner, it’s best to consult a professional for further troubleshooting and repairs. They have the expertise and specialized tools to identify and resolve any issues effectively. Remember, addressing problems early on will prevent further damage and ensure a comfortable travel experience in your RV.
Regularly checking the operation of your AC unit is essential to catch potential problems before they escalate. By diligently maintaining your RV air conditioner, you can enjoy worry-free travels, knowing that you’ll have reliable cooling throughout your journey. Stay cool and comfortable on the road!
FAQ
How often should I service my RV air conditioner?
It is recommended to service your RV air conditioner once every twelve months to ensure it stays in top condition.
What should I do to prepare my RV’s air conditioning system for summer?
Before your summer trip, make sure to check and replace dirty filters and clean any dirt and debris in the interior AC vents. Consider replacing halogen or incandescent bulbs with cooler-running LEDs to reduce heat buildup.
How can I stay cool while traveling in my RV?
Start your air conditioner in the morning to give it a head start before the heat peaks. Park your RV with the windshield facing north or south to minimize direct sunlight. Use window shades to reduce heat from sunlight and consider cooking outdoors to avoid adding more heat to the interior.
What are some tips for maximizing the use of my RV air conditioner?
Pay attention to power requirements and use surge protectors to safeguard the compressor. Utilize outside air when the temperature outside is cooler than inside. Keep doors and windows closed once the RV has cooled down and consider using LED lights instead of incandescent bulbs. Running the air conditioner on low settings and regularly cleaning or replacing air filters will also help extend its lifespan.
What DIY maintenance tasks can I perform for my RV air conditioner?
You can clear debris around the rooftop unit, remove and clean the shroud, clean coils and fins, and straighten cooling fins. Inside the RV, tasks include removing the cover, cleaning or replacing air filters, dusting and vacuuming interior vents and fans, inspecting for leaks, and replacing damaged aluminum sealing tape.
How do I check the operation of my RV air conditioner?
Turn off all power to the unit before conducting any checks. Test the air conditioner by turning it on and monitoring the airflow and temperature. If issues arise, consult a professional for further troubleshooting and repairs.