RV Solar Setup Guide: Install Panels Easily
gorvlifestyle.com and its partners may earn a commission if you purchase a product through one of our links
Installing solar panels on an RV can provide you with the freedom and convenience of solar power while on the road. In this guide, we will walk you through the step-by-step process of installing solar panels on an RV. From choosing the right mounting options to connecting the panels to a charge controller and battery, we will cover all the necessary steps to ensure a successful installation. Whether you are a DIY enthusiast or prefer to hire a professional, this guide will provide you with the knowledge you need to install solar panels on your RV.
Key Takeaways:
- Installing solar panels on an RV can provide freedom and convenience.
- Choose the right mounting options and consider the type of solar panels.
- Install a charge controller and connect it to the RV battery for efficient operation.
- Properly wire the solar panels to the charge controller following wiring diagrams.
- Add an inverter to power AC appliances in the RV.
Choosing the Right Mounting Options
Before installing solar panels on your RV, it’s important to consider the best mounting options for your specific needs. The right choice can ensure a secure and efficient installation, maximizing the energy production of your solar panel system.
There are two common mounting options for RV solar panels: screws and adhesives. Using screws provides a strong and secure attachment, making it a popular choice for many RV owners. Adhesives, on the other hand, offer a more seamless and streamlined look, without the need for drilling holes in the roof.
When deciding between mounting options, it’s also essential to consider the type of solar panels you’ll be using. Flexible thin-film panels are lightweight and versatile, allowing for easy installation on curved or uneven surfaces. Rigid polycrystalline/monocrystalline panels, on the other hand, offer higher efficiency and durability.
To help you make the right decision, here are some best practices for solar panel installation on an RV:
- Ensure the chosen mounting option is compatible with your RV’s roof material.
- Choose high-quality and top-rated solar panels for RV installation to ensure optimal performance and longevity.
- Consider the ease of maintenance and future removal if needed.
- Ensure that the panels are positioned to avoid shadows from rooftop accessories like air conditioners or vents, as shading can significantly impact energy production.
Remember, selecting the right mounting options is crucial to the success of your RV solar panel installation. It’s essential to consider factors such as durability, efficiency, and compatibility to achieve the best results.
Pros and Cons of Different Mounting Options
| Mounting Options | Pros | Cons |
|---|---|---|
| Screws |
|
|
| Adhesives |
|
|
Installing a Charge Controller and Connecting the Battery
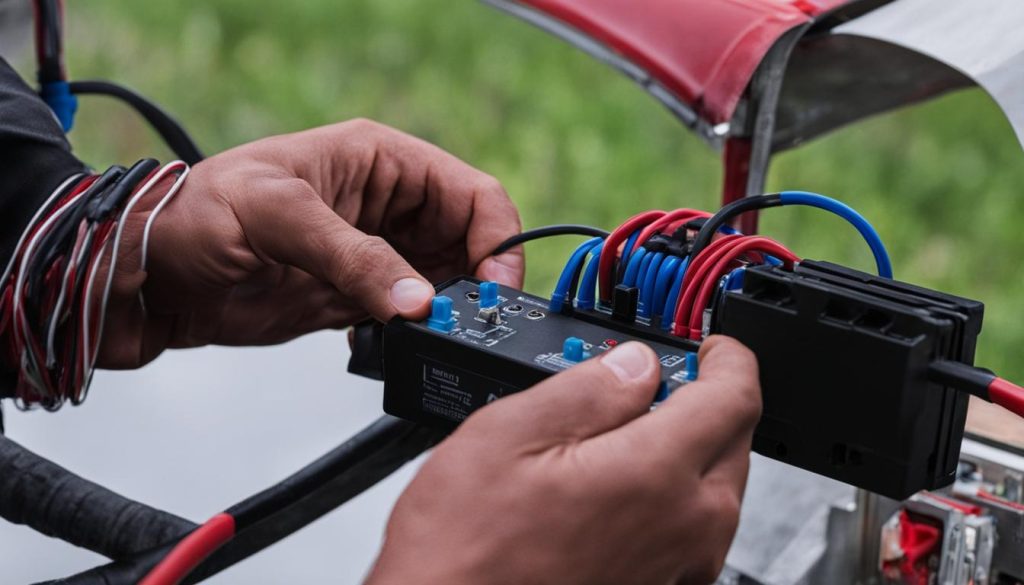
Now that your solar panels are securely mounted on your RV, the next step is to install a charge controller and connect it to your RV’s battery. The charge controller plays a crucial role in regulating the charging process and protecting your battery from overcharging, ensuring its longevity.
To begin, you’ll need to gather the necessary tools and equipment, including a charge controller suitable for your RV’s solar panel system and battery. Make sure to follow the manufacturer’s instructions for your specific charge controller model.
- Start by disconnecting the RV’s battery from any power sources or accessories.
- Identify the positive (+) and negative (-) terminals on both the battery and the charge controller.
- Using proper wire sizing based on your system’s voltage and current, connect the positive (+) terminal of the battery to the charge controller’s positive (+) terminal.
- Connect the negative (-) terminal of the battery to the charge controller’s negative (-) terminal.
When connecting the wires, ensure they are securely fastened and free from any loose strands. You can use crimp connectors or wire nuts for a reliable connection. It’s crucial to double-check the polarity and orientation of the wires to prevent any accidental damage.
Once the connections are made, you can proceed to connect the charge controller to the solar panel system. We’ll cover this step in detail in the next section.
Pro Tip: Before starting the installation process, it’s a good idea to consult your RV’s manual or seek advice from a professional to ensure you are following the correct procedures for your specific RV and solar panel setup.
Connecting the Solar Panels to the Charge Controller
Now that the charge controller is securely installed and connected to the battery, it’s time to connect the solar panels to the charge controller. This step is crucial for harnessing the sun’s energy and powering your RV.
If you have multiple solar panels, you have the option to wire them in series or parallel, depending on your specific needs and the capabilities of your charge controller. Wiring in series combines the voltage of the panels while keeping the amperage constant. This configuration is ideal for setups with long cable runs, as it reduces the power loss over distance. On the other hand, wiring in parallel combines the amperage while keeping the voltage constant. This configuration is beneficial for installations with shading issues, as it allows each panel to operate independently.
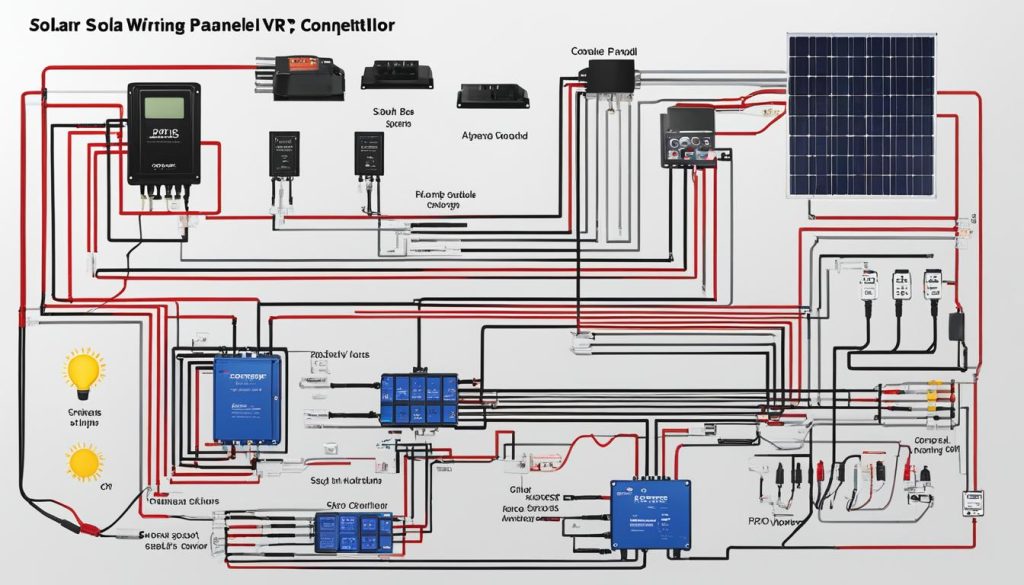
It’s important to follow the proper wiring diagram provided by the manufacturer of your charge controller. This diagram will guide you on how to connect the positive (+) and negative (-) leads from the solar panels to the designated terminals on the charge controller. Ensuring the correct polarity is critical for the system’s safety and performance.
When connecting the solar panels to the charge controller, you should also consider factors such as cable length and gauge. Using the appropriate cable size will reduce power loss and ensure optimal performance. It’s recommended to consult the charge controller’s manual or a professional to determine the suitable cable specifications for your specific setup.
Expert Tip: To make the process of connecting the solar panels to the charge controller easier, consider labeling the positive and negative leads of each panel. This simple step will save you time and potential confusion during the installation process.
Example Wiring Diagram:
| Solar Panel | Positive (+) | Negative (-) |
|---|---|---|
| Panel 1 | Red | Black |
| Panel 2 | Red | Black |
| Panel 3 | Red | Black |
In this example wiring diagram, each solar panel is labeled with its positive and negative leads. The positive leads (red) are connected together and then connected to the positive terminal of the charge controller. The negative leads (black) are also connected together and then connected to the negative terminal of the charge controller. This configuration allows the solar panels to work together in either a series or parallel arrangement, depending on your specific requirements.
By following the proper wiring diagram, connecting the solar panels to the charge controller becomes a straightforward process. Once complete, you are one step closer to harnessing the power of the sun and enjoying the benefits of solar energy on your RV adventures.
Adding an Inverter for AC Power
If you want to power AC appliances in your RV, it’s essential to add an inverter to your solar panel system. With an inverter, you can convert the DC power generated by the solar panels and stored in the batteries into AC power, suitable for powering household appliances during your travels.
To ensure a successful installation, it’s crucial to choose the right size and type of inverter based on your power requirements. Consider the wattage of the appliances you plan to power and select an inverter that can handle their combined load. Additionally, look for an inverter with a built-in safety feature that safeguards against overloading and short circuits.
When connecting the inverter to your solar panel system, it’s recommended to install a properly sized fuse or circuit breaker between the inverter and the battery. This additional safety measure helps protect the system from potential power surges or electrical faults, ensuring a cost-effective and safe solar panel installation on your RV.
FAQ
How do I choose the right mounting options for my RV solar panel installation?
When it comes to mounting options, you can choose between screws and adhesives to attach the panels to the roof of your RV. Additionally, you’ll need to decide whether to use flexible thin-film panels or rigid polycrystalline/monocrystalline panels. Both options have their advantages and considerations. It’s important to ensure that the panels are not overshadowed to maximize their energy production.
What is the purpose of a charge controller in an RV solar panel system?
The charge controller regulates the charging process and protects the battery from overcharging. It is a crucial component that ensures the safe and efficient operation of your RV solar panel system.
How do I connect the solar panels to the charge controller?
After installing the charge controller and connecting it to the battery, you will need to connect the solar panels to the charge controller. Multiple solar panels can be wired in series or parallel, depending on your specific needs and the capabilities of your charge controller. Wiring in series combines the voltage of the panels, while wiring in parallel combines the amperage. It is important to follow the proper wiring diagram and consider factors such as cable length and gauge for optimal performance.
How do I add an inverter for AC power in my RV solar panel system?
To power AC appliances in your RV, you will need to add an inverter. The inverter converts the DC power generated by the solar panels and stored in the batteries into AC power that can be used to power household appliances. It’s important to choose the right size and type of inverter based on your power requirements and install a fuse or circuit breaker between the inverter and the battery for safety purposes.

