Wiring Guide: How to Wire RV 30 Amp Outlet
gorvlifestyle.com and its partners may earn a commission if you purchase a product through one of our links
Knowing how to wire a 30 amp RV plug is essential for RV owners, especially in the case of a damaged or broken plug. This article provides a step-by-step guide on how to replace a 30 amp RV plug using basic tools that are commonly carried on RV trips. It also discusses the importance of knowing how to wire an RV 30 amp plug and the potential damage that can occur from overheating and use over time.
Key Takeaways:
- Learn how to wire a 30 amp RV plug to replace a damaged or broken plug
- Ensure a reliable power connection for your RV by following the step-by-step guide
- Prevent potential damage from overheating and long-term use
- Gather the necessary tools, such as wire strippers, screwdrivers, and a replacement plug
- Stay informed about RV electrical wiring to maintain a safe and functional RV electrical system
Reasons to Know How to Replace Your RV’s 30-Amp Plug
As an owner of a 30-amp powered motorhome or travel trailer, understanding how to wire an RV 30 amp plug is crucial. Not only does it give you the ability to replace a damaged plug, but it also offers several important benefits. By familiarizing yourself with RV power outlet wiring and knowing how to install a 30 amp RV outlet, you can ensure a safe and reliable power connection for your mobile home-on-wheels.
One of the main reasons to learn DIY RV outlet wiring is to avoid potential damage from overheating. Over time, RV plugs can become worn out or loose, leading to excessive heat buildup that can damage the plug and pose a fire hazard. By replacing the plug yourself, you can ensure a secure and properly functioning connection, reducing the risk of overheating and potential electrical fires.
Another important reason to know how to wire a 30 amp RV plug is to prevent damage from regular use over time. As you travel and use your RV, the plug may experience wear and tear, resulting in loose connections or broken prongs. These issues can cause inconsistent power supply, additional strain on your RV’s electrical system, and potential damage to your appliances and devices. By acquiring the skills to replace the plug, you can address these issues promptly, preserving the longevity of your electrical components and avoiding costly repairs.
Furthermore, being able to replace a 30 amp RV plug on your own empowers you to tackle such issues even when a professional might not be readily available. This is especially crucial during RV trips when you may be far from service centers or in remote locations. By having the necessary knowledge and skills for DIY RV outlet wiring, you can address a damaged plug quickly, minimizing downtime and ensuring you have a reliable power source throughout your adventures.
“Learning how to wire an RV 30 amp plug gives you confidence in your ability to maintain your RV’s electrical system, providing peace of mind and ensuring a safe and comfortable journey.”
Be in Control of Your RV’s Power Usage
Knowing how to install a 30 amp RV outlet and wire a 30 amp RV plug also allows you to actively manage your power usage. By taking control of your power connection, you can make informed decisions about which appliances and devices to use simultaneously, preventing potential overloads and tripped breakers.
With the ability to replace a damaged plug, you won’t have to rely on external assistance or wait for professional help when facing electrical issues. Instead, you can quickly diagnose the problem, identify a faulty plug, and resolve the issue, ensuring that you can continue enjoying the comforts of your RV without interruption.
Tools Needed to Wire a 30-Amp RV Plug
When it comes to wiring a 30 amp RV plug, having the right tools is essential. With the following tools at your disposal, you’ll be well-prepared to successfully wire your RV’s 30 amp outlet and ensure a secure electrical hookup:
- Wire strippers
- Screwdrivers
- Utility knife
- Wire cutter
- Measuring tape
- Marking pen
- Replacement 30 amp plug
With wire strippers, you’ll be able to accurately strip the insulation off the wires. Screwdrivers will come in handy for connecting the wires to the new plug. A utility knife will help you cut off the old plug and remove any excess insulation. When measuring and cutting the wires to the correct lengths, a measuring tape will be your best friend. Don’t forget a marking pen to label the wires and ensure proper connections. Finally, having a replacement 30 amp plug allows you to complete the wiring process.
By having these tools readily available, you’ll be equipped to wire your RV’s 30 amp outlet step-by-step and establish a secure electrical hookup.
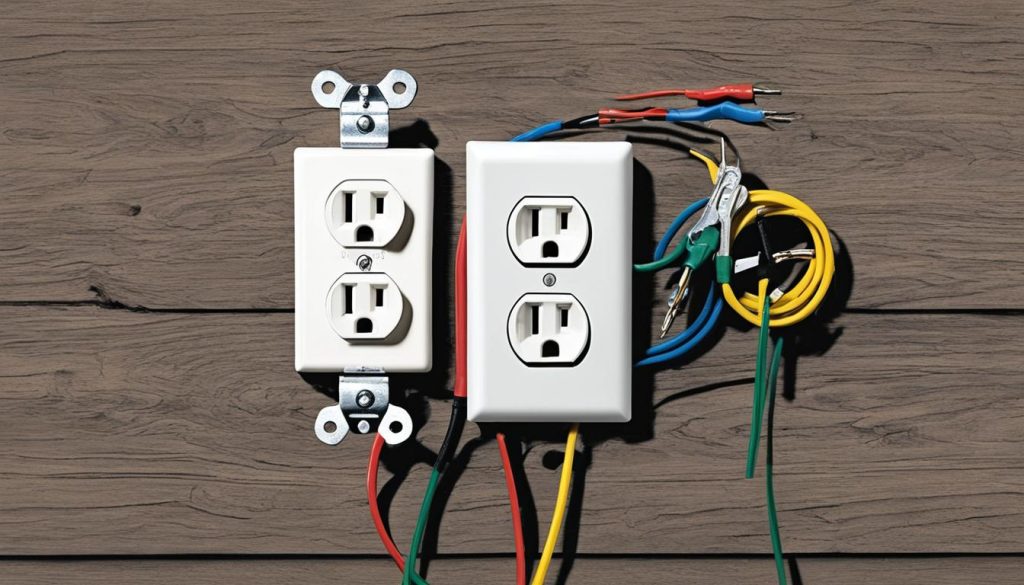
Now that you know which tools you’ll need, let’s move on to the next section to learn how to wire a 30 amp RV plug in a step-by-step manner.
How to Wire a 30 Amp RV Plug
Wiring an RV 30 amp receptacle is a crucial skill for every RV owner. Whether you’re replacing a damaged plug or installing a new one, proper wiring ensures a safe and reliable power connection for your RV. Follow these steps to wire a 30 amp RV plug with ease:
- Start by cutting off the old plug using wire cutters. Make sure to leave enough wire length to work with.
- Next, strip the insulation from the wires using wire strippers. It’s important to expose the bare copper wire for a secure connection.
- Measure and cut the wires to the correct lengths. Take into account the distance between the plug and the power source to ensure proper fit.
- Strip about 1 inch of insulation from the ends of the wires. This will allow for a proper connection to the new plug.
- Now, connect the wires to the new plug. Refer to the manufacturer’s instructions for the correct terminal connections.
- Once all the wires are securely connected, double-check the connections to ensure they’re tight and properly aligned.
- Consider removing the blades from the new plug before connecting the wires. This can make the wiring process easier and prevent accidental shorts.
- Lastly, it’s recommended to waterproof the connection using electrical tape or heat shrink tubing. This will protect the wiring from moisture and ensure a long-lasting connection.
By following these simple steps, you’ll be able to wire a 30 amp RV plug like a pro. Remember to always prioritize safety and consult professional help if needed. Now let’s take a closer look at some helpful tips and pro-tips for easier installation.
Additional Resources and Tips
As an RV owner, maintaining a reliable and safe electrical system is crucial for a smooth and enjoyable journey. To safeguard your RV power outlet and enhance your RV electrical system’s longevity, it’s recommended to use a high-quality RV surge protector. This device helps protect your RV’s electrical appliances and systems from power surges and fluctuations, ensuring a worry-free camping experience.
Furthermore, we are thrilled to offer exclusive discounts on Hughes Power Watchdogs and autoformers. These devices provide advanced protection against voltage spikes and low voltage issues, safeguarding your valuable equipment and preventing potential damage to your RV’s electrical system. Don’t miss out on these great deals!
When it comes to purchasing RV electrical equipment, it’s always wise to compare prices from multiple sources. This helps you find the best deals and ensure you’re getting the most value for your money. So, take the time to browse different retailers, both online and offline, to find competitive prices on RV power outlets, surge protectors, and other electrical accessories.
To stay up-to-date with the latest RVing tips, tricks, reviews, and exclusive giveaways, we encourage you to subscribe to the RVgeeks daily newsletter. By subscribing, you’ll receive valuable insights and expert advice directly in your inbox, helping you make the most of your RVing adventures. Don’t miss out on a single tip!
FAQ
Why is it important to know how to wire a 30 amp RV plug?
Knowing how to wire a 30 amp RV plug is important for RV owners in case of a damaged or broken plug. It allows for easy replacement and ensures a reliable power connection.
What are the reasons to replace a 30 amp RV plug?
There are several reasons to replace a 30 amp RV plug, including potential damage from overheating, damage from use over time, and broken prongs. It is important for RV owners to be aware of their power usage and have the necessary skills to replace a damaged plug when needed.
What tools are needed to wire a 30 amp RV plug?
The tools typically needed to wire a 30 amp RV plug include wire strippers, screwdrivers, a utility knife, wire cutter, measuring tape, marking pen, and a replacement 30 amp plug. Having these tools on hand makes the replacement process easier and more efficient.
How do you wire a 30 amp RV plug?
Wiring a 30 amp RV plug involves cutting off the old plug, removing the insulation from the wires, cutting the wires to the correct lengths, stripping the insulation, and connecting the wires to the new plug. Following a step-by-step guide can help simplify the installation process.
What additional resources and tips are available for RV owners?
Additional resources and tips for RV owners include using a high-quality RV surge protector, taking advantage of discounts on Hughes Power Watchdogs and autoformers, and checking multiple sources for the best prices. Subscribing to the RVgeeks daily newsletter provides access to more RVing tips, tricks, reviews, and giveaways.


