Guide to Test Your RV AC Capacitor
gorvlifestyle.com and its partners may earn a commission if you purchase a product through one of our links
RV AC capacitors play a vital role in maintaining the proper operation of the air conditioning system. In this guide, we will walk you through the process of diagnosing, testing, and replacing a bad capacitor in your RV air conditioner. We will provide step-by-step instructions, safety precautions, and the necessary tools you will need to successfully test your RV AC capacitor.
Key Takeaways
- Learn how to diagnose, test, and replace a bad capacitor in your RV air conditioner
- Understand the symptoms of a failing capacitor
- Discover how to test a run capacitor with a multimeter
- Get step-by-step instructions on how to replace an air conditioner capacitor
- Learn about the types of A/C capacitors commonly used in RV units
Before you begin testing your RV AC capacitor, it’s important to be aware of the symptoms of a bad or failing capacitor. Some common signs include the condenser fan motor or compressor not starting, unusual noises, problems with turning the AC unit on or off, burning or electrical discharge smells, higher energy bills, random shut-offs, and no cooling. If you notice any of these symptoms, it’s likely that your RV AC capacitor needs to be tested and potentially replaced.
Testing a run capacitor in your RV air conditioner can be done using a multimeter. Before you start, ensure that the power to your AC unit is turned off and the capacitor is discharged. Once you’ve taken the necessary safety precautions, follow our step-by-step instructions to test the capacitor with a multimeter and determine if it’s working properly.
If your RV AC capacitor is found to be faulty, it should be replaced to ensure the proper functioning of your air conditioner. We provide detailed instructions on how to safely replace the capacitor, including turning off the power, discharging the old capacitor, noting the wiring configuration, installing the new capacitor, and testing it to ensure it’s functioning correctly.
There are different types of capacitors used in RV air conditioning systems. The most common types include the dual run capacitor, which powers both the compressor and fan motor, and the start capacitor, which provides a voltage boost during startup. It’s important to identify the type of capacitor in your RV AC unit before testing or replacing it.
When testing or replacing capacitors in your RV air conditioner, it’s essential to take proper safety precautions. Capacitors can store a significant amount of energy, even after the power is turned off, and can cause electric shock if mishandled. Always turn off the power, discharge the capacitor, use insulated tools, and avoid shorting the terminals to other metal objects.
Symptoms of a Bad or Failing Capacitor
A bad or failing capacitor in your RV air conditioner can cause several symptoms. Some common signs include:
- The condenser fan motor or compressor not starting
- Unusual noises coming from the condenser unit
- Problems with turning the AC unit on or off
- A burning or electrical discharge smell
- Higher than normal energy bills
- Random shut-offs
- No cooling
If you notice any of these symptoms, it is likely that your RV AC capacitor needs to be tested and potentially replaced.
How to Test a Run Capacitor with a Multimeter
Testing a run capacitor in your RV air conditioner is a straightforward process that can be done using a multimeter. Before you begin, it is crucial to ensure the power to your AC unit is turned off and the capacitor is discharged to avoid any electrical hazards.
Once you have safely accessed the capacitor, set your multimeter to the capacitance testing setting. This setting allows you to measure the storage capacity of the capacitor.
Next, connect the multimeter’s leads to the capacitor terminals. The positive lead should be connected to the positive terminal of the capacitor, while the negative lead should be connected to the negative terminal.
Now, it’s time to take the reading. The multimeter will display the capacitance reading, which should fall within the range specified on the capacitor’s label. If the reading is outside the acceptable range, it is an indication that the capacitor is faulty and needs to be replaced.
Remember to follow safety precautions throughout the testing process and use the appropriate personal protective equipment, such as insulated gloves, when working with electrical components.
Step-by-step Guide to Test a Run Capacitor with a Multimeter:
- Turn off the power to your RV’s AC unit and ensure the capacitor is discharged.
- Set your multimeter to the capacitance testing setting.
- Connect the multimeter’s positive lead to the positive capacitor terminal and the negative lead to the negative terminal.
- Read the displayed capacitance value on the multimeter.
- Compare the measured value to the acceptable range specified on the capacitor’s label.
- If the measured value falls within the acceptable range, the capacitor is functioning properly. If not, it needs to be replaced.
Testing your RV AC capacitor with a multimeter is an essential troubleshooting step in diagnosing potential issues with your air conditioning system. By following these steps, you can determine whether the run capacitor is faulty and requires replacement.
| Advantages | Disadvantages |
|---|---|
| Quick and easy testing process. | Requires a multimeter and basic electrical knowledge. |
| Can help identify faulty capacitors and prevent further damage. | May require additional testing methods to confirm the capacitor’s functionality. |
| Cost-effective approach to troubleshooting AC capacitor issues. | Does not provide insights into other potential air conditioner malfunctions. |
How to Replace an Air Conditioner Capacitor
If your RV AC capacitor is found to be faulty, it is important to replace it to ensure the proper functioning of your air conditioner. Follow these steps to replace the capacitor:
- Turn off the power: Start by turning off the power to the AC unit. This step is crucial to prevent any electrical accidents during the replacement process.
- Discharge the old capacitor: Safely discharge the old capacitor to eliminate any remaining electrical charge. This can be done by using a insulated screwdriver to short the terminals together.
- Take note of the wiring configuration: Before you disconnect the wires from the old capacitor, take a picture or make a note of the wiring configuration. This will help ensure that you connect the wires correctly when installing the new capacitor.
- Remove the old capacitor: Carefully remove the old capacitor from its mounting bracket. Make sure to keep track of any screws or brackets that are holding the capacitor in place.
- Install the new capacitor: Take the new capacitor and position it in the same location as the old one. Connect the wires to the corresponding terminals, following the wiring configuration you noted earlier.
- Secure the new capacitor: Once the wires are connected, secure the new capacitor in place using the screws or brackets that were removed from the old capacitor.
- Turn on the power: After everything is securely in place, turn on the power to the AC unit. This will allow you to test the new capacitor and ensure that it is functioning correctly.
Note: If you are unsure about any step in the replacement process, it is recommended to consult a professional HVAC technician.
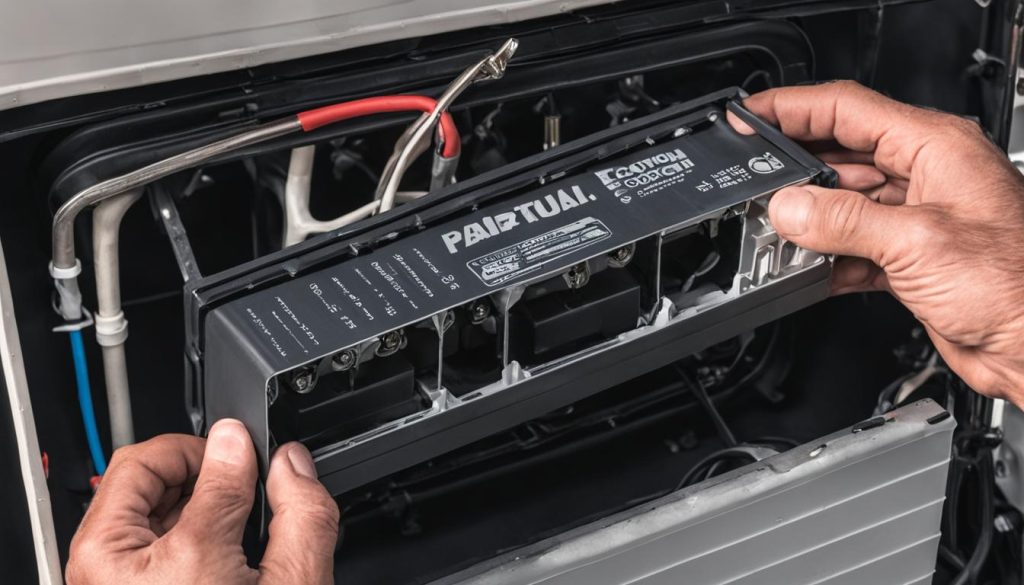
Replacing a faulty air conditioner capacitor is a straightforward process that can be done with the right tools and proper precautions. By following these steps, you can ensure that your RV air conditioner continues to operate efficiently.
Types of A/C Capacitors
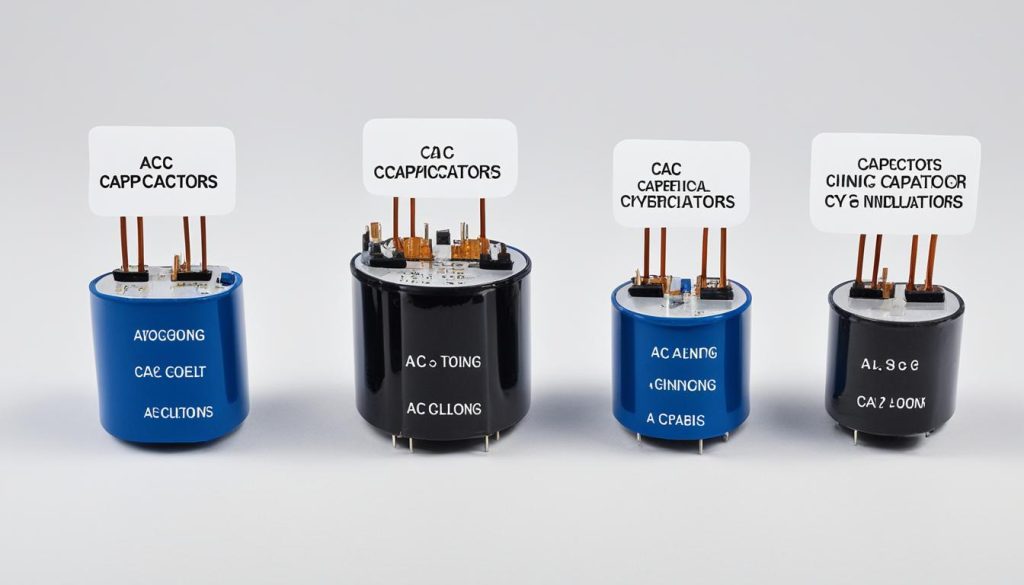
There are different types of capacitors used in air conditioning systems, including RV AC units. Understanding the different types of capacitors can help you diagnose and replace them more effectively. Let’s explore the two main types of A/C capacitors commonly used:
Dual Run Capacitor
The dual run capacitor is a popular choice for air conditioning systems, including RV AC units. As the name suggests, it combines two capacitors in one package, providing power to both the compressor and the fan motor. This capacitor has three terminals: “C” for common, “HERM” for the compressor, and “FAN” for the fan motor. Identifying and testing the dual run capacitor is crucial when troubleshooting RV air conditioner issues.
Start Capacitor
The start capacitor is another type commonly found in AC systems, including RV units. Its primary function is to provide a voltage boost to help the motor start during the startup process. Start capacitors often have a separate resistor connected to them. When diagnosing RV AC problems, it’s important to check the start capacitor’s condition and functionality, as a faulty capacitor can prevent the motor from starting properly.
Identifying the type of capacitor in your RV AC unit is essential when troubleshooting or replacing capacitors. Different capacitors serve different functions, so make sure to choose the correct one for your specific needs. Refer to your RV air conditioner’s manual or consult a professional for assistance if you’re unsure about the capacitor type.
Safety Precautions for Testing and Replacing Capacitors
When working with capacitors in your RV air conditioner, it is crucial to prioritize safety. Capacitors store a significant amount of energy, even after the power is turned off, which means they can pose a risk of electric shock if not handled correctly.
Before starting any testing or replacement process, always remember to turn off the power to the AC unit and discharge the capacitor. This can be done by using a screwdriver with insulated handles to short the terminals of the capacitor and drain any stored energy. It is also recommended to wear protective gloves specifically designed for working with electricity.
When testing or replacing capacitors, it is important to use insulated tools to minimize the risk of electrical accidents. Apart from insulated screwdrivers, you may also want to consider using other insulated tools like pliers or wire cutters. Additionally, make sure to avoid accidentally shorting the terminals of the capacitor to any metal objects in the vicinity.
By following these essential safety precautions, you can ensure a safe and successful testing or replacement process for your RV AC capacitors. Remember, your well-being and safety should always come first when working with electrical components.
FAQ
How do I know if my RV AC capacitor is bad?
Some common symptoms of a bad or failing RV AC capacitor include the condenser fan motor or compressor not starting, unusual noises coming from the condenser unit, problems with turning the AC unit on or off, burning or electrical discharge smell, higher than normal energy bills, random shut-offs, and no cooling. If you experience any of these symptoms, it is recommended to test your RV AC capacitor.
How do I test my RV AC capacitor with a multimeter?
To test your RV AC capacitor with a multimeter, start by ensuring the power to the AC unit is turned off and the capacitor is discharged. Then, set your multimeter to the capacitance testing setting and connect the positive lead to the positive terminal of the capacitor and the negative lead to the negative terminal. The multimeter will display the capacitance reading, which should fall within the range specified on the capacitor’s label. If the reading is outside the acceptable range, the capacitor is likely faulty.
How do I replace my RV air conditioner capacitor?
To replace your RV air conditioner capacitor, begin by turning off the power to the AC unit and safely discharging the old capacitor. Take a picture or make note of the wiring configuration before disconnecting the wires from the old capacitor. Remove the old capacitor and install the new one, ensuring the wires are connected in the same configuration. Finally, turn on the power to the AC unit and test the new capacitor to ensure it is functioning correctly.
What are the different types of capacitors used in RV air conditioners?
There are different types of capacitors used in RV air conditioners. One common type is the dual run capacitor, which powers both the compressor and the fan motor. It has three terminals labeled “C” for common, “HERM” for the compressor, and “FAN” for the fan motor. Another type is the start capacitor, which provides a voltage boost during startup. Start capacitors often have a separate resistor connected to them. It is important to identify the type of capacitor in your RV AC unit before testing or replacing it.
What safety precautions should I take when testing and replacing RV AC capacitors?
When testing or replacing RV AC capacitors, it is essential to take proper safety precautions. Capacitors can store a significant amount of energy and can cause electric shock if not handled properly. Always turn off the power to the AC unit and discharge the capacitor before working on it. Use insulated tools, such as screwdrivers with insulated handles, and wear gloves meant for working with electricity. Be cautious of the terminals and avoid shorting them to other metal objects.

