Test Your RV AC Capacitor Easily – Simple Guide
gorvlifestyle.com and its partners may earn a commission if you purchase a product through one of our links
AC capacitors are an essential component of your RV’s air conditioning system. They help in the smooth operation of the system by storing and releasing electrical energy as needed. However, over time, these capacitors can become faulty, leading to a malfunctioning AC unit. To avoid costly repairs and ensure the comfort of your RV, it is crucial to regularly test and troubleshoot your RV AC capacitor.
In this section, we will discuss the importance of RV AC capacitors and provide you with a simple step-by-step guide to testing and troubleshooting them effectively. By following these easy steps, you can keep your RV’s AC system running smoothly, ensuring a comfortable journey wherever you go.
Key Takeaways:
- Regularly testing your RV AC capacitor is crucial to maintaining a well-functioning air conditioning system.
- Common symptoms of a failing RV AC capacitor include the condenser fan motor or compressor not starting and unusual noises from the condenser unit.
- Take proper safety precautions, such as wearing insulated gloves and discharging the capacitor, before testing.
- Testing an RV AC capacitor with a multimeter is a straightforward process that can be done as a DIY project.
- Understanding the different types of RV AC capacitors will help you choose the right one for replacement, if needed.
Common Symptoms of a Bad RV AC Capacitor
If you suspect that your RV’s AC capacitor is failing, it’s important to be aware of the common signs that indicate a possible issue. By recognizing these symptoms, you can take appropriate action and troubleshoot the problem before it worsens. Here are some RV AC capacitor failure signs to look out for:
- Condenser fan motor or compressor not starting: When the capacitor is faulty, the condenser fan motor or compressor may struggle to start or fail to start altogether. This can result in inadequate cooling or even complete AC system failure.
- Unusual noises from the condenser unit: A failing capacitor can cause strange noises, such as buzzing or humming, coming from the condenser unit. These noises indicate an underlying issue that requires attention.
- High energy bills: A malfunctioning AC capacitor can lead to increased energy consumption, resulting in higher energy bills. If you notice a sudden spike in your RV’s energy costs, it may be a sign that the capacitor needs troubleshooting.
- The unit randomly shutting off: If your AC system shuts off unexpectedly and without any apparent cause, it may be due to a failing capacitor. The capacitor’s inability to provide the necessary power can cause the system to shut down intermittently.
- No cooling: One of the most evident signs of a bad RV AC capacitor is a lack of cooling. If the airflow from your AC vents diminishes or stops completely, the capacitor could be to blame.
When you experience any of these symptoms, it is crucial to troubleshoot your RV AC capacitor to determine if it requires replacement or repair. Addressing capacitor issues promptly will help prevent further damage to your AC system and ensure your comfort during your RV travels.
Safety Tips for Testing RV AC Capacitors
When it comes to testing your RV AC capacitor, safety should always be your top priority. The process involves working with electrical components, so it’s crucial to follow proper safety precautions to avoid any accidents or injuries. Here are some essential safety tips to keep in mind:
- Turn off the AC unit: Before you begin testing the AC capacitor, make sure to turn off the AC unit completely. This will prevent any electrical current from flowing through the system while you work on it.
- Wear insulated gloves: To protect yourself from electrical shocks, always wear insulated gloves when handling the capacitor or any other electrical components. These gloves will provide an extra layer of insulation and minimize the risk of electrical contact.
- Use an insulated screwdriver: When working with the capacitor terminals, use an insulated screwdriver to avoid any electrical mishaps. Insulated screwdrivers prevent the transfer of electrical current and ensure your safety during the testing process.
- Discharge the capacitor: Before touching the capacitor, it’s essential to discharge it to eliminate any stored electrical charge. This will prevent any potential electrical shocks. To discharge the capacitor, use a resistor or a well-insulated screwdriver to bridge the terminals and create a safe path for the current to discharge.
Remember, always follow the manufacturer’s instructions and refer to your RV’s user manual when testing your AC capacitor. If you’re unsure or uncomfortable with the process, it’s best to consult a professional HVAC technician.
By following these safety guidelines, you can ensure a safe and hassle-free experience while testing your RV AC capacitor.
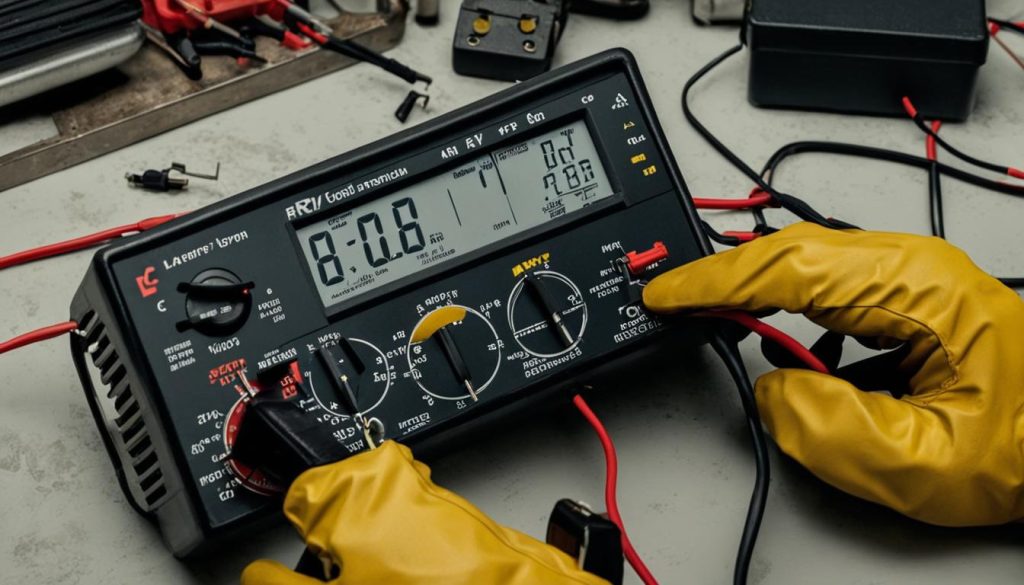
Step-by-Step Guide for Testing RV AC Capacitors with a Multimeter
Testing an RV AC capacitor with a multimeter is a simple process that can help you identify any potential issues with your RV’s air conditioning system. By following these step-by-step instructions, you’ll be able to determine if the capacitor is functioning properly and avoid costly repairs or replacements.
- Start by turning off the power to your RV’s AC unit. This is essential for your safety during the testing process.
- Put on insulated gloves to protect yourself from any electrical shock.
- Take an insulated screwdriver and discharge the capacitor by touching the terminals simultaneously. This will remove any residual charge and eliminate the risk of electric shock.
- Set your multimeter to the capacitance setting. If your multimeter doesn’t have this setting, select the highest voltage setting instead.
- Take the red probe of the multimeter and touch it to the terminal labeled “C” on the capacitor.
- Touch the black probe of the multimeter to the terminal labeled “Herm” or “H” on the capacitor.
- Read the capacitance value displayed on the multimeter. This will indicate the health of the capacitor.
- If the capacitance value is within the manufacturer’s specified range, the capacitor is functioning correctly. If it’s below or above the recommended range, the capacitor may need to be replaced.
Remember to consult your RV’s manual or contact a professional if you’re unsure about any step in the testing process. It’s always better to seek assistance rather than risking damage to your RV’s AC system.
Testing your RV AC capacitor with a multimeter is an essential part of AC system maintenance. By regularly testing the capacitor, you can catch any potential issues early on and ensure your AC functions efficiently, providing cool air during your adventures on the road.
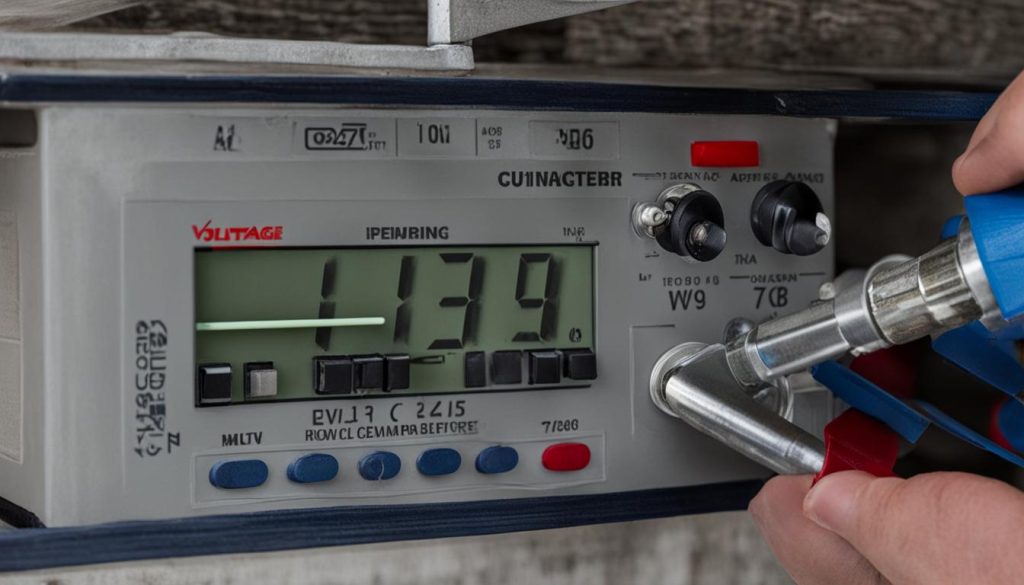
Tips for Testing RV AC Capacitors:
- Always follow safety precautions, such as turning off the power and discharging the capacitor, before beginning the testing process.
- Check the recommended capacitance range in your RV’s manual or contact the manufacturer for the correct values.
- If the capacitor needs to be replaced, make sure to choose a replacement with the same capacitance rating as the original one.
By testing your RV AC capacitor with a multimeter and following the manufacturer’s guidelines, you can ensure the longevity and efficiency of your RV’s air conditioning system.
Exploring the Types of A/C Capacitors in RVs
RV air conditioning systems rely on capacitors to ensure efficient operation. When it comes to A/C capacitors in RVs, there are different types to consider. By understanding these types, you can make an informed decision when it comes to RV air conditioner capacitor replacement.
Two common types of A/C capacitors used in RVs are dual run capacitors and start capacitors.
Dual run capacitors are designed to drive both the compressor and the fan motor in the air conditioning system. They provide the necessary electrical energy for both components to operate effectively. If you suspect a problem with either the compressor or the fan motor, a dual run capacitor may be the culprit.
On the other hand, start capacitors are specifically designed for the compressor. They provide an extra boost of power to help the compressor start up smoothly. If you notice issues with the compressor not starting, a faulty start capacitor could be the cause.
Here is a summarized comparison of the two types of A/C capacitors:
| Dual Run Capacitors | Start Capacitors |
|---|---|
| Drive both the compressor and the fan motor | Specifically designed for the compressor |
| Essential for the overall operation of the A/C system | Provide an extra boost of power to start the compressor |
Understanding the different types of A/C capacitors in RVs will help you diagnose and troubleshoot any capacitor-related issues. If a replacement is needed, you can ensure that you choose the right type of capacitor for your specific A/C system.
Key Takeaways:
- RV air conditioning systems have different types of A/C capacitors.
- Dual run capacitors drive both the compressor and the fan motor.
- Start capacitors provide an extra boost of power for the compressor.
- Knowing the types of A/C capacitors allows for accurate troubleshooting and replacement.
Now that you understand the different types of A/C capacitors in RVs, let’s delve into the steps for replacing a faulty RV AC capacitor in the next section.
Easy Steps for Replacing an RV AC Capacitor
If your RV AC capacitor is found to be faulty during testing, it is crucial to replace it promptly to ensure the proper functioning of your air conditioning system. Replacing the capacitor is a task that can be accomplished with a few simple steps. Follow the instructions below to safely and effectively replace your RV AC capacitor.
- Turn off the power: Before starting any work, make sure to turn off the power to your RV’s air conditioning system. This will prevent any electrical accidents or damage.
- Locate the AC capacitor: The AC capacitor is typically located inside the air conditioning unit. Refer to your RV’s owner’s manual or consult a professional if you are unsure of its location.
- Disconnect the power: Once you have located the AC capacitor, disconnect the power supply by removing the wires connected to it. Take note of the wiring or take a picture for reference when reconnecting later.
- Remove the old capacitor: Carefully remove the old faulty capacitor from its mounting bracket. Take note of the capacitor’s orientation to ensure proper installation of the new one.
- Install the new capacitor: Take your new RV AC capacitor and secure it in the mounting bracket. Make sure it is positioned correctly, with the terminals aligned for easy connection.
- Reconnect the wiring: Connect the wires back to their respective terminals on the new capacitor. Double-check that all connections are secure and properly tightened.
- Double-check your work: Once everything is connected, take a moment to review your work and ensure that all steps have been completed correctly.
- Power on the AC unit: Finally, turn on the power to your RV’s air conditioning system and test it to verify that the new capacitor is functioning properly.
By following these easy steps, you can confidently replace an RV AC capacitor and restore the functionality of your air conditioning system. Remember to prioritize safety at all times and seek professional assistance if needed.
Common Mistakes to Avoid
Making mistakes during the replacement process can lead to further issues with your RV’s air conditioning system. Avoid these common mistakes:
- Skipping safety precautions: Always prioritize safety by turning off the power and taking necessary precautions to avoid electrical accidents.
- Misconnecting the wiring: Carefully label and document the wiring connections to ensure proper reconnection.
- Incorrect capacitor installation: Make sure the new capacitor is the correct replacement for your RV’s air conditioning system and that it is properly positioned.
- Not testing the system: After installation, verify that the air conditioning system is functioning correctly with the new capacitor.
By avoiding these mistakes and following the steps outlined above, you can successfully replace your RV’s AC capacitor and enjoy a well-functioning air conditioning system during your travels.
A/C Capacitor Replacement Made Easy
Replacing an RV AC capacitor can be a DIY project if done correctly. Here are some helpful tips and advice to ensure a successful AC capacitor replacement:
1. Match the Correct Capacitor Ratings
When replacing an RV AC capacitor, it’s important to match the correct capacitor ratings. This includes the capacitance (measured in microfarads), voltage rating, and whether it is a start capacitor or dual run capacitor. Refer to the manufacturer’s specifications or consult with a professional if you’re unsure.
2. Double-Check Connections
Before installing the new capacitor, double-check the connections to ensure proper installation. Take a picture or make a note of the existing connections to make it easier to reconnect the wires correctly. Proper connection is crucial for the AC system to function efficiently.
3. Follow Proper Safety Procedures
Safety should always come first when working with electrical components. Make sure to turn off the power supply to the RV AC unit and discharge the capacitor before attempting any replacement. Wear insulated gloves and use insulated tools to minimize the risk of electrical shock.
Remember, if you’re unsure about any step or lack the necessary skills, it’s always wise to seek professional help.
“Properly matching the capacitor ratings and following safety protocols are essential to ensure a successful AC capacitor replacement.”
4. Step-by-Step AC Capacitor Replacement
Follow these steps for a smooth AC capacitor replacement:
- Turn off the power supply to the RV AC unit.
- Discharge the capacitor by shorting the terminals with an insulated screwdriver.
- Take a picture or note the existing connections.
- Remove the wires from the old capacitor.
- Install the new capacitor, ensuring the wires are securely connected.
- Double-check the connections to make sure everything is properly aligned.
- Turn on the power supply and test the AC unit to ensure it’s functioning correctly.
Following these steps will help you replace an RV AC capacitor with confidence.
5. Proper Disposal of Old Capacitors
It’s important to dispose of the old RV AC capacitor properly. Check with your local waste management authorities for guidelines on disposing of electronic waste. Many communities provide specific recycling centers or collection events for electronic components.
Remember, improperly disposing of electronic components can harm the environment.
| RV AC Capacitor Replacement Checklist | |
|---|---|
| Step | Action |
| 1 | Turn off the power supply to the RV AC unit. |
| 2 | Discharge the capacitor using an insulated screwdriver. |
| 3 | Document the existing connections. |
| 4 | Remove the wires from the old capacitor. |
| 5 | Install the new capacitor, securely connecting the wires. |
| 6 | Double-check all connections for alignment. |
| 7 | Turn on the power supply and test the AC unit. |
Ensure a Well-Functioning RV AC System with Proper Capacitor Testing
Proper testing and maintenance of your RV AC capacitors are crucial to keep your air conditioning system running smoothly. By recognizing the signs of a failing capacitor and following the recommended testing and replacement procedures, you can ensure continuous cooling and comfort during your travels. Regularly testing and replacing faulty capacitors can also prevent costly repairs and extend the overall lifespan of your AC system.
When it comes to AC capacitor troubleshooting, it’s important to pay attention to warning signs such as the condenser fan motor or compressor not starting, unusual noises emanating from the condenser unit, high energy bills, the unit randomly shutting off, or inadequate cooling. If you experience any of these symptoms, it’s a good idea to troubleshoot your RV AC capacitor.
RV air conditioner capacitor replacement is a relatively simple process. By following the proper safety guidelines, which include turning off the AC unit, wearing insulated gloves, using an insulated screwdriver, and discharging the capacitor to prevent electrical shock, you can safely test and replace your RV AC capacitor as needed.
By maintaining the health of your RV AC capacitors through regular testing and replacement, you can ensure a well-functioning air conditioning system that will keep you cool and comfortable on your travels without any unexpected interruptions or repairs. Take the time to troubleshoot your AC capacitor and make any necessary replacements, and you’ll enjoy reliable and efficient cooling throughout your RV adventures.
FAQ
Why is it important to test RV AC capacitors?
Testing RV AC capacitors regularly is important to ensure the proper functioning of the air conditioning system. If a capacitor fails, it can cause serious damage to the system. Regular testing can help identify any issues and prevent costly repairs.
What are the common signs of a failing RV AC capacitor?
Common signs of a failing RV AC capacitor include the condenser fan motor or compressor not starting, unusual noises coming from the condenser unit, high energy bills, the unit randomly shutting off, and no cooling. If you notice any of these symptoms, it may indicate a problem with the AC capacitor.
How can I test an RV AC capacitor?
To test an RV AC capacitor, you can use a multimeter. Make sure to take safety precautions such as turning off the AC unit, wearing insulated gloves, using an insulated screwdriver, and discharging the capacitor. Then, use the capacitance setting on the multimeter and place the probes on the capacitor terminals to measure the capacitance value.
What are the different types of A/C capacitors in RVs?
RV AC capacitors come in different types, such as dual run capacitors and start capacitors. Dual run capacitors are used to drive both the compressor and the fan motor, while start capacitors are specifically designed for the compressor.
How do I replace an RV AC capacitor?
To replace an RV AC capacitor, you should follow a step-by-step process. This includes turning off the power, discharging the capacitor, documenting the wiring connections, removing the old capacitor, selecting a suitable replacement capacitor, and installing the new capacitor. It is important to double-check all connections and follow proper safety procedures.
Can I replace an RV AC capacitor myself?
Yes, replacing an RV AC capacitor can be a DIY project if done correctly. It is important to match the correct capacitor ratings, follow the correct installation procedures, and take safety precautions. If you are uncomfortable or unsure, it is always best to consult a professional.
How often should RV AC capacitors be tested and replaced?
RV AC capacitors should be tested regularly, at least once a year, to identify any potential issues. If a capacitor is found to be faulty, it should be replaced as soon as possible to prevent further damage to the AC system. Regular testing and maintenance can help extend the lifespan of the system.
Why is proper testing and maintenance of RV AC capacitors important?
Proper testing and maintenance of RV AC capacitors are essential to ensure a well-functioning air conditioning system. By identifying and addressing any capacitor issues early on, RV owners can avoid costly repairs and enjoy continuous cooling and comfort during their travels.

