RV Roof Sealing Guide: Protect Your Home-on-Wheels
gorvlifestyle.com and its partners may earn a commission if you purchase a product through one of our links
Properly sealing your RV roof is essential for protecting your home-on-wheels from leaks, water damage, and costly repairs. This comprehensive RV roof sealing guide will provide you with all the necessary information and steps to ensure your RV roof is properly sealed and maintained. RV roof sealing is an important part of RV maintenance to protect against leaks and water damage. Cracks in the roof sealant can lead to mold, mildew, and drafts, compromising the comfort and integrity of your RV.
Key Takeaways:
- Properly sealing your RV roof is crucial for protecting against leaks and water damage.
- Choose the right type of RV roof sealant based on the material of your roof and the weather conditions.
- Remove any existing silicone sealant before applying a new sealant.
- Clean the roof thoroughly before applying a new sealant for optimal adhesion.
- Apply the new RV roof sealant according to the manufacturer’s instructions and reseal annually for continuous protection.
Types of RV Roof Sealants and How to Choose the Right One
Choosing the right type of RV roof sealant is crucial for ensuring a proper and long-lasting seal. There are different types of RV roof sealants available:
- Liquid rubber roof coating
- Silicone caulk
- Tar sealants
- Factory seals
The type of sealant you choose will depend on the material of your RV roof and the weather conditions you’ll be traveling in.
Liquid rubber roof coating is an ideal choice for newer RVs. When combined with the EPDM Primer, it provides added durability and creates a long-lasting seal. This type of sealant is specifically designed for RV roofs and offers excellent protection against leaks and water damage.
Silicone caulk and tar sealants are commonly used options for RV roof sealing. While they can be effective, they may not provide a tight seal around the edges of the roof. It’s important to consider the specific needs of your RV and consult with an RV sales and repair shop for expert advice.
When selecting the best sealant for your RV roof, take into account factors such as the age of your RV, the existing sealant type, and the climate conditions you’ll be exposed to during your travels.
Consulting with an RV Expert
“To ensure you make the right choice, it’s always a good idea to consult with an RV sales and repair shop. They can assess the current sealant on your roof and recommend the best sealant option for your specific RV.”
By choosing the right RV roof sealant and following proper application techniques, you can extend the lifespan of your RV roof and protect it from potential damage. +
How to Remove and Clean Silicone Sealant from Your RV Roof
Before applying a new sealant to your RV roof, it is important to remove any existing silicone sealant. Follow these steps to effectively remove silicone sealant from your RV roof:
- Put on sturdy gloves and goggles to protect yourself.
- Collect the necessary tools: a metal brush, a scraping tool, degreasing agents (depending on the type of roof), dishwashing liquid for cleaning, and acetone to remove any residue.
- Choose a day with clear skies and low humidity for better results.
- Start by scraping off as much of the silicone sealant as possible using a scraper and a stiff brush.
- If there are any tough coatings that are difficult to remove, use a silicone sealant remover, WD-40, vinegar, or rubbing alcohol to soften them.
- After softening the tough coatings, continue scraping until most of the silicone sealant is gone.
- Pressure wash the RV roof to remove any remaining silicone coating, ensuring a thorough cleaning.
- If necessary, repeat the removal process to ensure the roof is completely free of silicone sealant.
- Clean the roof thoroughly using a mixture of dishwashing liquid and water, removing any residue left behind.
- Allow the roof to dry completely before proceeding with the application of a new sealant.
![]()
Removing the silicone sealant from your RV roof is a crucial step in ensuring a proper seal. By following these steps and thoroughly cleaning the roof, you will create an optimal surface for the application of a new sealant, providing long-lasting protection for your RV.
How to Apply RV Roof Sealant and Ensure a Proper Seal
Applying RV roof sealant correctly is crucial for ensuring a proper seal and protection against leaks. After removing the old sealant and cleaning the roof, it’s time to apply the new sealant. Before applying the sealant, check for any leaks and drafts and repair them using RV sealant tape.
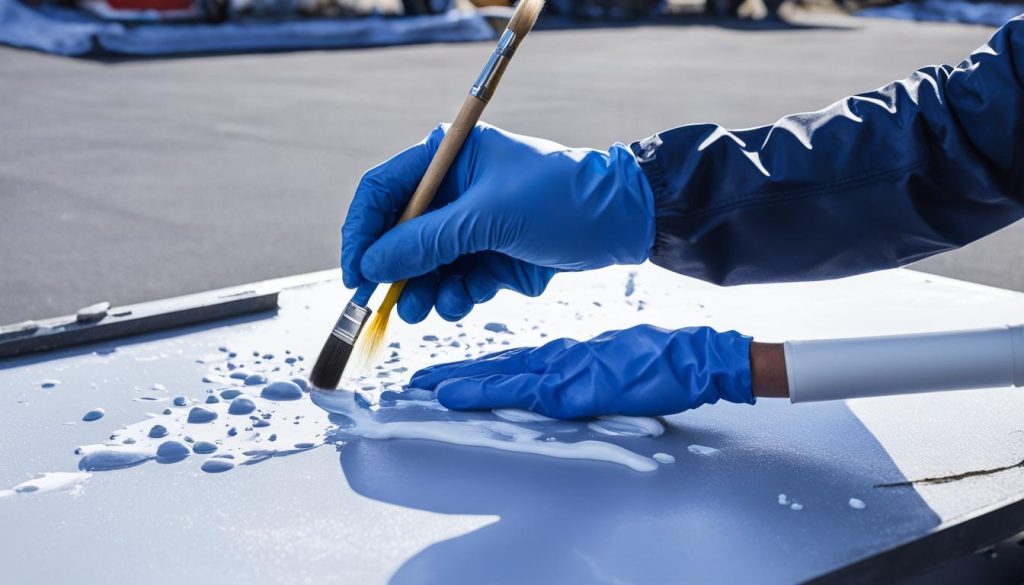
The amount of sealant needed will depend on the size of your RV and the desired thickness of the membrane. It is recommended to work in manageable sections and apply the sealant in long, smooth strokes using a brush or roller. Make sure to overlap the primer and allow each coat to dry before applying the next one. Multiple coats are usually necessary for the ideal seal.
It is important to follow the instructions provided by the sealant manufacturer and to reseal the RV roof annually for continuous protection.
Steps to apply RV roof sealant:
- Remove the old sealant and clean the roof thoroughly.
- Inspect for leaks and drafts and repair them using RV sealant tape.
- Calculate the amount of sealant needed based on the size of your RV and desired thickness.
- Work in manageable sections and apply the sealant in long, smooth strokes using a brush or roller.
- Overlap the primer and allow each coat to dry before applying the next one.
- Apply multiple coats for the ideal seal.
- Reseal the RV roof annually for continuous protection.
Recommended RV Roof Sealant
When it comes to choosing the right RV roof sealant, there are various options available in the market. Some popular and highly recommended sealants include:
- Dicor Lap Sealant: A self-leveling sealant that provides excellent adhesion and flexibility.
- Pro Flex RV Flexible Sealant: Designed to bond to a variety of surfaces and provide long-lasting protection.
- EternaBond RoofSeal Tape: A high-quality tape that creates a waterproof seal and is easy to apply.
Consult with an RV sales and repair shop for expert advice on the best sealant for your specific RV roof type and needs.
Remember, properly applying RV roof sealant is a DIY task that can save you money on repairs and protect your RV from leaks and damage. Take the time to follow the steps carefully and invest in a high-quality sealant to ensure a long-lasting and watertight seal for your RV roof.

Additional RV Roof Maintenance Tips for Longevity
In addition to proper RV roof sealing, there are a few key maintenance tips you should follow to ensure your RV roof stays in top shape for years to come. Regularly inspect your roof for any cracks or damage, and if you notice any issues, make sure to repair them promptly. By addressing these problems early on, you can prevent further damage and avoid costly repairs in the future.
Keeping your RV roof clean is also crucial to its longevity. Regularly remove any dirt, debris, or leaves that may have accumulated on the surface. This helps prevent the buildup of mold and other contaminants, which can lead to long-term damage. Additionally, consider using UV protectant products to shield your roof from sun damage and keep it from fading over time.
To maintain the flexibility of your RV roof and prevent cracks, it’s important to condition it with a specialized RV roof conditioner. This conditioner helps keep the roof’s material supple and resilient, even in changing weather conditions. Lastly, don’t forget to regularly check and reseal other seams and areas of the RV that are prone to leaks, such as around windows and storage bays. By taking these extra steps, you can ensure your RV is well-protected and minimize the risk of any unforeseen issues.
FAQ
Why is sealing an RV roof important?
Sealing an RV roof is important to protect against leaks, water damage, mold, mildew, and drafts. Proper sealing ensures the comfort and integrity of your RV.
What are the different types of RV roof sealants?
The different types of RV roof sealants include liquid rubber roof coating, silicone caulk, tar sealants, and factory seals.
How do I choose the right RV roof sealant?
The right RV roof sealant depends on the material of your RV roof and the weather conditions you’ll be traveling in. Consult with an RV sales and repair shop for expert advice.
How do I remove silicone sealant from my RV roof?
To remove silicone sealant from your RV roof, you will need sturdy gloves, goggles, a metal brush, a scraping tool, degreasing agents, dishwashing liquid, and acetone.
How do I apply RV roof sealant correctly?
After removing the old sealant and cleaning the roof, apply the new sealant in long, smooth strokes using a brush or roller. Follow the instructions provided and apply multiple coats for optimal protection.
What other maintenance tips should I follow for my RV roof?
Regularly inspect the roof for cracks and damage, keep it clean, use UV protectant products, condition the roof, and regularly check and reseal other seams and areas prone to leaks.


