Sanitize Your RV Tank: Fresh Water Cleanliness Guide
gorvlifestyle.com and its partners may earn a commission if you purchase a product through one of our links
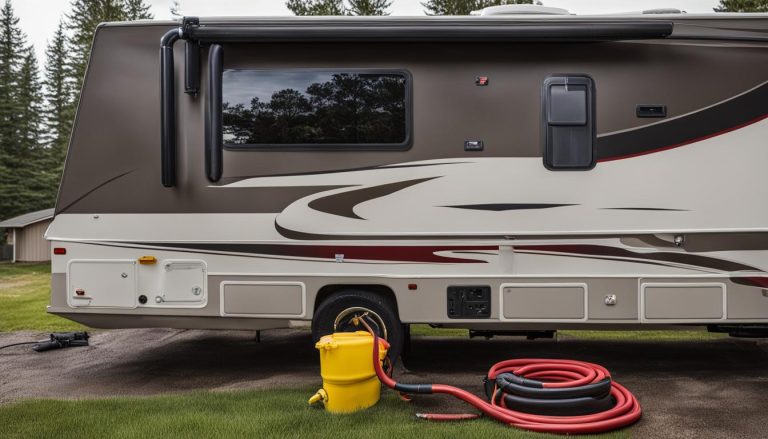
It is important to regularly sanitize the fresh water tank in your RV to ensure safe and clean drinking water. Most RVs have three holding tanks for fresh water, gray water, and black water. The fresh water tank is responsible for providing safe water for drinking, showering, and washing dishes. It is recommended to sanitize the fresh water tank at least once a year, preferably in the spring when dewinterizing your RV. This can be done using bleach or a more environmentally-friendly cleaning solution. The process involves draining the tank, calculating the amount of bleach needed, adding the bleach mixture to the tank, filling it with water, running the water through the system, letting it sit for 12-24 hours, and then draining the tank again. Repeat the process if necessary.
Key Takeaways:
- Regularly sanitize your RV’s fresh water tank to ensure safe drinking water.
- Sanitization should be done at least once a year, preferably in the spring.
- Consider using bleach or an environmentally-friendly cleaning solution.
- Drain the tank, calculate the amount of bleach needed, and add it to the tank.
- Run the water throughout the system and let it sit before draining and repeating if necessary.
How Often Should You Sanitize Your RV Fresh Water Tank?
The frequency of sanitizing your RV fresh water tank depends on usage and storage conditions. It is crucial to maintain clean water in your RV tank to ensure the health and safety of you and your fellow travelers. Regular sanitization is essential to prevent the growth of bacteria, mold, and other contaminants that can compromise your water supply.
It is generally recommended to sanitize your RV fresh water tank at least once a year, usually in the spring when dewinterizing your RV. This annual sanitization helps remove any buildup or residue that may have occurred during the winter months. It is also a good idea to sanitize the tank before any long trips or extended periods of non-usage.
Some RVers may choose to sanitize their fresh water system every time their RV has been unused for 2-4 weeks. This regular maintenance task ensures that your water remains clean and safe for drinking, showering, dishwashing, and laundry while on the road.
Following best practices for sanitizing your RV water tank is crucial for maintaining clean water. One commonly used method is using bleach or a cleaning solution to disinfect the tank. It is important to properly measure and dilute the bleach or sanitizer according to the size of your tank. The solution is then added to the tank, circulated through the system, and allowed to sit for a recommended period of time before draining and flushing the tank.
Best Practices for Sanitizing Your RV Water Tank:
- Use a non-scented bleach or RV tank sanitizer for effective disinfection.
- Calculate the amount of bleach or sanitizer needed based on the size of your fresh water tank.
- Dilute the bleach or sanitizer in water before adding it to the tank.
- Ensure thorough circulation of the solution by running the water through all faucets and showerheads.
- Let the solution sit in the tank for the recommended period of time to allow proper disinfection.
- Drain and flush the tank completely to remove any residual bleach or sanitizer.
- Repeat the sanitization process if necessary, especially if you notice any foul odor or discoloration in your water.
By following these best practices and sanitizing your RV fresh water tank regularly, you can ensure clean and safe water for all your RV adventures.
What Do You Need to Sanitize your RV Fresh Water Tank?
Sanitizing your RV fresh water tank is a straightforward process that only requires a few essential tools and materials. By gathering the following items, you’ll be well-prepared to perform a thorough and successful sanitization:
- A measuring cup
- A funnel
- A 5-gallon bucket or water storage container
- A potable water hose
- Non-scented bleach or RV tank sanitizer
- A water tank filler (optional)
The amount of bleach needed for sanitization depends on the size of your fresh water tank. As a general guideline, you should use 1/4 cup of bleach for every 16 gallons of water in the tank. Dilute the bleach in water using the measuring cup before adding it to the tank. If you prefer to use an RV tank sanitizer, make sure to follow the manufacturer’s instructions for proper usage.
Having these essential tools and materials ready will ensure that you have everything you need to sanitize your RV fresh water tank conveniently and effectively.
| Tools and Materials | Quantity |
|---|---|
| Measuring cup | 1 |
| Funnel | 1 |
| 5-gallon bucket or water storage container | 1 |
| Potable water hose | 1 |
| Non-scented bleach or RV tank sanitizer | As needed |
| Water tank filler (optional) | 1 |
How To Sanitize RV Fresh Water Tank with Bleach
The process of sanitizing your RV fresh water tank with bleach is a crucial step in maintaining a clean and safe water system. Following these simple steps will ensure that your water supply remains free from contaminants and bacteria.
- First, turn off your water heater and water pump to prepare for draining the system. This will prevent any water flow during the sanitization process.
- Locate the fresh water tank drain and low-point drains. Open them to completely drain the water from the tank and plumbing lines.
- Calculate the amount of bleach needed based on the size of your fresh water tank. As a general guideline, use 1/4 cup of bleach for every 16 gallons of water in the tank.
- In a gallon of water, dilute the bleach mixture. This will ensure that the bleach is evenly distributed throughout the tank.
- Add the bleach mixture to the tank using a funnel or through the water hose. This will allow the solution to reach all areas of the tank.
- Fill the tank with clean water. This will help circulate the bleach solution throughout the entire water system.
- Run the water through all faucets and showerheads, ensuring the bleach solution reaches every outlet. This will guarantee the complete disinfection of your water system.
- Let the water sit in the tank for 12-24 hours. This will give the bleach enough time to kill any remaining bacteria and sanitize the tank.
- Finally, drain the tank and flush the system with fresh water. This will remove any residual bleach and ensure your water is safe to use.
- If necessary, repeat the sanitization process. This may be required if your tank has been heavily contaminated or if you notice any lingering odors.
By following these steps, you can effectively sanitize your RV fresh water tank and ensure clean and safe water for your travels.
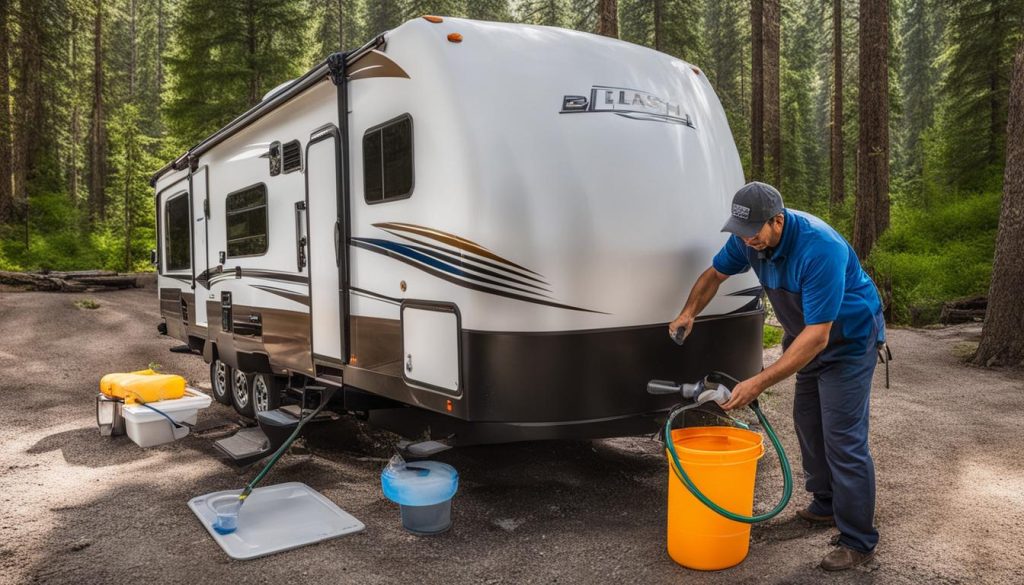
Tips for Maintaining a Clean RV Water Tank
In addition to regularly sanitizing your RV fresh water tank, there are a few best practices to follow to ensure clean and safe water in your tank.
First and foremost, avoid filling your tank with non-potable water. Non-potable water may contain contaminants that can compromise your tank’s cleanliness. It’s always best to fill your tank with clean, potable water from a trusted source.
Using a water filter when filling your tank is another effective way to maintain clean water. A water filter can help remove impurities and improve the quality of the water that enters your tank.
Regularly inspecting and cleaning the hose clamp on the filler tube is essential for preventing leaks and potential contamination. Over time, the hose clamp can loosen or become damaged, leading to water leakage and the entry of outside contaminants. Checking and tightening the hose clamp regularly will help keep your tank secure and clean.
Prior to storing your RV for an extended period, it is crucial to drain and winterize the tank. Draining the tank removes any remaining water, minimizing the risk of mold and bacteria growth. Winterizing your tank also protects it from freezing temperatures, which can cause damage to the tank and its components.
By following these tips and incorporating them into your RV water tank maintenance routine, you’ll be able to maintain a clean and safe water supply for your adventures on the road.
FAQ
How often should I sanitize my RV fresh water tank?
It is recommended to sanitize your RV fresh water tank at least once a year, preferably in the spring when dewinterizing your RV. Some RVers choose to sanitize their fresh water system every time their RV has been unused for 2-4 weeks.
What do I need to sanitize my RV fresh water tank?
To sanitize your RV fresh water tank, you will need a measuring cup, funnel, 5-gallon bucket or water storage container, potable water hose, non-scented bleach or RV tank sanitizer, and a water tank filler (optional).
How do I sanitize my RV fresh water tank with bleach?
To sanitize your RV fresh water tank with bleach, first turn off your water heater and water pump. Locate the fresh water tank drain and low-point drains, and open them to drain the water from the tank and plumbing lines. Calculate the amount of bleach needed based on the size of your tank and dilute it in a gallon of water. Add the bleach mixture to the tank, fill it with clean water, and run the water through all faucets and showerheads. Let the water sit in the tank for 12-24 hours, then drain the tank and flush the system with fresh water. Repeat the process if necessary.
How do I maintain a clean RV water tank?
To maintain a clean RV water tank, avoid filling the tank with non-potable water and use a water filter when filling it. Regularly inspect and clean the tank’s hose clamp on the filler tube to prevent leaks and contamination. It is also important to drain and winterize the tank before storing the RV for an extended period.

