RV Slide Out Floor Replacement Guide
gorvlifestyle.com and its partners may earn a commission if you purchase a product through one of our links
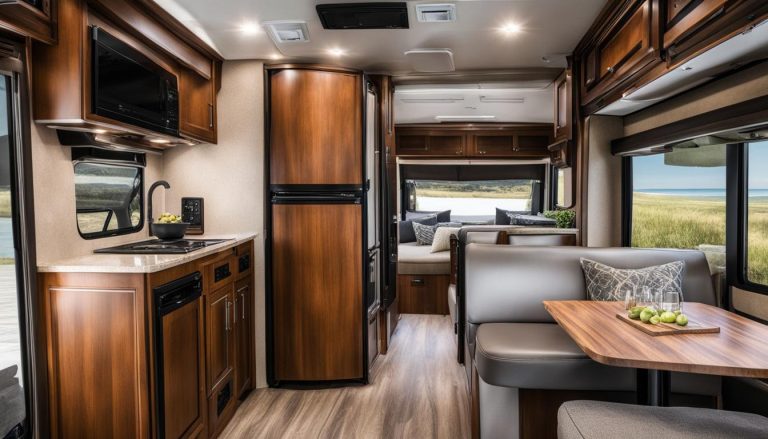
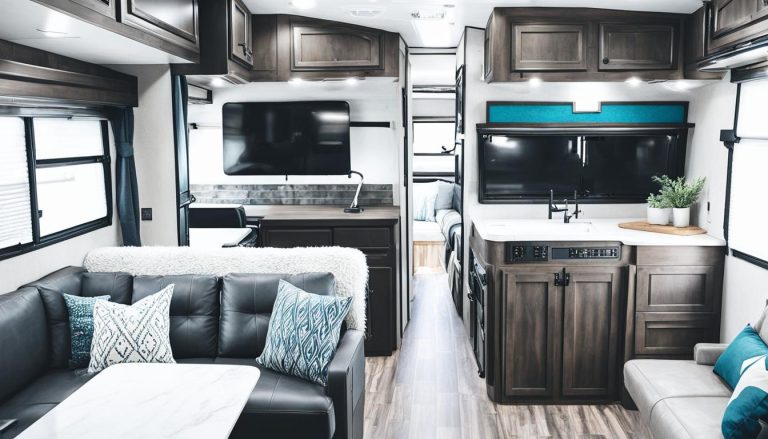
If you’re planning to replace the flooring in your RV’s slide out, it’s important to know the right steps to take. This guide will provide you with a step-by-step process for replacing the slide out floor in your RV. Whether you have carpet, vinyl, or another type of flooring, these instructions can be applied to any type of flooring material. So let’s get started!
Key Takeaways:
- Replacing the slide out floor in your RV is a straightforward process that can be done with basic tools.
- Regularly inspect your RV for signs of water damage to catch it early and prevent further damage.
- Before removing the old flooring, make sure to remove any furniture from the slide out.
- Choose the right underlayment for your RV slide out floor to provide a stable base for the new flooring.
- Installing the new flooring involves careful planning and attention to detail to ensure a professional finish.
- Attach trim to the edges of the slide out to create a finished look and protect the flooring.
- Follow these steps and you’ll have a beautifully renovated RV slide out floor in no time!
Now that you have a general idea of what to expect, let’s dive into the specifics of each step in the process.
Signs of Water Damage in RV Slide Floors
Water damage is a common issue in RVs, and it’s crucial to identify the signs early on to prevent further damage. By regularly inspecting your RV slide floors, you can catch water damage and take the necessary steps for repair, renovation, or maintenance. Here are some key signs to watch out for:
- Damp or Mildewy Smells: If you notice a musty or unpleasant odor in your RV slide area, it could indicate water damage. The presence of moisture can lead to mold and mildew growth, resulting in persistent odors.
- Soft Spots: Walk around your RV slide floor and pay attention to any soft or spongey areas. These spots indicate underlying water damage and may require immediate attention.
- Stains or Discoloration: Look for visible stains or discoloration on the floor surface or walls surrounding the RV slide. Water damage can leave behind unsightly marks, indicating leaks or excess moisture penetration.
- Mold: Mold is a clear indicator of water damage. Pay close attention to any signs of mold growth on the RV slide floor or surrounding areas. Mold can cause health issues and needs to be addressed promptly.
- Rusty Screws: Check for rust or corrosion on the screws or fasteners holding the RV slide floor in place. Rusty screws are often a sign of prolonged exposure to moisture.
- Cracked Caulk: Inspect the caulking or sealant around the RV slide floor edges. Cracked or deteriorated caulking can allow water to seep in, leading to damage over time.
By staying vigilant and addressing any signs of water damage promptly, you can mitigate further issues and ensure the longevity of your RV slide floors. If you notice any of these signs, it may be time to consider rv slide out floor repair, renovation, upgrade, or maintenance to protect your investment.
Removing the Old Flooring
Before you can begin your RV slide out floor renovation, it’s crucial to remove the old flooring. This process may involve taking out carpet, vinyl, or any other existing flooring material in your RV slide out. Follow these steps to ensure a successful removal:
- Start by clearing out any furniture or objects from the slide out area.
- Carefully begin pulling up the old flooring, starting from one end and working your way across. Take your time to avoid causing any damage to the subfloor or other components of your RV.
- As you remove each row of flooring, keep them separate and in order. This organization will make it easier to replace the flooring later.
Remember, safety is essential during this process. Wear gloves to protect your hands and be cautious of any sharp edges or nails. By properly removing the old flooring, you’ll create a clean slate for your RV slide out floor renovation.
Choosing the Underlayment
Once the old flooring has been removed, it’s time to choose the right underlayment for your RV slide out floor. The underlayment serves as a crucial foundation that helps level the floor and provide stability for the new flooring.
The recommended underlayment for most RV slide outs is 1/4 inch OSB (oriented strand board). This sturdy material offers durability and support while being lightweight enough to not add unnecessary weight to your RV. However, you can also consider other options like thicker plywood or composite materials, depending on your specific needs and preferences.
Before proceeding, measure the size you need and cut the underlayment to fit properly in your RV slide out. It’s important to ensure a precise fit for optimal functionality and aesthetics.
With the right underlayment in place, you’ll create a solid base for your new flooring, ensuring a successful RV slide out floor repair, renovation, or maintenance.

Installing the Underlayment
Now that you have the underlayment ready, it’s time to install it in your RV slide out. Follow these steps to ensure a smooth installation:
-
Start by painting the underside of the slide out with a suitable paint color that matches your new flooring. This will give your RV slide out a clean and finished look.

-
Next, carefully place the underlayment on the slide out, making sure it is level and aligned with the edges. Take your time to ensure proper placement.
-
Use screws or adhesive to secure the underlayment in place. Make sure the underlayment is firmly attached to the slide out, providing a sturdy foundation for the new flooring.
With the underlayment securely installed, you’re now ready to proceed with the next step – installing the new flooring in your RV slide out.
Installing the New Flooring
Now that you have the underlayment in place, it’s time to install the new flooring in your RV slide out. Whether you’re opting for carpet, vinyl, or laminate, the process is relatively straightforward. Just follow these steps:
- Lay down the first row of flooring along the edge of the slide out, starting from one side and working your way across. Be sure to leave a small gap for expansion and contraction.
- Continue installing the remaining rows of flooring, interlocking them securely to create a seamless and durable surface.
- Use spacers along the edges of the slide out to maintain a consistent gap and ensure a professional finish.
- Trim the flooring as needed to fit the slide out perfectly, using a utility knife or saw as necessary.
Take your time during the installation process to ensure that each piece of flooring is laid down properly and securely. Make sure to follow the manufacturer’s instructions for the specific type of flooring you’re using to ensure a successful installation.
Installing the new flooring in your RV slide out can instantly transform the look and feel of your living space. Whether you’re a seasoned DIYer or a first-timer, this project is manageable and rewarding. So roll up your sleeves and get ready to enjoy your newly upgraded RV slide out floor!
Attaching Trim to the Slide Out
Now that you have successfully replaced the flooring in your RV slide out, it’s time to add the finishing touches. Attaching trim to the edges of the slide out not only enhances the overall appearance but also protects the edges of the new flooring.
When selecting trim for your slide out, consider the design and material of your new flooring. Choose from options such as flush mount stair nose molding or outside corner molding for a seamless and professional finish. Make sure to measure and cut the trim to the appropriate length before installation.
To ensure a secure attachment, use construction adhesive or nails. Apply the adhesive to the backside of the trim and carefully press it against the edge of the slide out. If using nails, position them evenly along the trim, ensuring they penetrate both the trim and the RV’s structure. Take your time to align the trim properly and make any necessary adjustments to ensure a precise fit.
Once the trim is attached, go the extra mile by sealing it. Apply a sealant or caulk along the edges of the trim to prevent moisture or debris from getting behind it. This extra layer of protection will help maintain the integrity of your newly renovated RV slide out floor.
FAQ
How do I know if my RV slide floor has water damage?
Some signs of water damage in RV slide floors include damp or mildewy smells, soft spots in the roof, walls, or floors, stains or discoloration, mold, rusty screws, cracked caulk, and more. Regularly inspecting your RV for these signs can help you catch water damage early and take the necessary steps for repair or renovation.
How do I remove the old flooring from my RV slide out?
To remove the old flooring, start by removing any furniture from the slide out and then carefully pull up the flooring. Take your time to avoid damaging the subfloor or other components of the RV. Keep each row of flooring separate and in order for easier replacement.
What underlayment should I use for my RV slide out floor?
The recommended underlayment for most RV slide outs is 1/4 inch OSB (oriented strand board), but you can also consider other options like thicker plywood or composite materials. Measure the size you need and cut the underlayment to fit before proceeding to the next step.
How do I install the underlayment for my RV slide out floor?
Start by painting the underside of the slide out with a suitable paint to ensure a clean and finished look. Then, carefully place the underlayment on the slide out, making sure it is level and aligned with the edges. Use screws or adhesive to secure the underlayment in place, ensuring a sturdy foundation for the new flooring.
How do I install the new flooring in my RV slide out?
If you have floating floors, start by laying down the first row of flooring along the edge of the slide out, leaving a small gap for expansion and contraction. Continue installing the remaining rows of flooring, using spacers along the edges for a professional finish. Trim the flooring as needed to fit the slide out perfectly.
How do I attach trim to the edges of my RV slide out?
Depending on the design of your slide out, you may need to use specific types of trim, such as flush mount stair nose molding or outside corner molding. Choose a trim that matches your flooring and carefully attach it using construction adhesive or nails. Make sure the trim is secure and properly sealed to prevent any future issues.