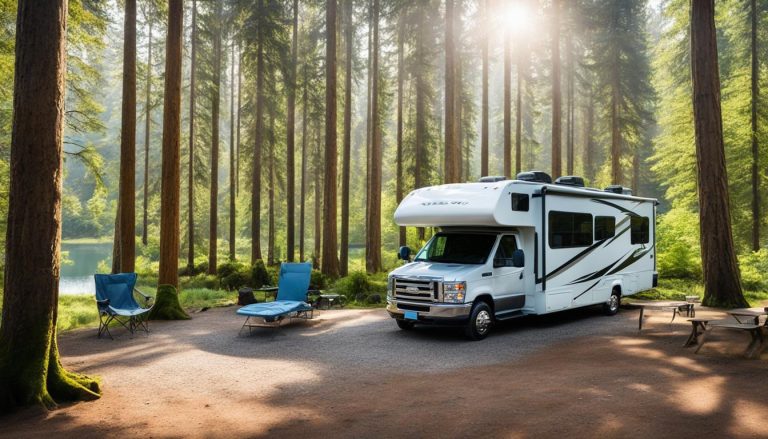
RV Awning Replacement Guide – Easy Steps
gorvlifestyle.com and its partners may earn a commission if you purchase a product through one of our links
Replacing an RV awning fabric can be done as a DIY project, saving you money and giving you a sense of accomplishment. In this step-by-step guide, we’ll walk you through the process of replacing your RV awning. We’ve gathered information and tips from multiple sources to provide you with the best practices and techniques for a successful awning replacement.
Whether you’re a seasoned RV owner or new to the world of recreational vehicles, this guide will equip you with the knowledge and tools you need to tackle this project with confidence. From removing the old awning fabric to installing the new one, we’ll cover each step in detail, ensuring that you have a smooth and hassle-free experience.
Key Takeaways:
- Replacing your RV awning fabric can be a rewarding DIY project that saves you money.
- Follow the step-by-step guide in this article for successful awning replacement.
- Gather the necessary tools before starting the project to ensure efficiency.
- Take proper precautions and seek assistance when needed to avoid accidents.
- Maintain your awning regularly to extend its lifespan and functionality.
Tools Needed for RV Awning Replacement
To replace your RV awning fabric, you will need a set of tools. The specific tools required may vary depending on your awning. Some of the common tools needed include:
- Safety glasses
- Rv caulk
- Vice grips
- Screwdriver (either Phillips or flat head)
- Sharpie
- Wire cutters
- A nail or pin to secure the awning spring
- Measuring tape
- Razor cutter
- Drill
Having these tools on hand will ensure that you can complete the replacement process efficiently and effectively. Whether you’re a DIY enthusiast or a first-time awning replacer, these tools will help you get the job done with ease.
Now that you know what tools you’ll need, let’s move on to the next step: removing the old awning fabric.
Tools Needed for RV Awning Replacement
| Tools | Description |
|---|---|
| Safety glasses | To protect your eyes from any debris or particles |
| Rv caulk | To seal any gaps or leaks |
| Vice grips | To hold and secure various parts during the replacement process |
| Screwdriver | To remove screws and bolts |
| Sharpie | To mark measurements and reference points |
| Wire cutters | To cut any wires or cables |
| Nail or pin | To secure the awning spring |
| Measuring tape | To accurately measure lengths and distances |
| Razor cutter | To cut and trim the new awning fabric |
| Drill | To create or enlarge holes when necessary |
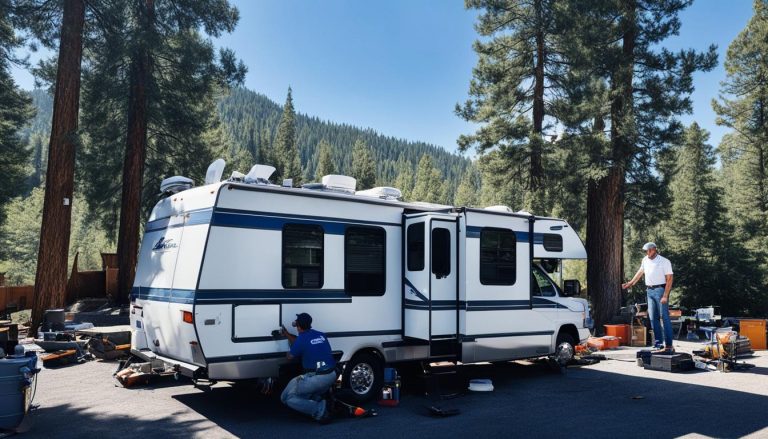
Removing the Old Awning Fabric
The first step in replacing your RV awning fabric is to remove the old fabric. Follow these awning replacement tips for RV owners and use the best practices for replacing RV awning to ensure a smooth process.
Here are the steps to remove the old awning fabric:
- Pull out the awning and lock the springs in place.
- Unscrew the bolts to release the awning tube from the awning arms.
- Carefully unwind the spring and remove the end cap from the roller tube.
- Slide off the awning roller from the old fabric.
- Remove the awning arms from the RV.

When removing the old fabric, it may require some muscle and caution. However, by following these steps, you can ensure a smooth removal without any damage to your RV or the awning.
Installing the New Awning Fabric
Once the old awning fabric has been removed, it’s time to install the new one. Follow these steps to successfully replace your RV awning fabric:
- Slide the new fabric into the track on top of your RV, ensuring it is centered.
- Reinstall the awning arms and use RV caulk to seal the bolt holes, preventing any potential leaks.
- Slide the new awning fabric onto the roller tube, making any necessary cuts to the plastic guides to properly position the fabric in the center.
- Wind up the awning spring, taking care to keep it properly tensioned.
- Reattach the roller to the arms, securing it in place.
- Test your new awning to ensure it opens and closes smoothly.
- Finally, secure the awning in its desired position using set screws.
This step-by-step tutorial will guide you through the process of installing the new awning fabric, ensuring a successful replacement for your RV awning.

“Replacing your RV awning fabric is a straightforward process if you follow these steps carefully. Taking the time to install the new fabric correctly will ensure that your awning functions properly and provides you with much-needed shade and protection.”
Cleaning and Maintenance Tips
In addition to replacing your RV awning fabric, proper maintenance and cleaning are essential to keep your awning in good condition. Regular care will not only prolong the life of your awning but also ensure it continues to function properly. Follow these tips to maintain your RV awning:
- Scrub away dirt and grime: Begin by thoroughly scrubbing any dirt and grime that may have accumulated near the awning track. Use a soft brush or sponge and a mild cleaning solution to gently remove any stubborn stains.
- Protect against fabric tears: Cover any sharp edges in the awning assembly, such as screws or brackets, with a protective tape. This will prevent the sharp edges from damaging or tearing the new fabric when retracting or extending the awning.
- Clean the awning roller tube: Over time, the awning roller tube can accumulate dirt, dust, and grime. Use a mild cleaning solution and a soft brush to clean the roller tube thoroughly. This will ensure smooth operation and prevent any build-up from damaging the fabric.
Regularly cleaning and maintaining your RV awning will not only enhance its appearance but also prevent any potential issues from arising. By following these simple steps, you can ensure that your awning remains in top condition for years to come.
“Regular maintenance will prolong the life of your awning and ensure it continues to function properly.”
Tips and Tricks for a Successful Replacement
Here are some additional tips and tricks to ensure a successful RV awning replacement:
- Measure your awning properly: Before purchasing a replacement fabric, accurately measure the width and length of your existing awning. This will ensure that you get a fabric that fits correctly and minimizes any potential issues during installation.
- Follow specific instructions for your RV awning model: Different RV awning brands may have slight variations in their installation process. It’s crucial to read and follow the specific instructions provided by the manufacturer to ensure a smooth replacement process.
- Enlist the help of a friend or family member: RV awning replacement can be challenging, especially when it comes to unwinding the spring and installing the new fabric. Having an extra set of hands can make the process easier and safer.
- Take your time and be cautious: Rushing through the replacement process can lead to accidents or damage to your RV or the awning. Take your time to carefully follow each step, ensuring that everything is aligned and properly secured.
By implementing these best practices for replacing RV awnings, you can achieve a successful and rewarding DIY awning replacement for your RV.
Video Tutorial for RV Awning Replacement
For a visual demonstration of the RV awning replacement process, we recommend watching the video tutorial by RV bloggers and YouTubers Kory and Denise. They provide an in-depth guide with extra tips and details, allowing you to follow along and see the steps in action. The video tutorial is a valuable resource to complement the written instructions in this guide.
Now, let’s dive into the step-by-step process of replacing your RV awning fabric. Make sure you have all the necessary tools handy as discussed in the previous section. Remember, safety should always be a top priority during this project.
- Remove the old awning fabric: Follow the instructions outlined in Section 3 to carefully remove the old fabric from your RV awning. Take your time and exercise caution to avoid causing any damage.
- Clean and prepare: As mentioned in Section 5, take the opportunity to clean any dirt or grime near the awning track and cover sharp edges with tape to prevent fabric tearing. This step ensures a smooth installation of the new fabric.
- Install the new awning fabric: Refer to Section 4 for detailed instructions on how to install the new fabric onto your RV awning. Pay close attention to aligning the fabric properly and securing it in place with set screws.
- Clean and maintain: After completing the installation, make sure to regularly clean and maintain your awning as discussed in Section 5. This will help prolong its lifespan and ensure optimal performance.
Remember, practice makes perfect! Don’t hesitate to watch the video tutorial by Kory and Denise to reinforce your understanding of the awning replacement process. Let’s move forward with replacing your RV awning fabric for a refreshing new look and improved functionality.
Conclusion
Replacing an RV awning fabric may seem like a daunting task, but with the right tools, instructions, and some patience, it can be done successfully as a DIY project.
By following the step-by-step RV awning replacement guide provided in this article, you’ll be equipped with the knowledge to tackle the process with confidence.
Remember to take necessary safety precautions and seek assistance when needed. With proper maintenance, your new awning fabric will provide shade and protection for years to come.
FAQ
Can I replace the awning fabric on my RV myself?
Yes, replacing an RV awning fabric can be done as a DIY project. With the right tools and instructions, you can save money and successfully replace your RV awning fabric.
What tools do I need to replace my RV awning fabric?
Some of the common tools needed include safety glasses, RV caulk, vice grips, screwdriver, sharpie, wire cutters, a nail or pin, measuring tape, razor cutter, and a drill.
How do I remove the old awning fabric?
To remove the old awning fabric, start by pulling out the awning and locking the springs in place. Then, unscrew the bolts, unwind the spring, and remove the end cap from the roller tube. Slide off the awning roller and remove the awning arms from the RV.
How do I install the new awning fabric?
To install the new awning fabric, slide it into the track on top of the RV. Reinstall the awning arms, slide the new fabric onto the roller tube, wind up the awning spring, and reattach the roller to the arms.
How can I keep my RV awning in good condition?
Regular cleaning and maintenance are important for the longevity of your RV awning. Scrub out any dirt and grime, cover sharp edges with tape, and clean the awning roller tube to remove grime.
Do I need to measure my awning for a replacement fabric?
Yes, it’s essential to measure your awning properly and purchase a replacement fabric that fits correctly. Follow the specific instructions for your RV awning model.
Are there any additional tips for a successful RV awning replacement?
Enlist the help of a friend or family member, take your time, and exercise caution throughout the process. It’s also recommended to watch a video tutorial for visual guidance.
Where can I find a video tutorial for RV awning replacement?
We recommend watching the video tutorial by RV bloggers and YouTubers Kory and Denise. They provide an in-depth guide with extra tips and details, allowing you to follow along and see the steps in action.