Safely Lower Your RV Awning: A Step-by-Step Guide
gorvlifestyle.com and its partners may earn a commission if you purchase a product through one of our links
Knowing how to operate and maintain your RV awning is essential for a smooth and enjoyable camping experience. Whether you’re a seasoned RV owner or new to the world of recreational vehicles, our step-by-step guide will walk you through the process of safely lowering your RV awning. By following these instructions, you’ll be able to confidently open and close your awning, as well as perform necessary adjustments and maintenance tasks.
Key Takeaways:
- Learning how to lower your RV awning is crucial for proper awning operation.
- RV awnings are designed primarily for providing shade, not as rain stoppers or wind blockers.
- Follow the manufacturer’s instructions for operating your specific type of awning – manual, hybrid, or power.
- Regular maintenance, including cleaning, inspecting, lubricating, and proper storage, will help extend the lifespan of your RV awning.
- Always ensure the awning is at a safe height and clear of any obstructions when lowering it.
What are RV Awnings For?
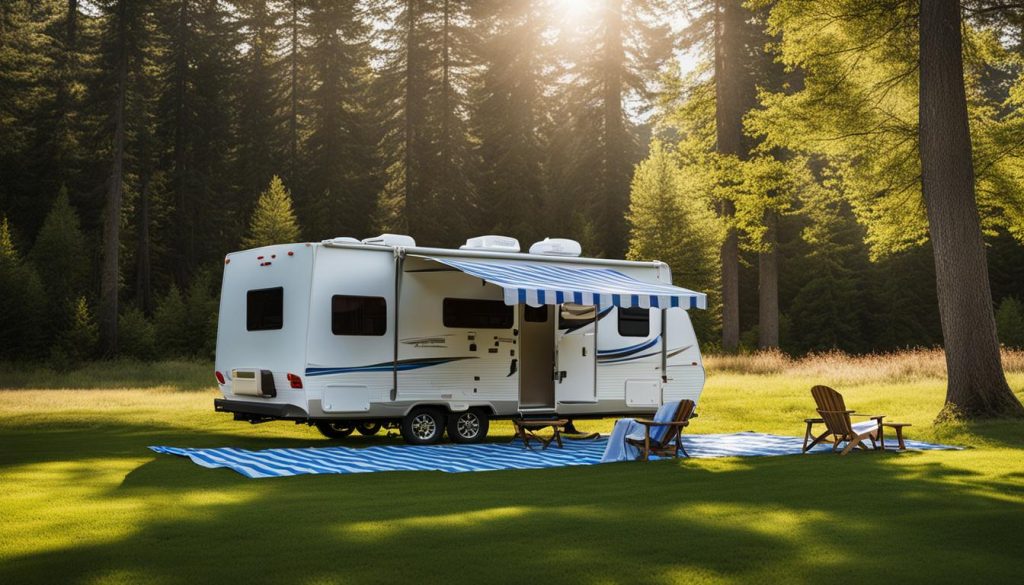
RV awnings serve a primary purpose of providing shade, enhancing your outdoor experience during your travels. They create a comfortable and relaxing space by shielding you from the intense sun rays, allowing you to enjoy the outdoors without feeling the heat. Whether you’re camping, tailgating, or simply spending time outside your RV, an awning can create a cozy retreat.
However, it is important to note that RV awnings are specifically designed for shade and are not intended to be used as rain stoppers or wind blockers.
Using an RV awning for purposes other than shade can result in damage to both the awning itself and your RV. It is crucial to remember that awnings are not built to withstand heavy rainfall or strong winds.
In the event of gusty winds or rain, it is highly recommended to roll in your awning promptly to prevent any potential damage. Prioritizing safety ensures the longevity of your awning and helps avoid unnecessary repair or replacement costs.
How to Open an RV Awning
Before you can enjoy the shade and comfort of your RV awning, you need to know how to open it properly. Whether you have a manual or hybrid awning or a power awning, we have outlined the steps for each type below.
Manual or Hybrid RV Awnings
If you have a manual or hybrid RV awning, follow these steps to open it:
- Make sure you are in a clear and spacious area.
- Undo the travel locks holding the awning in place.
- Loosen the rafter knobs to release the tension.
- Switch the locking lever to unlock the awning arms.
- Walk the awning out slowly using the pull strap.
- Lock the rafter arms into place.
- Extend the outer arms to fully open the awning.
- Adjust the pitch of the awning to your desired angle.
Remember to be cautious when opening the awning, as it can be heavy and may require assistance.
Power RV Awnings
If you have a power RV awning, the steps to open it are slightly different:
- Verify that you have a reliable power source.
- Turn on the awning controller.
- Gently press the extend button to start extending the awning.
- Adjust the pitch of the awning to your desired angle.
- Turn on the awning lights, if desired.
- Activate the infrared sensor, if available, to automatically retract the awning in case of strong winds.
Always follow the manufacturer’s instructions for operating your power awning and ensure that all safety features are properly engaged.
Now that you know how to open your RV awning, you can start enjoying the shade and comfort it provides. Just remember to follow the proper steps to avoid any damage or accidents along the way.
How to Close an RV Awning
To close an RV awning, follow the same steps that you took to open it, but perform them in reverse order. For manual or hybrid RV awnings, remove any debris, unwrap the pull strap, lower the outer awning arms, lower the rafter arms, switch the locking lever, and roll up the awning.
Step-by-Step Guide: Closing a Manual or Hybrid RV Awning
- Remove any debris from the awning fabric to prevent damage.
- Locate the pull strap and unwrap it from around the awning arms.
- Lower the outer awning arms by releasing the ratchet mechanism or loosening the knobs.
- Lower the rafter arms by releasing the locking lever or adjusting the rafter knobs.
- Switch the locking lever to disengage it from the rafter arms.
- Carefully roll up the awning by rotating the roller tube using the pull strap.
Remember to take your time and ensure that each step is performed correctly to prevent any damage to the awning or the RV.
Tips for Closing an RV Awning
- Be gentle when rolling up the awning to avoid any uneven or loose fabric.
- Inspect the awning for any signs of wear or damage before closing it.
- If you encounter any resistance while rolling up the awning, stop and inspect for any obstructions or issues.
- Securely fasten the awning to prevent it from unfurling while in transit.
By following these steps and tips, you can safely and effectively close your RV awning, whether it’s a manual or hybrid model. Remember to always refer to the manufacturer’s guidelines for specific instructions related to your RV awning model.
Tips for Lowering Awning on RV
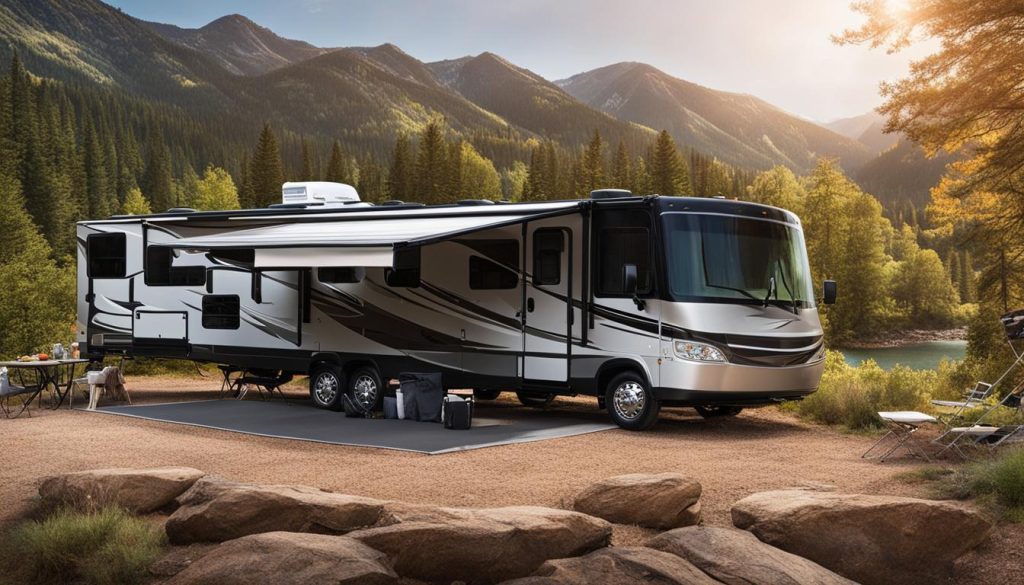
Lowering the awning on your RV can provide you with shade and protection from the elements. Here are some helpful tips to safely bring down your awning and reduce its height:
- Loosen the rafter knobs: Start by loosening the rafter knobs on both sides of the awning. This will allow the awning to move more easily.
- Release the travel locks: Locate the travel locks at the end of the awning arms and release them. These locks keep the awning securely in place during travel and need to be disengaged before lowering the awning.
- Switch the ratchet mechanism: Find the ratchet mechanism, typically located near the awning roller. Switch it to the “roll out” position to unlock the awning.
- Roll out the awning using the awning rod: Insert the awning rod into the designated hole on the roller and start turning it clockwise to roll out the awning. Make sure to do this gradually to maintain control over the awning’s descent.
- Slide the rafters up the awning arms: As the awning is rolling out, slide the rafters up the awning arms to a higher position. This will reduce the height of the awning when fully extended.
- Lock the rafters: Once you’ve adjusted the height, lock the rafters in place by tightening the rafter knobs.
- Raise the awning to the desired height: Use the awning rod to continue rolling out the awning until it reaches your desired height. Make sure to do this carefully and avoid any obstacles or obstructions.
Remember, safety always comes first when operating your RV awning. Ensure the awning is at a safe height and clear of any potential hazards. By following these tips, you can lower your awning on your RV effectively and enjoy your outdoor space with peace of mind.
| Tips for Lowering Awning on RV | Description |
|---|---|
| Loosen the rafter knobs | Loosen the rafter knobs on both sides of the awning to allow for easier movement. |
| Release the travel locks | Disengage the travel locks located at the end of the awning arms to unlock the awning. |
| Switch the ratchet mechanism | Switch the ratchet mechanism to the “roll out” position to unlock the awning. |
| Roll out the awning using the awning rod | Insert the awning rod into the designated hole on the roller and gradually turn it clockwise to roll out the awning. |
| Slide the rafters up the awning arms | While the awning is rolling out, slide the rafters up the awning arms to reduce the height of the awning. |
| Lock the rafters | Once the desired height is reached, lock the rafters in place by tightening the rafter knobs. |
| Raise the awning to the desired height | Continue rolling out the awning using the awning rod until it reaches your desired height. |
Awning Adjustment Techniques for Campers
As a camper, having the ability to adjust your awning is essential for creating a comfortable outdoor space. By adjusting the pitch and tension of your awning, you can ensure optimal shade and protection against rain and wind. Here, we will explore some awning adjustment techniques that will help you make the most out of your camping experience.
Adjusting the Pitch
Adjusting the pitch of your awning is crucial for proper water runoff and preventing the accumulation of rainwater. To adjust the pitch, follow these steps:
- Start by loosening the rafter knobs located on both sides of the awning. This will allow you to move the awning arms more easily.
- Next, gently raise or lower one side of the awning by sliding the rafter arm up or down the awning arm. This will change the angle of the awning and adjust the pitch.
- Repeat this process on the other side of the awning, ensuring both sides are adjusted evenly.
Remember to consider the weather conditions when adjusting the pitch. A steeper pitch is ideal for heavy rainfall, while a shallower pitch provides better shade coverage.
Adjusting the Tension
Proper tension ensures that your awning is securely in place, even in windy conditions. To adjust the tension of your awning, follow these steps:
- Locate the tension knobs or clamps on the awning arms. These mechanisms allow you to tighten or loosen the tension.
- If the awning fabric appears loose or saggy, tighten the tension knobs or clamps by turning them clockwise.
- If the awning fabric is overly taut or difficult to retract, loosen the tension knobs or clamps by turning them counterclockwise.
Adjust the tension gradually until you achieve the desired tautness of the awning fabric. The right amount of tension will ensure stability while still allowing flexibility.
Remember to consult the manufacturer’s instructions for your specific awning model and use the appropriate tools for making adjustments. Improper adjustment techniques or tools can damage your awning and compromise its functionality.
Quote: “Properly adjusting the pitch and tension of your awning can enhance your camping experience by providing optimal shade and protection against the elements.” – Camping Expert
| Advantages of Awning Adjustment Techniques | Benefits |
|---|---|
| 1. Improved Water Runoff | Prevents rainwater from pooling and potential damage to the awning fabric. |
| 2. Enhanced Shade Coverage | Allows for customization of shade areas based on the position of the sun. |
| 3. Increased Wind Resistance | Ensures that the awning remains stable even in gusty wind conditions. |
| 4. Longevity of the Awning | Proper adjustment reduces strain on the awning mechanism, extending its lifespan. |
Maintain Your RV Awning
Proper maintenance is essential for keeping your RV awning in good condition. By following a few simple steps, you can extend the longevity of your awning and avoid costly repairs or replacements in the future.
To start, regularly clean the awning fabric. Use a soft brush or sponge and mild soap to gently scrub away dirt, debris, and stains. Rinse thoroughly and allow the fabric to air dry completely before retracting the awning.
In addition to cleaning, it’s important to inspect the awning for any signs of damage. Check for tears, holes, or loose stitching. If you notice any issues, repair them promptly to prevent further damage. You can find patch kits or contact your awning manufacturer for assistance.
Another key aspect of awning maintenance is keeping the moving parts lubricated. Use a silicone-based lubricant on the hinges, joints, and springs to ensure smooth operation. This will help prevent the awning from getting stuck or becoming difficult to open and close.
Lastly, when not in use, store your awning properly. Make sure it is clean and dry before rolling it up. Use a protective cover to shield it from harsh weather conditions and UV rays. This will help prolong its lifespan and maintain its overall quality.
By following these maintenance steps, you can keep your RV awning in excellent condition, allowing you to enjoy shade and protection on your outdoor adventures for years to come.
FAQ
How do I lower my awning on my RV?
To lower your awning on your RV, follow these steps: loosen the rafter knobs, release the travel locks, switch the ratchet mechanism, and roll out the awning using the awning rod. Slide the rafters up the awning arms, lock them, and raise the awning to the desired height. Ensure the awning is at a safe height and clear of any obstructions.
What are RV awnings for?
RV awnings are designed to provide shade. They are not meant to be used as rain stoppers or wind blockers. Using the awning for anything other than shade can cause damage to the awning or the RV itself.
How do I open an RV awning?
To open a manual or hybrid RV awning, undo the travel locks, loosen the rafter knobs, switch the locking lever, walk the awning out, lock the rafter arms, extend the outer arms, and adjust the pitch. For a power RV awning, verify the power source, turn on the awning controller, extend the awning, adjust the pitch, turn on the awning lights, and activate the infrared sensor.
How do I close an RV awning?
To close an RV awning, remove any debris, unwrap the pull strap, lower the outer awning arms, lower the rafter arms, switch the locking lever, and roll up the awning.
What are some tips for lowering the awning on my RV?
When lowering the awning on your RV, make sure to loosen the rafter knobs, release the travel locks, switch the ratchet mechanism, and roll out the awning using the awning rod. Slide the rafters up the awning arms, lock them, and raise the awning to the desired height. Always ensure the awning is at a safe height and clear of any obstructions.
How can I adjust the pitch and tension of my RV awning?
Campers can adjust their awnings to achieve the desired pitch and tension. Adjusting the pitch allows for water runoff in case of rain, while adjusting the tension ensures that the awning is securely in place. Follow the manufacturer’s instructions and use the proper tools to make these adjustments.
How do I maintain my RV awning?
Proper maintenance is essential for the longevity of your RV awning. Regularly clean the awning fabric, inspect for any signs of damage, lubricate moving parts, and store the awning properly when not in use. Following these maintenance steps will help keep your awning in good condition and prevent costly repairs or replacements in the future.

