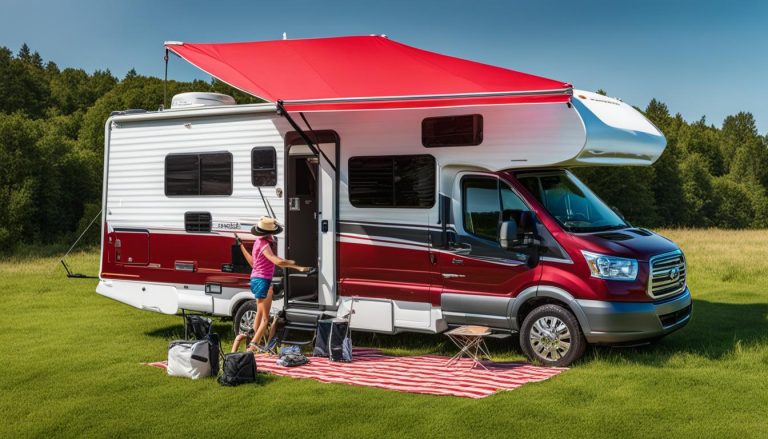
Leveling Your RV Side-to-Side Simplified
gorvlifestyle.com and its partners may earn a commission if you purchase a product through one of our links
Leveling your RV side to side is an important step in maintaining the balance and stability of your motorhome. Not only does it help with the overall comfort of your RV experience, but it also plays a crucial role in the proper functioning of appliances like the refrigerator. By following a few simple steps and using the right tools, you can easily achieve a level surface for your RV and enjoy worry-free travels.
Key Takeaways:
- Leveling your RV side to side is essential for balance, stability, and appliance function.
- Use leveling blocks to raise the low side of your RV and achieve a level surface.
- Consider using a wedge-style leveling system if leveling blocks are not available.
- Motorized RVs often come equipped with auto-leveling systems or hydraulic leveling jacks.
- Before extending slide-outs or using stabilizing jacks, ensure your RV is level.
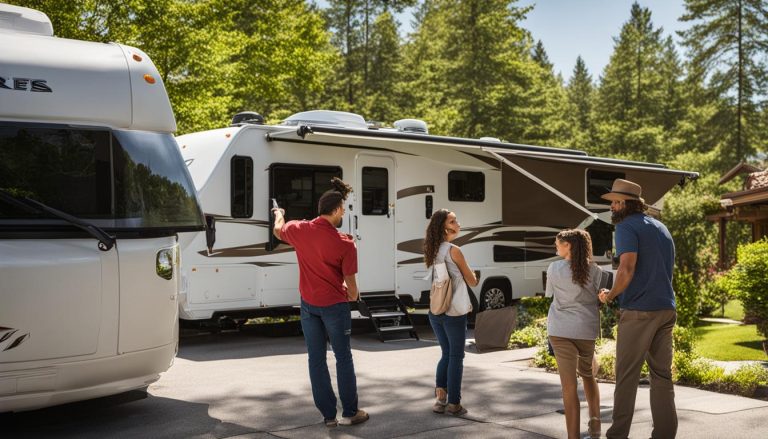
Picking the Right Spot in a Campground
When it comes to leveling your motorhome, choosing the right spot in a campground can make all the difference. By selecting a reasonably level area, you can minimize the need for extensive leveling and ensure a smoother camping experience. Keep in mind that some campgrounds may have more uneven spots, but aiming for a relatively level location is still advised.
When scouting for a spot, consider additional factors such as solar positioning, shade for the refrigerator, and scenic views. Parking your RV in an area that offers optimal sun exposure can enhance your energy efficiency, while parking in a shaded area can help keep your refrigerator cool. Additionally, finding a spot with a pleasant view can add to the enjoyment of your camping trip.
Furthermore, it’s essential to consider neighborly considerations. Opt for a spot that allows for a respectful distance between you and fellow campers, providing everyone with the necessary privacy and peace.
By making an effort to select a level spot right from the start, you can save yourself the hassle of extensive leveling procedures and focus on enjoying your time in the campground.
| Benefits of Choosing a Level Spot: |
|---|
| Minimizes the need for extensive RV leveling |
| Enhances energy efficiency with optimal solar positioning |
| Keeps the refrigerator cool with shaded parking |
| Provides a pleasant view for added enjoyment |
| Promotes privacy and peace by considering neighborly spacing |
By following these tips and considerations when picking the right spot in a campground, you can simplify the leveling process and make the most of your RVing adventures.
Using Leveling Blocks for Side-to-Side Leveling
One common method for leveling your RV side to side is by using leveling blocks. These blocks, also known as Lynx Levelers or Anderson Levelers, can be placed in front of or behind your trailer tires to raise the low side. By stacking the blocks, you can gradually achieve the desired level.
To begin leveling with blocks, follow these steps:
- Choose a suitable location for parking your RV.
- Ensure that the site is reasonably level and clear of any obstructions.
- Position the leveling blocks in front of or behind the tires on the low side.
- Gradually drive your RV onto the blocks until it is level.
- Check the levelness of your RV using a bubble level to make any necessary adjustments.
- Once your RV is level, chock the wheels on the other side to secure it in place.
- Finally, unhitch your trailer to complete the leveling process successfully.
Leveling blocks provide a simple and effective solution for achieving side-to-side levelness in your RV. By following these steps, you can ensure stability and comfort during your camping trips.
To further illustrate the process, here is an example of how leveling blocks can be used:
| Step | Description |
|---|---|
| 1 | Choose a suitable location for parking your RV. |
| 2 | Ensure that the site is reasonably level and clear of any obstructions. |
| 3 | Position the leveling blocks in front of or behind the tires on the low side. |
| 4 | Gradually drive your RV onto the blocks until it is level. |
| 5 | Check the levelness of your RV using a bubble level to make any necessary adjustments. |
| 6 | Once your RV is level, chock the wheels on the other side to secure it in place. |
| 7 | Finally, unhitch your trailer to complete the leveling process successfully. |
“Leveling blocks are a fantastic tool for achieving side-to-side levelness in your RV. They are easy to use and provide a stable foundation for your camping adventures.”
– RV Expert
By using leveling blocks, you can quickly and effectively level your RV side to side, ensuring a comfortable and safe camping experience.

Leveling a Travel Trailer With Other Methods
If leveling blocks are not available, there are other methods you can use to level your travel trailer. One option is to use a wedge-style leveling system like the Andersen Levelers. These levelers are shaped like wedges or ramps and can be placed in front of or behind the tires that need to be lifted. Another method is to build your own wedge from wood, such as a 2×6 piece. By comparing the level of your RV with a bubble level and making adjustments until it is level, you can ensure a stable and balanced position.
Wedge-style Leveling System
If you don’t have leveling blocks, a wedge-style leveling system can come in handy. The Andersen Levelers, for example, are designed to provide a simple and efficient way to level your travel trailer. These levelers act as ramps, allowing you to raise the low side of your RV. Simply place the levelers in front of or behind the tires that need to be lifted, and slowly drive your trailer onto them until it is level. Once level, you can chock the wheels on the other side and unhitch your trailer.
DIY Wooden Wedge
If you prefer a DIY approach, you can create your own wedge from a piece of wood, such as a 2×6. Cut the wood into a wedge shape that matches the desired height for leveling. Place the wedge in front of or behind the tires that need to be lifted, and slowly drive your travel trailer onto it. Use a bubble level to check the levelness and make any necessary adjustments until your RV is perfectly level. Once level, you can secure the trailer and continue with your camping experience.
Remember, regardless of the method you choose, it is important to compare the level of your RV with a bubble level and make adjustments until it is level. This will ensure that your travel trailer is stable and balanced, providing a comfortable camping experience.

Using a Leveling System for Motorized RVs
When it comes to leveling a motorhome, owners of Class A and Class C RVs have a convenient advantage. These types of RVs often come equipped with automatic leveling systems or hydraulic leveling jacks, making the leveling process a breeze.
With the help of hydraulic jacks, these leveling systems can effortlessly raise the low corners of your motorhome and automatically level it. All you need to do is use the controls on the system’s panel and with the push of a button, your motorhome will be perfectly leveled.
For front-to-back leveling, you can rely on the front jack or tongue jack to adjust the level of your motorhome. This allows you to easily achieve a balanced position and ensure optimal stability. It’s important to note that before extending slide-outs or using stabilizing jacks, you should always make sure that your RV is level.
Thanks to modern technology and the convenience of electric tongue jacks and automatic leveling systems, leveling your motorhome has become an effortless task. Say goodbye to manual adjustments and hello to a stress-free leveling experience with your motorized RV.
FAQ
How do I level my RV side to side?
To level your RV side to side, you can use leveling blocks. These blocks can be placed in front of or behind your trailer tires to raise the low side. Stack the blocks to achieve the desired level, and then slowly drive your RV onto the blocks until it is level. Chock the wheels on the other side and unhitch your trailer.
What if I don’t have leveling blocks?
If you don’t have leveling blocks, you can use wedge-style leveling systems like the Andersen Levelers. These ramps can be placed in front of or behind the tires that need to be lifted. Another option is to build your own wedge using wood, such as a 2×6 piece. Compare the level of your RV with a bubble level and make adjustments until it is level.
Can I use auto-leveling systems for my motorhome?
Yes, motorized RVs often come equipped with auto-leveling systems or hydraulic leveling jacks. These systems raise the low corners of the RV and level it automatically using hydraulic jacks. Use the controls on the system’s panel to easily level your motorhome at the push of a button. For front-to-back leveling, use the front or tongue jack.
How do I pick the right spot in a campground?
When selecting a spot in a campground, look for a reasonably level area to minimize the need for extensive leveling. Consider additional factors like solar positioning, shade for the refrigerator, views, and neighborly considerations. Choosing a level spot from the start will help minimize the effort required for leveling your RV.
How level should a travel trailer be?
It is important to ensure your travel trailer is as level as possible for optimal stability and appliance functionality. Use a bubble level to check that your RV is level from side to side. Aim for a level that keeps your refrigerator functioning properly and maintains a comfortable living environment.