RV Slide Out Seal Installation Guide
gorvlifestyle.com and its partners may earn a commission if you purchase a product through one of our links
Proper installation of RV slide out seals is essential for maintaining the integrity of your RV and keeping it protected from the elements. This guide will provide step-by-step instructions and best practices for installing RV slide out seals, ensuring a perfect fit and maximum effectiveness. By following these guidelines, you can ensure that your RV remains weatherproof and comfortable for years to come.
Key Takeaways:
- Proper installation of RV slide out seals is crucial for RV maintenance and protection.
- Assess the condition of the old seal before installing a new one.
- Choose a high-quality silicone sealant, such as LifeSeal® Silicone/Polyurethane Sealant, for durability and RV-friendly properties.
- Remove the old seal completely and clean the surface before installing the new seal.
- Follow the proper gluing technique and ensure a tight fit when installing the new seal.
Assessing the Old Seal
Before installing a new RV slide out seal, it is important to assess the condition of the old seal. Inspect the seal thoroughly, checking for any signs of damage or wear. If replacement is necessary, take care when removing the old seal to avoid causing further damage. It is also important to measure the old seal accurately to ensure that the new seal will be the correct size. When removing the old seal, take note of any adhesive residue or screws that may need to be cleaned or removed before installing the new seal.
One common mistake in RV slide out seal installation is not properly assessing the old seal. Failing to thoroughly inspect the old seal can result in the installation of a new seal that is the wrong size or does not properly fit the RV. Additionally, not removing any adhesive residue or screws from the old seal can interfere with the installation of the new seal.
Properly assessing the old seal sets the foundation for a successful installation process. By carefully inspecting the old seal and ensuring a clean surface for the new seal, you can avoid common mistakes and ensure a secure and effective seal replacement.
To help you understand the importance of assessing the old seal, let’s take a look at an example:
-
Inspect the old seal for any signs of damage or wear, such as cracks, tears, or detachment.
-
Measure the old seal accurately, taking note of the dimensions for selecting the appropriate replacement.
-
Remove the old seal carefully, avoiding any further damage to the RV.
-
Clean any adhesive residue or screws left behind by the old seal.
By following these steps, you can ensure that your RV slide out seal replacement process starts off on the right foot, avoiding common mistakes and ensuring a seamless installation.
| Common Mistakes in RV Slide Out Seal Installation | How to Avoid Them |
|---|---|
| Not properly inspecting the old seal for damage or wear. | Thoroughly examine the old seal before installing a new one. Look for cracks, tears, or detachment. |
| Choosing the wrong seal size due to inaccurate measurements of the old seal. | Measure the old seal accurately to ensure the correct size of the replacement seal. |
| Leaving behind adhesive residue or screws from the old seal. | Clean the surface thoroughly to remove any residue or screws that may hinder the installation of the new seal. |
By recognizing and avoiding these common mistakes, you can ensure a successful RV slide out seal replacement, maintaining the integrity and protection of your RV.
Choosing the Right Sealant
When it comes to installing a new RV slide out seal, selecting the appropriate sealant is of utmost importance. The sealant you choose will determine the durability and effectiveness of the seal, ensuring the long-term protection of your RV. One highly recommended sealant for this purpose is the LifeSeal® Silicone/Polyurethane Sealant.
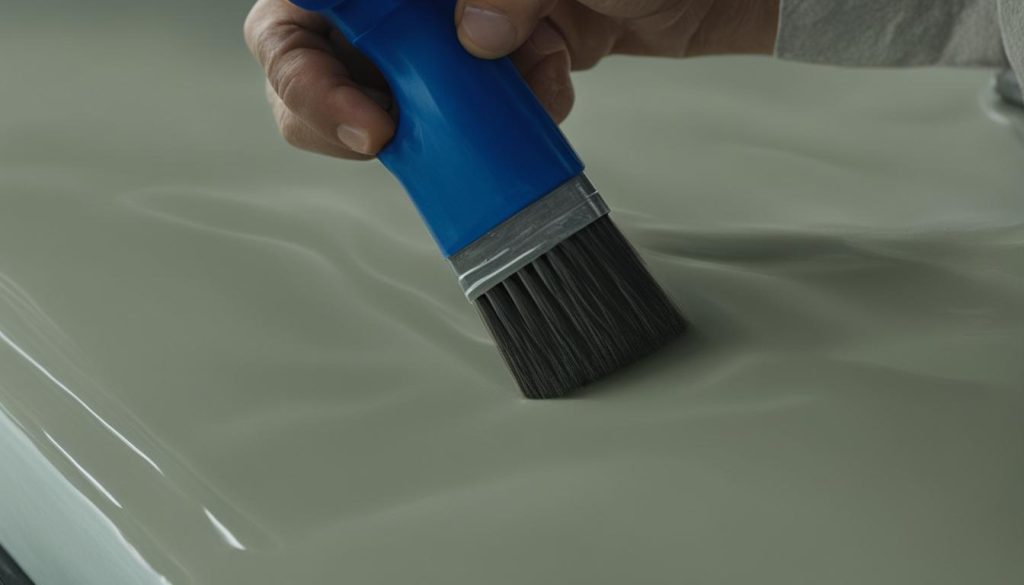
LifeSeal® Silicone/Polyurethane Sealant offers exceptional qualities that make it ideal for RV slide out seal installation. Firstly, it is known for its outstanding durability, ensuring that the seal remains intact and functional for an extended period. Additionally, it possesses RV-friendly properties, making it compatible with the unique requirements of an RV slide out seal.
Prior to applying the sealant, it is essential to prepare the area properly to ensure optimal adhesion. Start by thoroughly cleaning and drying the surface where the sealant will be applied. Removing any dirt, debris, or residue will allow for a secure bond between the sealant and the RV surface, enhancing the effectiveness of the seal.
Another essential consideration during the installation process is improving energy efficiency and preventing air leakage. To achieve this, consider adding insulation patches along with the sealant. These patches will help create a more airtight seal, reducing energy waste and maintaining a comfortable interior temperature in your RV.
After applying the sealant and insulation patches, allow ample time for the sealant to cure. To ensure optimal results, it is recommended to let it cure in a well-ventilated and dry environment. This will allow the sealant to fully set and provide maximum protection against the elements.
To summarize, choosing the right sealant is crucial for successful RV slide out seal installation. Opt for a silicone-based sealant like LifeSeal® Silicone/Polyurethane Sealant for its durability and RV-friendly properties. Properly clean and dry the surface before applying the sealant, and consider adding insulation patches for improved energy efficiency. Allow the sealant to cure completely before using your RV, ensuring a tight and long-lasting seal.
Removing and Prepping the Surface
Before installing the new RV slide out seal, it is important to remove the old seal completely. Follow these steps to properly remove and prep the surface for a successful installation:
- Begin by using masking tape to mark the perimeter of the old seal. This will not only protect the RV from scratches but also help prevent excess glue from spreading onto unwanted areas.
- Next, apply an adhesive remover to break down the old adhesive. Allow it to sit for a few minutes to soften the adhesive.
- Use a scraper tool to gently remove any residual adhesive left behind by the old seal. Take care not to damage the surface of the RV in the process.
- After removing the adhesive, wipe the surface with alcohol pads to remove any oils or residue. This will ensure a clean, smooth surface for the new seal to adhere to.
With the surface properly prepped, you can proceed with installing the new RV slide out seal. But before you do that, familiarize yourself with the proper gluing technique to ensure a strong and durable bond. This will help prevent any future issues with the seal and maintain the integrity of your RV.
“Taking the time to remove the old seal completely and prep the surface will ensure a proper installation and enhance the longevity of the new seal.”
By following these steps, you can troubleshoot any installation issues, such as the replacement of an old seal, and ensure your RV slide out seal replacement and maintenance is handled with expertise.
Steps to Remove and Prep the Surface
| Steps | Description |
|---|---|
| 1 | Use masking tape to mark the perimeter of the old seal. |
| 2 | Apply an adhesive remover to break down the old adhesive. |
| 3 | Gently remove residual adhesive with a scraper tool. |
| 4 | Wipe the surface with alcohol pads to remove oils and residue. |
Installing the New Seal
Now that the surface is prepped, it’s time to install the new RV slide out seal. To start, apply a thin bead of adhesive to the RV surface, starting from the bottom of the slide out. Use a popsicle stick to spread the adhesive evenly.
Next, apply another thin bead of adhesive to the backside of the new seal. Allow the adhesive to become tacky before pressing the seal into place. Work in small sections, ensuring proper alignment and avoiding excess adhesive.
As you install the new seal, make sure to trim any excess rubber and ensure a tight fit at corners and edges. Once the seal is in place, remove the masking tape and clean up any excess glue. It’s important to allow the adhesive to cure fully before closing the slide box.
Following this step-by-step guide for installing an RV slide out seal will help ensure a proper installation. If you encounter any issues or have questions, consult the troubleshooting section or seek professional assistance. With proper installation, your RV slide out seal will provide excellent protection and weatherproofing, keeping your RV comfortable and secure.
FAQ
How do I assess the condition of my old RV slide out seal?
Thoroughly inspect the seal for any signs of damage or wear. If replacement is necessary, be careful when removing the old seal to avoid causing further damage. Measure the old seal accurately to ensure the new seal will be the correct size.
What type of sealant should I use for installing my RV slide out seal?
Silicone sealant, such as LifeSeal® Silicone/Polyurethane Sealant, is recommended for its durability and RV-friendly properties. It is non-corrosive and non-yellowing.
How do I remove the old seal and prepare the surface for installing a new RV slide out seal?
Use masking tape to mark the perimeter of the old seal and protect the RV from scratches and excess glue. Use adhesive remover to break down the old adhesive and clean the surface. Use a scraper tool to remove any residue and wipe the surface with alcohol pads to remove oils and residue.
What is the proper technique for installing a new RV slide out seal?
Start at the bottom of the slide out and apply a thin bead of adhesive to the RV surface. Spread the adhesive with a popsicle stick and apply another thin bead of adhesive to the backside of the new seal. Allow it to become tacky before pressing it into place. Work in small sections, ensuring proper alignment and avoiding excess adhesive. Trim any excess rubber and ensure a tight fit at corners and edges. Allow the adhesive to cure fully before closing the slide box.
How long does the adhesive need to cure before closing the slide box?
The adhesive should be allowed to cure fully according to the manufacturer’s instructions before closing the slide box. This ensures a strong and durable bond between the seal and the RV surface.

