RV Air Conditioner Install Guide – Quick Steps
gorvlifestyle.com and its partners may earn a commission if you purchase a product through one of our links
Are you looking to install an RV air conditioner and save money on hiring a professional? With a few simple steps, you can successfully complete the installation process yourself. Whether you need a complete replacement or just want to replace certain parts, this guide will walk you through the process. Let’s get started!
Before beginning the installation, it’s important to determine if you need a complete replacement or if specific parts need to be replaced. For a complete installation, you’ll need to purchase the rooftop unit and the ceiling assembly. The type of assembly required depends on whether your system is ducted or non-ducted.
When choosing your RV air conditioner, consider factors such as cooling capacity, energy efficiency, and the option of a heat pump or AC heat strip. These features can enhance the comfort of your RV and provide heating capabilities when needed.
The installation process involves removing the old AC unit from the roof, placing the new unit, connecting the ducts and electrical wiring, and performing a full test to ensure proper functionality. By following these steps carefully, you’ll have your new RV air conditioner up and running in no time.
Key Takeaways:
- Determine whether you need a complete replacement or just replace certain parts of your RV air conditioner.
- Purchase the rooftop unit and the compatible ceiling assembly based on your system’s requirements.
- Consider cooling capacity, energy efficiency, and additional features like heat pumps or AC heat strips.
- Follow the installation steps, including removing the old unit, placing the new unit, connecting ducts and wiring, and performing a test.
- Save money by installing the RV air conditioner yourself and enjoy a cool and comfortable travel experience.
Do I Need to do a Complete RV A/C Installation?
When facing issues with your RV air conditioner, it’s important to assess whether a complete installation is necessary or if replacement parts can resolve the problem. While certain components like fan blades, motors, and control panels can be replaced individually, there are cases where a complete RV A/C installation is the best course of action.
If your unit is old or multiple components are failing, opting for a complete replacement can provide a more reliable and efficient solution in the long run. Although the initial investment for a new RV air conditioner may seem high, it’s important to consider the cost of replacing individual parts, which can add up quickly and may not guarantee the longevity of the unit.
For a complete RV A/C installation, you’ll typically need to purchase a rooftop unit and a compatible ceiling assembly. The type of assembly required will depend on whether your RV has a ducted or non-ducted system. This ensures proper airflow and efficient cooling throughout your vehicle.
To determine the viability of a complete installation and assess the installation cost, it’s recommended to consult with a reputable RV air conditioner specialist, who can provide expert advice tailored to your specific RV model and requirements.
When making the decision between replacing parts or investing in a new RV air conditioner, consider the long-term benefits and the overall performance of the unit. It’s important to strike a balance between cost-effectiveness and ensuring optimal comfort on your RV adventures.
Pros and Cons of Complete RV A/C Installation
| Pros | Cons |
|---|---|
| Improved reliability and performance | Higher initial cost |
| Energy-efficient solution | Potentially higher installation cost |
| Enhanced cooling capacity | Requires professional installation or DIY skills |
| Potential for additional features like heat pumps or AC heat strips | Disruption during installation process |
What are the Parts Needed for a Camper Air Conditioner Replacement?
To replace an RV air conditioner, you will need two main parts: the rooftop unit and the ceiling assembly. The type of ceiling assembly required depends on whether the system is ducted or non-ducted. For ducted systems, the cold air is distributed through multiple vents along the length of the RV. Non-ducted systems have cold air coming from vent louvers around the air conditioner ceiling assembly.
In some cases, the old ceiling assembly can be reused if it is compatible with the new rooftop unit. Ceiling assemblies may have controls installed in them or controlled by a wall thermostat. Consult with an RV Part Shop professional to determine the best RV A/C replacement package based on factors like cooling capacity, energy efficiency, and the option of a heat pump or RV AC heat strip.
| Rooftop Unit | Ceiling Assembly |
|---|---|
| The rooftop unit is the main component of the RV air conditioner. It is installed on the roof of the RV and contains the compressor, condenser, and other essential parts. | The ceiling assembly is responsible for distributing the cold air throughout the RV. It includes the venting system and controls for adjusting temperature and airflow. |
| The rooftop unit must be compatible with the ceiling assembly to ensure proper functionality. | The type of ceiling assembly needed depends on whether the RV has a ducted or non-ducted system. Ducted systems require an assembly with multiple vents, while non-ducted systems have vent louvers. |
When replacing the RV air conditioner, it is crucial to choose the right parts that match the existing system and meet your cooling requirements. Whether you need a ducted or non-ducted system, selecting the appropriate rooftop unit and ceiling assembly is essential for optimal performance and efficiency.

What are the Steps to Complete a Camper Air Conditioner Installation?
Installing a camper air conditioner can be done by someone with minimal technical skills. The steps involved are as follows:
-
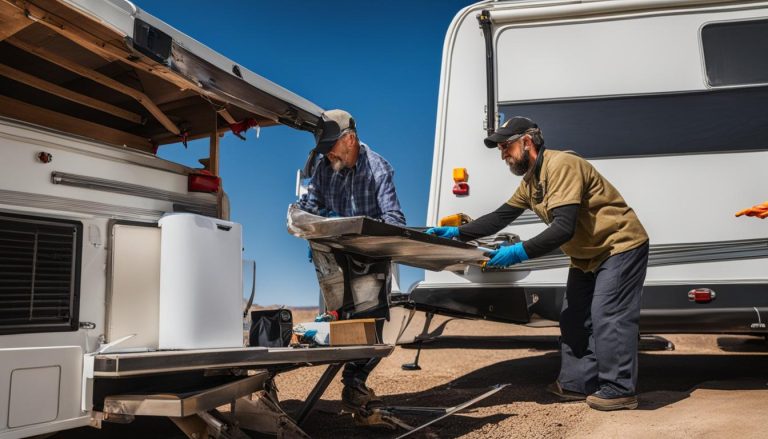
Remove the old AC unit:
Start by taking off the air conditioner shroud on the roof. Then, remove the ceiling assembly inside the coach. Disconnect the electrical wiring and carefully separate the foam gasket from the roofing surface.
-
Place the new air conditioner rooftop unit:
Ensure that the new unit is centered on the 14″ x 14″ square ceiling opening. Align the foam gasket on the bottom of the rooftop unit with the opening.
-
Install the ceiling assembly:
Follow the instructions provided in the AC manual to install the ceiling assembly inside the coach. Insert the bolts up through the assembly and screw them into the receiving holes on the rooftop unit.
-
Connect the ducting and electrical wiring:
Secure wire connections in the junction box of the ceiling assembly using wire nuts. Connect the control cable between the ceiling assembly and rooftop unit, or wire the thermostat as instructed.
-
Reinstall the shroud and perform a full test:
Reinstall the shroud on the new air conditioner on the roof and the inside vent/shroud on the ceiling assembly. Finally, perform a full test to ensure the proper functionality of the new AC unit.
Remember to refer to the AC manual for detailed instructions specific to your model and brand.
By following these steps, you can successfully install a new camper air conditioner, ensuring a comfortable and cool environment during your RV travels.

Testimonial: Expert Tip
“When installing a new RV air conditioner, it’s crucial to carefully remove the old unit and ensure proper alignment and connection of the new components. Take your time and double-check every step to avoid any issues later on.”
– Mike Johnson, RV AC Installation Specialist
More Good Advice for RV Air Conditioners
Keeping your RV air conditioner in optimal condition requires regular maintenance and following a few simple tips. Firstly, make sure to keep the air filters in the ceiling assembly clean. Dirty filters can restrict airflow and reduce the cooling efficiency of your AC unit. Regularly clean or replace the filters to ensure proper airflow and effective cooling.
When handling the old and new units during maintenance or installation, take care to avoid any damage. These units can be heavy and delicate, so avoid dropping or banging them against the side of your RV. Handle them with caution to avoid any unnecessary repairs or replacements.
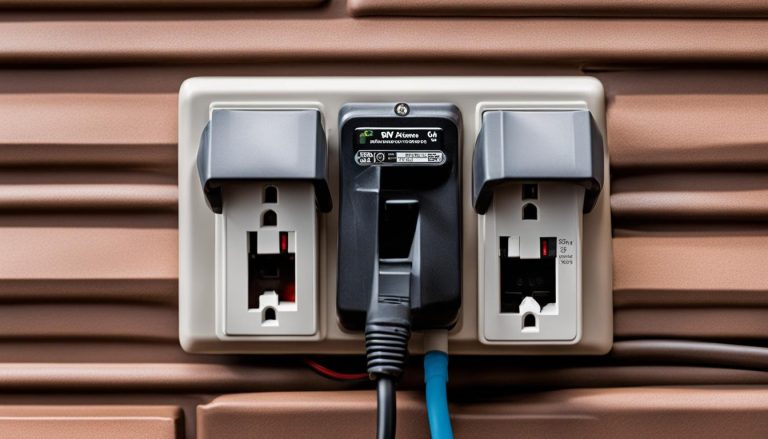
Another important tip is to operate your AC unit only if the voltage is at least 115V. Low voltage can cause issues like reduced cooling capacity and increased power consumption. Before turning on your RV air conditioner, ensure that the voltage is sufficient to prevent any potential problems.
To reduce the workload of your AC unit and keep your RV cool, consider parking in shaded areas whenever possible. The direct sunlight can heat up your RV, making the air conditioner work harder to maintain a comfortable temperature. Additionally, covering windows with shades or curtains can help reduce heat gain and lighten the load on your air conditioner.
By following these maintenance tips and adjusting your habits to reduce the workload on your RV air conditioner, you can ensure a comfortable and well-functioning cooling system throughout your travels. Regular maintenance and attentiveness to these details will keep your RV cool and your adventures enjoyable.
FAQ
How do I install an RV air conditioner?
To install an RV air conditioner, you will need to remove the old AC unit from the roof, place the new unit, connect the ducts and electrical wiring, and perform a full test to ensure proper functionality. For a detailed step-by-step guide, please refer to our RV air conditioner installation guide.
Do I need to do a complete RV A/C installation?
It depends on the condition of your current RV air conditioner. If multiple components are failing or if the unit is old, it is best to consider a complete replacement. However, if only specific parts need to be replaced, it may be more cost-effective to replace those instead. Consulting with a professional can help determine the best course of action.
What are the parts needed for a camper air conditioner replacement?
The main parts needed for a camper air conditioner replacement are the rooftop unit and the ceiling assembly. The type of ceiling assembly required will depend on whether your system is ducted or non-ducted. It’s important to consider factors like cooling capacity, energy efficiency, and the option of a heat pump or AC heat strip when selecting these parts.
What are the steps to complete a camper air conditioner installation?
The steps to complete a camper air conditioner installation include removing the old AC unit, placing the new rooftop unit, installing the ceiling assembly, connecting the ducts and electrical wiring, and performing a full test to ensure proper functionality. Please refer to our RV air conditioner installation guide for a detailed step-by-step process.
Do you have any more advice for RV air conditioners?
Yes, to ensure optimal performance of your RV air conditioner, it’s important to keep the air filters in the ceiling assembly clean. Take care when handling both the old and new units to avoid any damage. Operate the AC unit only if the voltage is at least 115V to prevent issues with low voltage. Additionally, parking in shaded areas and covering windows can help reduce the workload of the AC unit and keep the interior cooler. Regular maintenance is also key to keeping your RV cool and comfortable during your travels.