Easy RV Awning Installation Guide
gorvlifestyle.com and its partners may earn a commission if you purchase a product through one of our links
Installing an RV awning can be a simple yet rewarding project that can enhance the comfort and style of your RV. With the right tools and step-by-step instructions, you can easily replace your old awning fabric with new fabric and enjoy the benefits of a functional and attractive awning. In this easy RV awning installation guide, we will provide you with all the information you need to install a new awning on your RV, from gathering the necessary tools to removing the old fabric and installing the new one.
Key Takeaways:
- Installing an RV awning can significantly improve the comfort and aesthetics of your RV.
- With the right tools and instructions, installing a new RV awning can be a straightforward process.
- Before starting the installation, make sure you have the necessary tools on hand, including work gloves, silicone spray, screwdriver, power drill, tape measure, stepladder, and an awning installation tool (optional).
- To remove the old fabric, follow a step-by-step process that involves extending the awning, unscrewing the supports, and cutting the fabric.
- Installing the new awning fabric requires applying silicone spray, aligning the fabric with the end cap slot, and securing it with a set screw.
By following these instructions and tips, you can successfully install a new awning on your RV and enjoy the benefits of a functional and visually appealing outdoor space.
Tools Needed for RV Awning Installation
Before you begin the RV awning installation process, make sure you have the following tools on hand:
- Work gloves
- Silicone spray
- Flat head screwdriver
- Power drill
- Tape measure
- Stepladder
- Awning installation tool (optional)
These tools will help you remove the old fabric and install the new one efficiently and safely. Additionally, you may need a hacksaw or Dremel to create a new slot in the end cap for the fabric.
“Having the right tools for the job can make all the difference when it comes to installing an RV awning.” – RV Enthusiast
Steps to Remove Old Awning Fabric
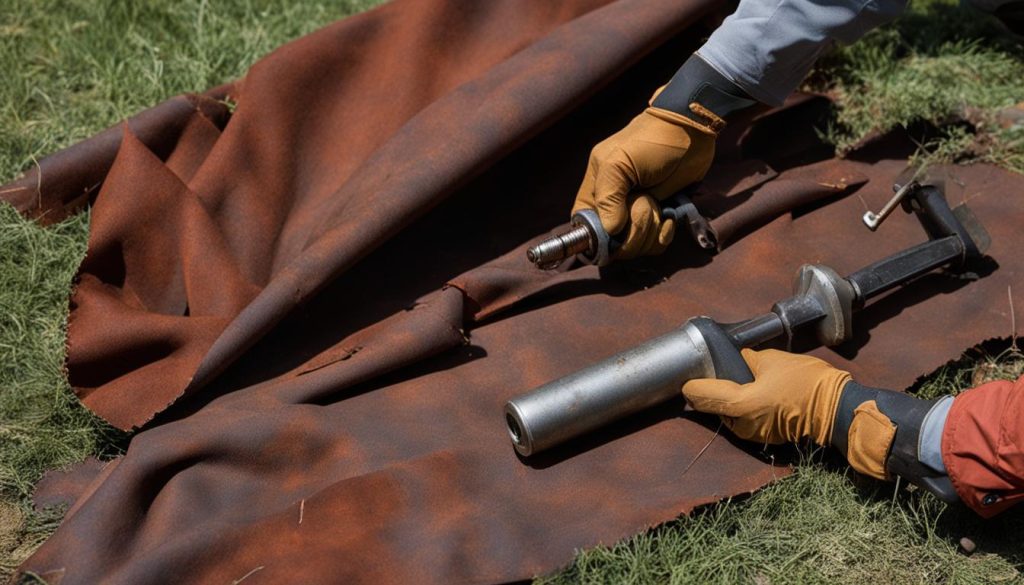
The first step in the RV awning installation process is to remove the old fabric. To do this, follow these steps:
- Extend the awning and unscrew the awning support on the right side.
- Apply painter’s tape to the sharp edges of the support to protect the new awning fabric.
- Remove the small screws that hold the fabric in place on both sides of the awning.
- Cut the old awning fabric in half above the roller.
- Make another cut all the way down the roller between the points where the fabric is connected to the roller.
- Pull out the piece of fabric with a slot on the end cap, and drill a hole at the end to create a new slot.
- Use a hacksaw or Dremel to cut a slot from the new hole to the end of the fabric.
- Pull the larger piece of fabric to the right to slide it out of the guide near the roof.
- Remove any other awning supports if necessary.
| Step | Action |
|---|---|
| 1 | Extend the awning and unscrew the awning support on the right side. |
| 2 | Apply painter’s tape to the sharp edges of the support to protect the new awning fabric. |
| 3 | Remove the small screws that hold the fabric in place on both sides of the awning. |
| 4 | Cut the old awning fabric in half above the roller. |
| 5 | Make another cut all the way down the roller between the points where the fabric is connected to the roller. |
| 6 | Pull out the piece of fabric with a slot on the end cap, and drill a hole at the end to create a new slot. |
| 7 | Use a hacksaw or Dremel to cut a slot from the new hole to the end of the fabric. |
| 8 | Pull the larger piece of fabric to the right to slide it out of the guide near the roof. |
| 9 | Remove any other awning supports if necessary. |

Steps to Install New Awning Fabric
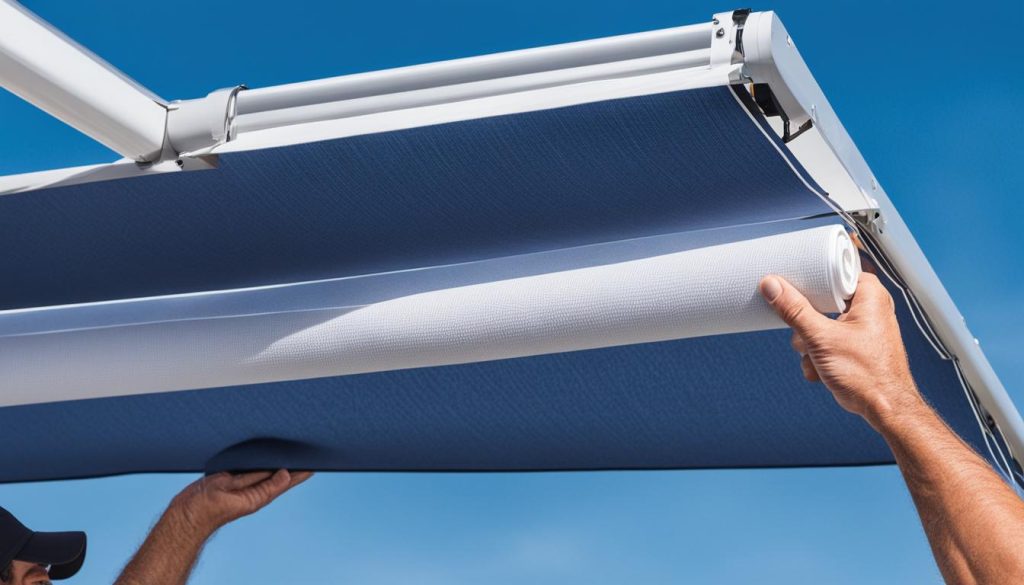
Once the old awning fabric has been removed, you can proceed to install the new fabric by following these steps:
- Apply silicone spray or baby oil to the grooves on the roller and the upper guide near the roof to make the fabric glide on easier.
- Flare open the top edge of the roof guide with a screwdriver to prevent it from catching on the new fabric.
- Slide the new fabric onto the roller, making sure it is aligned with the new slot in the end cap.
- Pull the fabric all the way to the locking end of the roller and secure it with a set screw.
- Reattach the awning arm to the non-locking end of the roller.
- Spray the awning track on the RV with silicone.
- Slide the awning fabric into the track and all the way to the front end.
- Test the awning by rolling it out and retracting it to ensure it functions properly.

| Step | Description |
|---|---|
| 1 | Apply silicone spray or baby oil to the grooves on the roller and the upper guide near the roof to make the fabric glide on easier. |
| 2 | Flare open the top edge of the roof guide with a screwdriver to prevent it from catching on the new fabric. |
| 3 | Slide the new fabric onto the roller, making sure it is aligned with the new slot in the end cap. |
| 4 | Pull the fabric all the way to the locking end of the roller and secure it with a set screw. |
| 5 | Reattach the awning arm to the non-locking end of the roller. |
| 6 | Spray the awning track on the RV with silicone. |
| 7 | Slide the awning fabric into the track and all the way to the front end. |
| 8 | Test the awning by rolling it out and retracting it to ensure it functions properly. |
Tips for a Successful RV Awning Installation
If you’re planning to install a new awning on your RV, here are some helpful tips to ensure a successful installation:
1. Take your time and follow the instructions carefully: Installing an RV awning requires precision and attention to detail. Read the instructions thoroughly and follow each step meticulously to avoid any mistakes.
2. Use all the necessary tools and safety precautions: Before you begin the installation process, gather all the required tools mentioned in the previous section. Additionally, wear work gloves to protect your hands and use a stepladder to safely reach the awning.
3. Ensure proper alignment and secure attachment: When installing the new fabric, make sure it is correctly aligned with the roller and awning arm. This will ensure smooth and efficient operation of the awning.
4. Apply silicone spray or baby oil: To enhance the functionality of your awning, apply a generous amount of silicone spray or baby oil to the grooves on the roller and upper guide near the roof. This will facilitate easy movement of the fabric.
5. Regularly inspect and clean your awning: After installation, it’s important to regularly inspect and clean your awning to prevent any damage or issues. Remove any debris or dirt, and check for any signs of wear and tear.
By following these tips, you can ensure a smooth and successful RV awning installation process. Enjoy the benefits of a functional and visually appealing awning on your RV. Happy camping!
FAQ
Can I install an RV awning myself?
Yes, with the right tools and instructions, installing an RV awning can be a DIY project.
What tools do I need to install an RV awning?
The necessary tools for installing an RV awning include work gloves, silicone spray, flat head screwdriver, power drill, tape measure, stepladder, and an awning installation tool (optional).
How do I remove the old awning fabric?
To remove the old awning fabric, you need to extend the awning, unscrew the awning support, remove the small screws holding the fabric in place, cut the fabric, and pull it out of the guide near the roof.
How do I install new awning fabric on my RV?
To install new awning fabric, you need to slide it onto the roller, align it with the new slot in the end cap, secure it with a set screw, reattach the awning arm, and slide the fabric into the awning track on the RV.
What are some tips for a successful RV awning installation?
Some tips for a successful RV awning installation include taking your time and following the instructions carefully, using all the necessary tools and safety precautions, ensuring proper alignment and securing of the new fabric, applying silicone spray for smooth operation, and regularly inspecting and cleaning the awning.


