RV Black Tank Cleaning: Easy Guide & Tips
gorvlifestyle.com and its partners may earn a commission if you purchase a product through one of our links
Keeping your RV’s black tank clean is essential for maintaining a pleasant and odor-free camping experience. Neglecting proper cleaning and maintenance can lead to build-up and sensor malfunctions, resulting in unpleasant odors and costly repairs. In this easy guide, we will provide you with expert tips on how to effectively clean your black tank in an RV.
Cleaning your RV black tank may seem daunting, but with the right techniques and products, it can be a straightforward process. By following these tips, you can ensure that your black tank remains in optimal condition, allowing you to enjoy your RV adventures without any unwanted surprises.
Key Takeaways:
- Regular cleaning is crucial for an odor-free and hygienic camping experience.
- Enzymatic tank treatments are an effective solution for breaking down waste and removing build-up.
- Deep cleaning the black tank at least twice a year is recommended for optimal cleanliness.
- Proper maintenance of the gray tank prevents soap scum and grease build-up.
- Combo tanks require different cleaning approaches based on usage.
Understanding RV Holding Tanks
Proper maintenance of your RV’s holding tanks is crucial for ensuring a clean and odor-free camping experience. The black and gray tanks require regular cleaning to prevent build-up and maintain optimal functionality. Here are some essential steps for maintaining a clean black tank in your RV:
1. Keep Sufficient Water in the Tanks
It’s important to keep at least 5 gallons of water in the tanks at all times. This prevents the tank from drying out and helps facilitate the breakdown of waste. Additionally, maintaining adequate water levels ensures that all waste is properly flushed out during dumping.
2. Use RV-Safe Toilet Paper
Using RV-safe toilet paper is essential for preventing clogs and maintaining a clean black tank. Unlike regular toilet paper, RV-safe options are designed to dissolve easily, reducing the risk of blockages and the need for costly repairs. Look for products specifically labeled as RV-safe.
3. Close Gate Valves until Half Full
When using your RV’s plumbing system, it’s advisable to keep the gate valves closed until the tanks are more than half full. This practice allows for optimal mixing and agitation of the waste, ensuring better cleaning action.
4. Regularly Inspect and Clean Tank Sensors
The sensors in your black tank are responsible for providing accurate level readings. Regularly inspecting and cleaning these sensors helps prevent false readings and ensures you have an accurate gauge of the tank’s capacity. Use a soft brush or sponge to gently clean the sensors.
5. Practice Proper Dumping Procedures
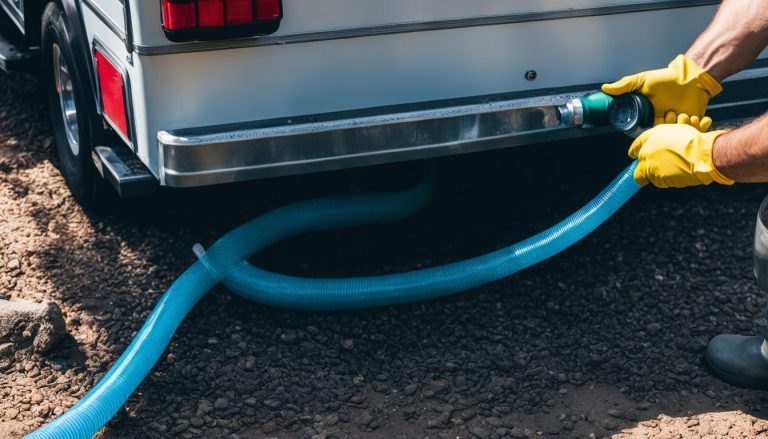
When it’s time to empty your black tank, make sure to follow proper dumping procedures. This includes using dedicated dump stations and wearing protective gloves. Allow enough time for a thorough flush and rinse to remove any residual waste.
To summarize, maintaining a clean black tank in your RV involves keeping sufficient water in the tanks, using RV-safe toilet paper, closing gate valves until the tank is more than half full, regularly inspecting and cleaning tank sensors, and practicing proper dumping procedures. By following these essential steps, you can ensure a hygienic and odor-free camping experience.
Using Enzymatic Tank Treatments for Cleaning
One of the most effective and hassle-free methods for cleaning your RV’s black tank is by utilizing enzymatic tank treatments. These highly efficient cleaners contain enzymes that break down waste and eradicate stubborn build-up within the tank, ensuring optimal performance and odor control.
When it comes to choosing the right enzymatic tank treatment for your RV, there are several trusted brands that deliver excellent results. Consider products such as Super Seal Pirranha, Thetford Tank Blaster, or Walex CMDOBG Commando Black Holding Tank Cleaner. These high-quality treatments have been specifically formulated to tackle the challenges of cleaning black tanks, providing you with a clean and fresh RVing experience.
To maximize the effectiveness of enzymatic tank treatments, it is crucial to follow the manufacturer’s instructions. Generally, these instructions involve filling the tanks with water before emptying them and using warm water for the best cleaning results. By adhering to these guidelines, you can ensure that the enzymatic cleaners work their magic and eliminate waste and build-up effectively.
Step-by-Step Guide to Clean Black Tank in an RV using Enzymatic Tank Treatments:
- Start by wearing a pair of disposable gloves to protect your hands from the waste.
- Ensure that your RV is parked in a well-ventilated area.
- Add the recommended amount of enzymatic tank treatment to your black tank. Refer to the product label for precise instructions.
- Fill the black tank with water, following the manufacturer’s recommendations.
- Allow the enzymatic cleaner to sit in the tank for the recommended time, usually a few hours or overnight.
- Once the soaking time is complete, thoroughly rinse the black tank by flushing it with water. This step is crucial to remove any remaining residue and ensure a clean tank.
- Repeat the process if necessary, especially if there is heavy build-up or persistent odors.
- Remember to dispose of the waste properly after cleaning your black tank.
By incorporating enzymatic tank treatments into your regular RV maintenance routine, you can effectively clean and maintain your black tank, preventing unpleasant odors and ensuring the longevity of your RV’s waste management system.
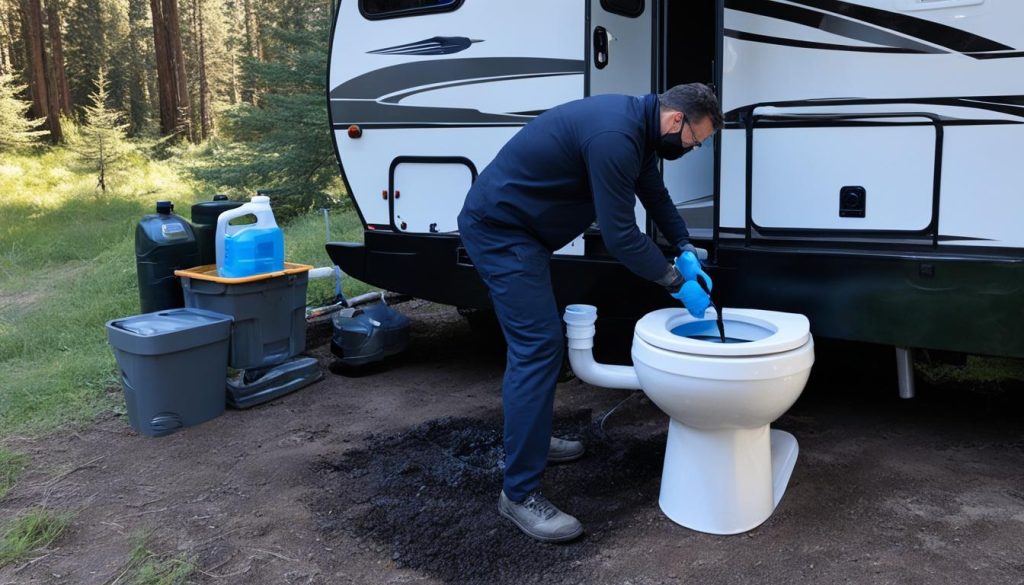
Deep Cleaning an RV Black Water Tank
To maintain optimal cleanliness, it is recommended to deep clean your RV’s black water tank at least twice a year. By following these best practices and top strategies, you can ensure a clean and odor-free black tank in your RV.
- Step 1: Fill the tank with water and add a bacteria-based cleaner: Start by filling the tank with water until it’s nearly full. Then, add a bacteria-based cleaner like Unique Clean-It to the tank. This cleaner is specifically designed to dissolve waste and build-up effectively.
- Step 2: Let it sit for 12-72 hours: Allow the cleaner to sit in the tank for 12-72 hours to ensure thorough cleaning. This duration allows the cleaner to break down any stubborn waste or build-up, leaving your black tank fresh and clean.
- Step 3: Thoroughly rinse the tank: After the cleaning period, thoroughly rinse the tank to remove any remaining residue. Use a hose or a specialized tank rinser to ensure all the cleaner and waste are flushed out completely.
- Step 4: Repeat if necessary: If you notice any lingering odor or build-up after the initial cleaning, repeat the process for an additional round of deep cleaning. This will ensure that your black tank is truly clean and ready for your next adventure.
Regular Maintenance for a Clean Black Tank
Deep cleaning your black tank is essential, but regular maintenance is equally important to keep it clean and functioning properly. Here are some additional tips:
- Follow proper dumping procedures and always use RV-safe products to prevent damage to your tank.
- Keep at least 1/4 to 1/2 tank of water in your black tank during use to prevent waste from drying out and sticking to the sides.
- Use enzyme-based tank treatments regularly to break down waste and control odors.
- Perform routine inspections and maintenance on your RV’s plumbing system to catch any potential issues early on.
By following these best practices and maintaining a regular cleaning routine, you can ensure that your RV’s black water tank stays clean, odor-free, and in optimal condition for all your adventures on the road.
| Best Practices for Cleaning an RV Black Water Tank |
|---|
| Twice-yearly deep cleaning |
| Use a bacteria-based cleaner |
| Let the cleaner sit for 12-72 hours |
| Thoroughly rinse the tank |
| Repeat deep cleaning if necessary |
Deep Cleaning an RV Gray Water Tank
While the gray tank may not require as frequent deep cleaning as the black tank, it is still important to prevent soap scum and grease build-up to maintain proper maintenance for RV black tanks. To effectively clean the gray tank, follow these expert tips:
- Start by gathering the necessary cleaning supplies, including washing soda (such as Calgon or Arm & Hammer) and Dawn Ultra dish soap.
- Begin by emptying the gray tank at an approved dump station or using an appropriate disposal method.
- Add a mixture of washing soda and Dawn Ultra dish soap to the gray tank. Use approximately 1 cup of washing soda and 1 tablespoon of dish soap for every 5 gallons of tank capacity.
- Fill the gray tank with water until it is approximately 2/3 full.
- Allow the cleaning solution to sit in the tank for at least 12 hours, though overnight is recommended for best results.
- After the designated time, drain the tank and rinse it thoroughly to remove any remaining residue.
- Repeat the process if necessary or until the tank is clean and odor-free.
Regular maintenance and proper waste disposal practices are key to keeping both the black and gray tanks odor-free. By following expert advice on cleaning the black tank in an RV and maintaining the gray tank, you can ensure a hygienic and enjoyable camping experience.
Expert Tip:
Boondockers should perform regular deep cleans of the gray tank to avoid grease accumulation, as it can cause clogs and lead to unpleasant smells.
Remember to consult your RV’s owner’s manual for specific instructions and recommendations regarding proper maintenance for RV black tanks and gray tanks.
| Supplies | Quantity |
|---|---|
| Washing Soda (e.g., Calgon or Arm & Hammer) | 1 cup per 5 gallons of tank capacity |
| Dawn Ultra Dish Soap | 1 tablespoon per 5 gallons of tank capacity |
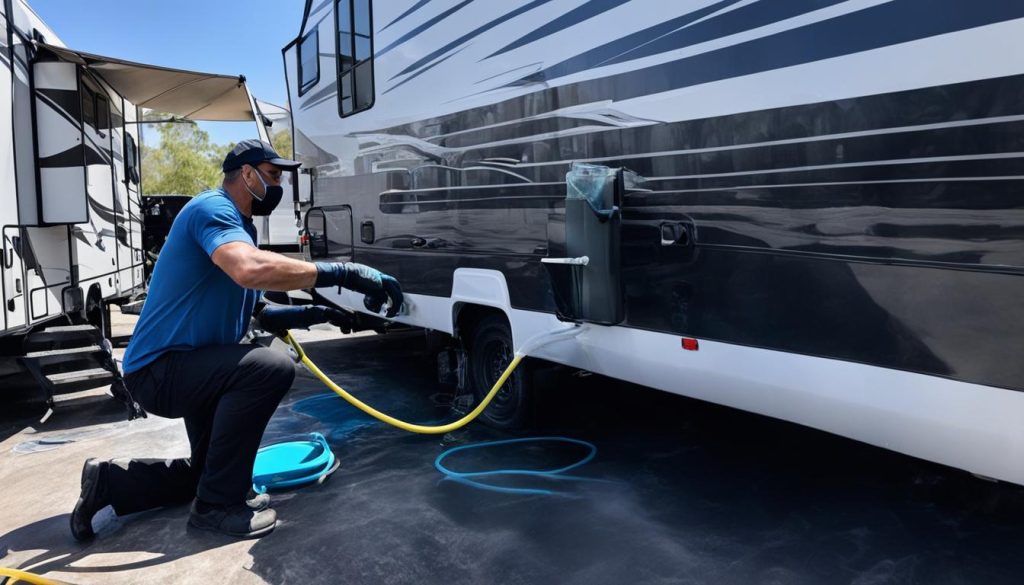
Cleaning a Combo Tank
Combo tanks, used for both black and gray water, require special attention to ensure cleanliness. Depending on usage, follow the steps for deep cleaning the black tank or the gray tank. Regularly using tank treatments and performing routine cleanings will help maintain a clean combo tank.
When it comes to maintaining a clean black tank in an RV, combo tanks present a unique challenge. These tanks, designed to hold both black and gray water, require careful maintenance to prevent build-up and eliminate odors. By following the proper cleaning and maintenance procedures, you can ensure the longevity and efficiency of your combo tank.
Deep Cleaning the Black Tank
To deep clean the black portion of a combo tank, follow the steps outlined in the previous section. Begin by filling the tank with water and adding an enzymatic cleaner specifically designed for black tanks. Let the cleaner sit for the recommended time period, allowing it to break down waste and dissolve build-up. Finally, rinse the tank thoroughly to remove any residue.
Regular Maintenance and Treatments
Regularly using tank treatments is essential for maintaining a clean combo tank. Opt for enzymatic cleaners that are safe for both black and gray water. These treatments break down waste and control odors, ensuring the overall cleanliness of the tank. Follow the manufacturer’s instructions for proper dosage and application.
In addition to using tank treatments, perform routine cleanings of the combo tank. Drain the tank completely and then fill it with water, using the built-in flushing system to ensure a thorough cleaning. Repeat this process as necessary to remove any remaining waste and residue.
By combining regular maintenance, proper tank treatments, and periodic deep cleanings, you can maintain a clean black tank in your RV combo tank. This will help prevent odors, keep the tank functioning optimally, and ensure a pleasant camping experience.
| Combo Tank Cleaning Tips | Frequency |
|---|---|
| Deep clean the black tank | Twice a year |
| Use enzymatic tank treatments | Every time the tank is emptied |
| Perform routine cleanings | Every 3-6 months |
Additional Tips for Tank Cleaning and Maintenance
Aside from deep cleaning, there are other effective techniques for RV black tank cleaning and maintenance that can help keep your tank in optimal condition. These expert tips will ensure a thorough clean and minimize any potential issues.
1. Fill the Tank Half Full Before Traveling
One recommended technique is to fill the black tank halfway with water before hitting the road. The motion of the RV during travel can help agitate and dislodge any solid waste or residue, assisting in cleaning the tank. This simple step can be incorporated as part of your regular travel routine and contribute to a cleaner black tank.
2. Use a Tank Flusher or Built-In Tank Rinser
A tank flusher or built-in tank rinser, such as the Valterra Flush King, is a valuable tool for effective cleaning. These devices allow you to flush out your black tank with high-pressure water, eliminating any stubborn waste or debris. By thoroughly rinsing the tank, you can ensure a more sanitary environment and reduce the risk of clogs or odors.
3. Utilize Online Tools for RV Maintenance
Keeping track of your RV maintenance and repair tasks is essential to avoid costly repairs and accidents. Online tools like RV LIFE Maintenance can help you stay organized and maintain a regular schedule of tank cleaning and other maintenance tasks. By staying on top of your maintenance schedule, you’ll ensure the longevity and proper functioning of your RV’s black tank.
| Technique | Effectiveness | Ease of Use | Recommended Frequency |
|---|---|---|---|
| Deep Cleaning | High | Moderate | Twice a year |
| Half Full Travel | Low | Easy | Before every trip |
| Tank Flusher/Rinser | High | Moderate | After every dump |
| Online Maintenance Tools | Low | Easy | Ongoing |
Pro Tip: Remember that maintenance is key to a clean and odor-free black tank. Regular cleanings and following proper waste disposal practices are crucial. By implementing these additional tips along with deep cleaning, you’ll ensure a smoother and more enjoyable RV experience.
Conclusion
Proper maintenance and regular cleaning of your RV’s black tank are essential for a pleasant and hygienic camping experience. By following the step-by-step guide and expert tips provided in this article, you can effectively clean and maintain your black tank.
Remember to use RV-safe products, such as Super Seal Pirranha, Thetford Tank Blaster, or Walex CMDOBG Commando Black Holding Tank Cleaner, to maximize cleaning results and avoid damage to your tank. Avoid harsh chemicals that can deteriorate the tank’s integrity.
Keeping track of maintenance tasks using online tools like RV LIFE Maintenance can help you stay organized and ensure the longevity and proper functioning of your RV’s black tank. With proper care and attention, you can enjoy odor-free and trouble-free camping trips for years to come.
FAQ
How often should I clean my RV’s black tank?
Deep cleaning the black tank at least twice a year is recommended for optimal cleanliness.
What are enzymatic tank treatments and how do they work?
Enzymatic tank treatments contain enzymes that break down waste and help remove build-up in the tank. They are an effective way to clean an RV black tank.
What products can I use for deep cleaning the black tank?
Products like Super Seal Pirranha, Thetford Tank Blaster, or Walex CMDOBG Commando Black Holding Tank Cleaner are recommended for deep cleaning the black tank.
How do I clean the gray tank in an RV?
To clean the gray tank, you can use washing soda, like Calgon or Arm & Hammer, and Dawn Ultra dish soap, along with thorough rinsing.
What should I do if I have a combo tank?
For combo tanks used for both black and gray water, follow the steps for deep cleaning the black tank or the gray tank, depending on usage.
Are there any additional tips for tank cleaning and maintenance?
Yes, some additional tips include filling the tank half full before traveling to allow the motion to help clean the tank and using a tank flusher or built-in tank rinser for a thorough rinse.
How important is regular maintenance for the black tank in an RV?
Regular maintenance for the black tank in an RV is crucial for a pleasant and hygienic camping experience. Neglecting maintenance can lead to unpleasant odors and sensor malfunctions.


