RV Awning Adjustment Guide – Quick & Easy!
gorvlifestyle.com and its partners may earn a commission if you purchase a product through one of our links
Adjusting an RV awning is an essential skill for every RV owner. With the right tools and a little bit of know-how, you can ensure that your RV awning is properly adjusted for a stress-free outdoor setup. In this guide, we will walk you through the step-by-step process of adjusting your RV awning, from bringing it down to testing the tension and putting it back together. Follow these instructions to keep your awning in optimal condition and enjoy a comfortable camping experience.
Whether you’re a seasoned RV enthusiast or a newbie, learning how to adjust an RV awning will save you time and frustration in the long run. By knowing the steps to adjust an RV awning, you can quickly and easily fine-tune your awning to suit your preferences and camping needs. So let’s dive in and discover the tips for adjusting an RV awning!
Key Takeaways:
- Adjusting your RV awning is an essential skill for every RV owner.
- Having the right tools on hand will make the adjustment process much easier.
- Lowering the awning completely is the first step in the adjustment process.
- Adjusting the awning legs will help stabilize the awning.
- Testing the tension and making adjustments will ensure optimal performance.
Tools Required for RV Awning Adjustment
Before you begin adjusting your RV awning, gather all the necessary tools. Here are the tools you will need:
- RV awning troubleshooting: A set of basic hand tools such as a screwdriver, pliers, and adjustable wrench.
- Fixing an RV awning: A ladder or step stool for easy access to the awning.
- RV awning maintenance: A long pole with a curved end to operate the release switch.
- DIY RV awning adjustment: Replacement parts such as screws, stops, and support arm channels, if necessary.
- RV awning care: A level surface to ensure proper adjustment and stability.
Having these tools handy will make the adjustment process easier and more efficient. So, gather them all before you start working on your RV awning.
Lowering the Awning Completely
Before you can start adjusting your RV awning, the first step is to lower it completely. This will allow you to work on it more easily and ensure proper adjustments. Follow these steps to lower your awning:
- Locate the release switch at the top of the front of the awning roll.
- Using a long pole with a curved end, reach and operate the switch. This will flip the switch from “up” to “down”.
- Gently lower the awning by extending it until it hangs freely at the side of your RV.
Lowering the RV awning completely provides you with the necessary access to make the adjustments you need to achieve optimal performance. Take your time with this step to ensure that the awning is securely lowered and ready for further adjustments.
Expert Tip:
When flipping the release switch, make sure to use caution and control the downward movement of the awning to avoid any sudden drops or accidents.
Adjusting the Awning Legs
Once the awning is lowered, it’s time to adjust the awning legs. Follow these simple steps to ensure proper adjustment:
- Raise the upper section of the leg to pull out the support arm from the side of the camper.
- Remove the screws at the base of the channel that hold the support arm in place, allowing it to hang freely.
- For the back leg, raise the upper section and detach the front leg from the side of the RV.
- Stand up the front leg and prop it up with a ladder for stability.
- Use a second ladder to rotate the front leg counter-clockwise and the rear leg clockwise.
- Ensure that the legs are securely in place and the awning is stable.
By following these steps, you can adjust the awning legs effectively, ensuring the stability and proper functioning of your RV awning.
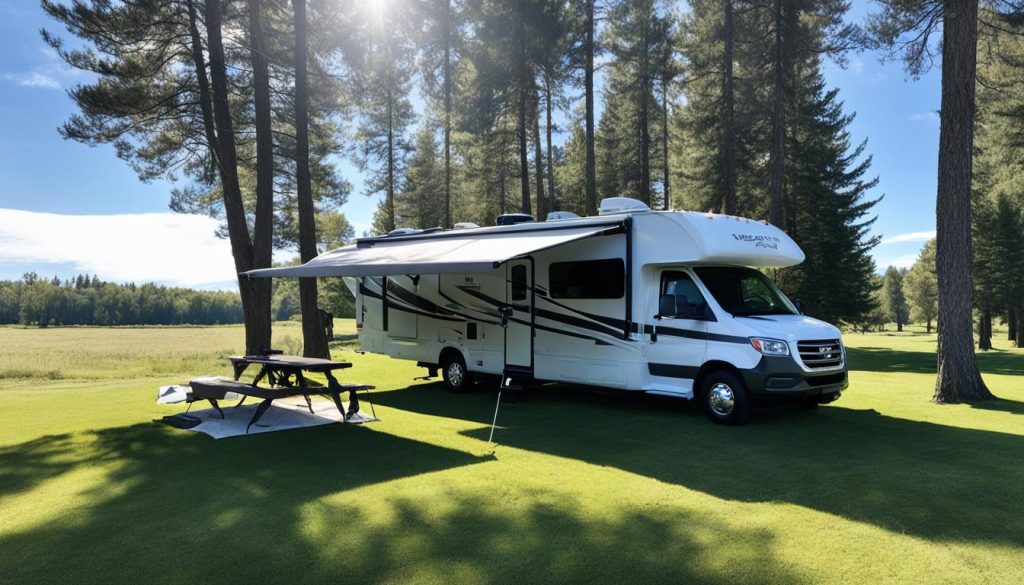
Remember, maintaining your awning in good condition is key to enjoying a comfortable camping experience. The proper adjustment of the awning legs is just one of the essential steps in maintaining your RV awning. In the next section, we will cover how to test the tension and make any necessary adjustments.
Testing the Tension and Making Adjustments
Before you finish adjusting your RV awning, it’s important to test the tension and make any necessary adjustments to ensure optimal performance. Follow these steps to test the tension and fine-tune your RV awning:
- Reattach the rear leg: Start by reattaching the rear leg to the side of your RV. Make sure it is securely fastened.
- Lower both leg sections: Lower both leg sections completely to their fully extended position.
- Partially roll up the awning: Roll up the awning partially, leaving a portion of it extended.
- Observe the tightness: Take a moment to observe the tension of the awning. Is it too loose or too tight? Look for any sagging or excessive strain on the fabric.
- Make adjustments: If you are satisfied with the tension, you can proceed to put everything back together. However, if the tension needs adjustment, you can tighten or loosen the legs in small increments to achieve the desired tension. Be careful not to over-tighten the spring.
- Test the tension again: After making adjustments, roll up the awning partially once more and observe the new tension. Repeat the adjustment process if necessary until you achieve the desired tension.
By testing the tension and making adjustments as needed, you can ensure that your RV awning is properly adjusted and provides the ideal amount of shade and protection. Don’t rush the process and take the time to get the tension just right for a comfortable outdoor experience.
Putting the Awning Back Together
Once you are satisfied with the tension of your RV awning, it’s time to put everything back together. Follow these steps to ensure a proper reassembly:
- Reattaching the Legs: Securely reattach both legs to the side of the RV, ensuring they are aligned and properly connected.
- Inserting the Stops: Place the stops back into the upper leg section channels to prevent the legs from sliding back out.
- Returning the Screws: Carefully return the screws to their original positions to secure the support arm in place.
- Lowering the Legs Completely: Lower the legs completely and ensure they are tightened to provide stability and support to your awning.
Take a moment to double-check that all parts are securely connected and tightened before proceeding. Your awning should now be fully reassembled and ready for use.
Finishing Touches and Admiring Your Work
Congratulations! Your RV awning is now properly adjusted and ready to enhance your outdoor experience. Whether you’re seeking shade on a sunny day or protection from the elements, your awning is your trusted companion. Now, it’s time to enjoy the benefits of your hard work.
To start, roll up the awning and secure it in place. This will not only protect the fabric from damage, but also keep it tidy and ready for future use. With the awning neatly stowed away, you’ll have more space to enjoy outdoor activities without any obstructions.
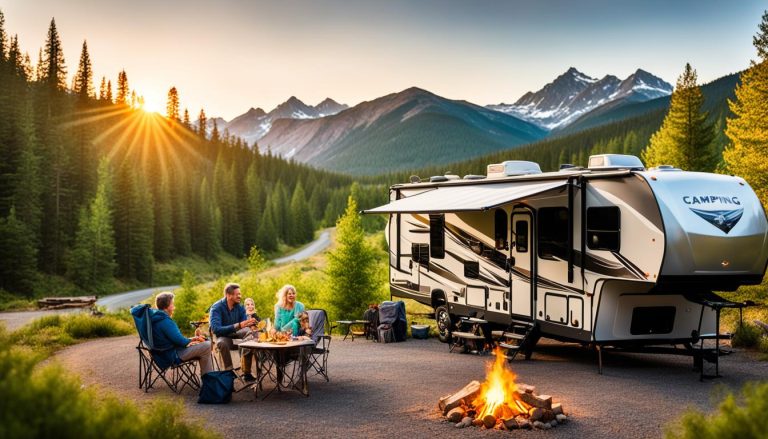
Now, imagine sitting under your awning, savoring a morning cup of coffee or hosting a delightful outdoor gathering with friends and family. With your awning properly adjusted, you can confidently relax and engage in various outdoor activities, protected from the sun’s rays or light rain showers.
Take a moment to admire your work. Appreciate the improved functionality and aesthetics of your RV awning. You’ve not only enhanced your camping setup but also created a cozy and inviting outdoor space. With the satisfaction of a job well done, it’s time to enjoy the great outdoors!
FAQ
How do I adjust my RV awning?
To adjust your RV awning, start by lowering it completely using the release switch. Then, adjust the awning legs by raising the upper section, freeing the support arm, and propping up the legs. Test the tension and make small adjustments as needed. Finally, put the awning back together by reattaching the legs, inserting the stops, and securing the support arm.
What tools do I need to adjust my RV awning?
To adjust your RV awning, you will need a long pole with a curved end to operate the release switch and various screws to secure the support arm. Additionally, it would be helpful to have ladders to reach certain parts of the awning.
How do I lower my RV awning completely?
To lower your RV awning completely, locate the release switch at the top of the front of the awning roll and flip it from “up” to “down.” You can use a long pole with a curved end to reach and operate the switch. Lower the awning until it is fully extended and hanging freely at the side of the RV.
How do I adjust the legs of my RV awning?
To adjust the legs of your RV awning, start by raising the upper section of the leg to pull out the support arm from the side of the camper. Remove the screws at the base of the channel to allow the support arm to come out and hang freely. Then, raise the upper section of the back leg and detach the front leg from the side of the RV. Stand up the front leg and prop it up with a ladder. Use a second ladder to rotate the front leg counter-clockwise and the rear leg clockwise, ensuring the legs are secure and the awning is stable.
How do I test the tension of my RV awning?
To test the tension of your RV awning, reattach the rear leg and lower both leg sections completely. Roll up the awning partially and observe the tightness. If you are satisfied with the tension, proceed to put everything back together. If not, you can tighten or loosen the legs in small increments, making sure not to over-tighten the spring. Test the tension again and repeat the adjustment process until you achieve the desired tension.
How do I put my RV awning back together?
To put your RV awning back together, reattach both legs to the side of the RV, insert the stops back into the upper leg section channels, return the screws to secure the support arm, and lower the legs completely. Make sure all the parts are properly connected and tightened before moving on.
What should I do once my RV awning is adjusted?
Once your RV awning is adjusted, you can roll it up and secure it in place. Whether you’re using the awning for shade or protection from the elements, you can now enjoy the benefits of your properly adjusted awning. Take a moment to admire your work and appreciate the improved functionality and aesthetics of your RV awning. Happy camping!

