RV Slide Out Adjustment Guide – Quick Steps
gorvlifestyle.com and its partners may earn a commission if you purchase a product through one of our links
Adjusting a slide out on an RV is essential for maintaining a level setup and ensuring smooth travels. Most slide outs are operated by a motor, hydraulic pump, or cables, and require adjustments in height, track alignment, cable tension, and roller positioning. In this guide, we will walk you through the step-by-step process of adjusting each of these components to ensure that your RV slide out functions properly. Whether you are a DIY enthusiast or prefer to seek professional help, these tips will help you troubleshoot common issues and provide best practices for maintaining your RV slide out.
Key Takeaways:
- Proper adjustment of an RV slide out is crucial for maintaining a level setup and smooth operation.
- Adjustments may need to be made to the height, tracks, cables, and rollers of the slide out.
- Measure the gap between the slide out and RV body to ensure the proper height.
- Inspect and align the slide out tracks regularly to prevent uneven operation and noise.
- Refer to the manufacturer’s instructions or seek professional help for complex adjustments involving cables or rollers.
Adjusting the Height of a Slide Out
When it comes to RV slide out height adjustment, achieving a level and balanced position is crucial. This ensures smooth operation and prevents any potential damage to your RV. The process begins with measuring the gap between the slide out and the RV body on both sides when the slide out is fully retracted and deployed. By comparing these measurements, you can determine if any adjustments need to be made.
To measure the slide out height, follow these steps:
- Use a measuring tape to measure the distance between the slide out bottom and the RV body on one side.
- Repeat the measurement on the other side of the slide out.
- Compare the measurements to identify any discrepancies.
Once you have determined the required adjustment, you can proceed to make changes using the jam nuts located on the slide out’s support arms. By tightening or loosening these nuts, you can raise or lower the slide out to achieve the desired height.
It’s important to note that the adjustment process should be done gradually to ensure a smooth transition and minimal stress on the RV slide out mechanism. Take your time and make small adjustments, checking the height frequently as you go. This will help prevent any sudden movement or damage.
| Step | Procedure |
|---|---|
| 1 | Measure the gap between the slide out and the RV body on both sides when the slide out is fully retracted and deployed. |
| 2 | Compare the measurements to identify any discrepancies. |
| 3 | Adjust the slide out’s height using the jam nuts located on the support arms. |
| 4 | Make small adjustments, checking the height frequently to ensure a level and balanced position. |
By following these steps, you’ll be able to achieve the ideal height for your RV slide out, ensuring a smooth and enjoyable camping experience.
Adjusting the Slide Out Tracks
The next aspect of adjusting an RV slide out is to address any issues with the slide out tracks. These tracks guide the slide out in and out of the RV, and if they are misaligned or damaged, it can result in uneven slide out operation and noisy movements.
Start by inspecting the motor, wiring, and bolts on the slide out for any looseness or damage. Tighten any loose components and lubricate the tracks with a suitable lubricant to ensure smooth operation. Regular maintenance of the slide out tracks is crucial for preventing future issues and prolonging the lifespan of your slide out mechanism.
Slide Out Track Alignment Checklist:
- Inspect the slide out tracks for any signs of misalignment or damage.
- Tighten any loose bolts or screws along the tracks.
- Check the motor and wiring connections for any looseness or frayed wires.
- Lubricate the tracks with a recommended slide out lubricant.
- Test the slide out operation after adjustments to ensure smooth and noise-free movement.
“Proper alignment and regular lubrication of the slide out tracks are essential for ensuring trouble-free operation and minimizing slide out noises.” – RV Maintenance Experts
Remember, maintaining the alignment and lubrication of your RV slide out tracks is crucial for its optimal performance. By following these troubleshooting steps and performing regular maintenance, you can extend the lifespan of your slide out mechanism and enjoy smooth, noise-free slide out operation during your RV adventures.
| Common Slide Out Track Issues | Possible Causes | Recommended Solutions |
|---|---|---|
| Noisy slide out operation | Lack of lubrication on the tracks | Apply a recommended slide out lubricant, following the manufacturer’s instructions |
| Uneven slide out movement | Misaligned or damaged slide out tracks | Inspect and realign the slide out tracks or seek professional assistance if needed |
| Stuck slide out | Obstructions or debris on the tracks | Clean the tracks and remove any obstructions before attempting to operate the slide out |
Adjusting the Extended Cables
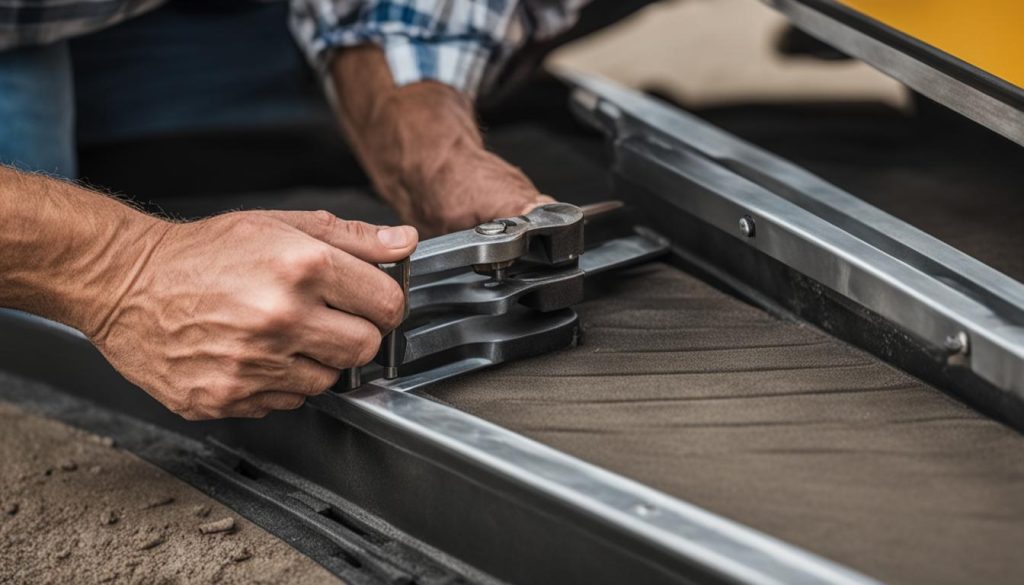
Some RV slide outs are operated by extended cables, which can become misaligned over time and cause malfunctioning. To ensure the smooth operation and alignment of your RV slide out, it’s important to perform regular cable adjustments as part of your maintenance routine.
Start by referring to the manufacturer’s instructions or the sticker located on your RV or slide out. This sticker provides valuable information on how the cables should be adjusted and may even be color-coded for easy reference. Familiarize yourself with the instructions and gather the necessary tools before proceeding.
Here are the general steps for adjusting the extended cables on your RV slide out:
- First, ensure that your RV is parked on a level surface and the slide out is fully retracted.
- Locate the adjustment points for the extended cables. These are typically located near the slide out mechanism or underneath the RV.
- Mark the positions of the nuts using a marker or tape. This will help you easily identify any changes in cable tension during the adjustment process.
- Using the appropriate wrench or tool, make small adjustments to the nuts according to the manufacturer’s instructions. Turn the nuts clockwise to increase tension and counterclockwise to decrease tension.
- After each adjustment, test the slide out by extending and retracting it to ensure smooth and secure operation.
- Continue making small adjustments until the slide out is properly aligned and operates smoothly.
If you encounter any difficulties or are unsure about the adjustment process, it’s recommended to seek professional assistance. They have the expertise to diagnose any issues and make precise adjustments, minimizing the risk of potential damage or safety hazards.
Quick Tips for RV Slide Out Cable Adjustment:
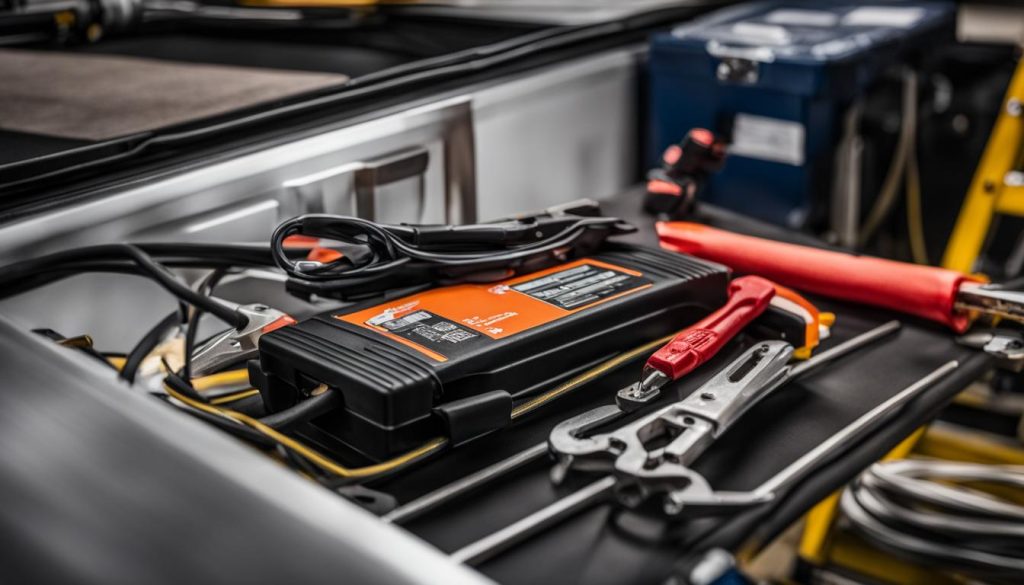
- Regularly inspect the cables for any signs of wear, fraying, or damage. Replace any damaged cables as necessary.
- Keep the extended cables well-lubricated to ensure smooth operation. Use an appropriate lubricant recommended by the manufacturer.
- Perform routine maintenance on other components of your slide out, such as rollers, tracks, and seals, to ensure overall functionality and longevity.
By following these steps and properly maintaining the extended cables of your RV slide out, you can enjoy hassle-free travels and prevent potential issues in the future.
Seeking Professional Help for Complicated Adjustments
While the previous sections have provided valuable insights into DIY adjustments for your RV slide outs, it is important to acknowledge that certain adjustments, especially those involving rollers, can be more intricate and best left to professionals. If you find yourself uncertain about adjusting the rollers or experience other complex issues with your RV slide out, it is highly recommended to seek the assistance of a trusted professional RV technician or mechanic.
These experts possess the necessary knowledge, experience, and specialized tools to effectively diagnose and address any problems with your RV slide out. By relying on their expertise, they can ensure that your slide out receives professional care, allowing it to function optimally and extend its lifespan. Remember, when it comes to complex adjustments and repairs, prioritizing safety and ensuring the best outcome is paramount.
If you require professional assistance for RV slide out adjustment services, RV slide out repair, or troubleshooting any issues, many reputable service providers offer their skills and expertise in the United States. By entrusting your RV slide out to professionals, you can have peace of mind knowing that your cherished recreational vehicle is in capable hands and will receive the care it deserves.
FAQ
How do I adjust the height of a slide out on my RV?
To adjust the height of a slide out, measure the gap between the slide out and the RV body on both sides when fully retracted and deployed. Compare the measurements and make adjustments using the jam nuts to achieve a level and balanced position.
What should I do if my RV slide out tracks are misaligned?
If your slide out tracks are misaligned, inspect the motor, wiring, and bolts for looseness or damage. Tighten any loose components and lubricate the tracks with a suitable lubricant for smooth operation. Regular maintenance of the slide out tracks is vital for preventing future issues.
How do I adjust the extended cables on my RV slide out?
To adjust the extended cables, refer to the manufacturer’s instructions or the sticker located on your RV or slide out. Mark the positions of the nuts and adjust them as directed. If you’re unsure about this process, seek professional assistance to avoid potential damage or safety hazards.
When should I seek professional help for RV slide out adjustments?
If you encounter complex issues with your RV slide out, such as adjusting rollers or other complicated adjustments, it’s best to seek the assistance of a professional RV technician or mechanic. They have the knowledge and tools to properly address any problems, ensuring optimal functioning and longevity.


