RV Roof Vent Replacement Made Easy
gorvlifestyle.com and its partners may earn a commission if you purchase a product through one of our links
Replacing an RV roof vent is a straightforward DIY project that can improve air circulation, ventilation, and natural light in your RV. Over time, roof vents may need to be replaced due to worn sealant, damaged fans, or general wear and tear. With the right tools and supplies, you can easily replace your RV roof vent and enjoy a more comfortable and well-ventilated living space.
Key Takeaways:
- Replacing an RV roof vent is a simple DIY project that can enhance the ventilation in your RV.
- Make sure you have the necessary tools and supplies, including a new vent, screwdriver, putty scraper, sealant, caulking gun, double-sided tape, and wire cutters.
- Removing the old vent involves taking out the garnish, scraping off the old sealant, unscrewing the vent, and cleaning the roof.
- Installing the new vent requires following the instructions provided, attaching wires if needed, applying putty tape or sealant, securing the vent with screws, and sealing the edges.
- Replace the garnish from the inside to complete the replacement process.
Organize Tools and Supplies
Before you begin replacing your RV roof vent, it’s essential to have all the necessary tools and supplies ready. Being prepared will make the process smoother and faster. Here are the required items you’ll need:
- Screwdriver: Choose the appropriate style of screwdriver based on the type of screws used in your RV roof vent.
- Putty scraper: This tool will help you remove the old sealant from your RV’s roof.
- New sealant and caulking gun: Use a high-quality sealant and caulking gun to ensure a watertight seal after installing the new vent.
- Double-sided tape (putty tape): This tape will help secure the vent in place and maintain its stability.
- Wire cutters: If your existing vent has a fan, wire cutters will be necessary to disconnect and reconnect the wires to the new vent.
Make sure to gather and organize all of these tools and supplies before starting the replacement process. Having everything readily available will save you time and ensure a successful RV roof vent replacement.
Remove the Old Vent
When it comes to replacing an RV roof vent, the first step is to remove the old vent. Follow these simple steps to remove the old vent and prepare for the installation of a new one:
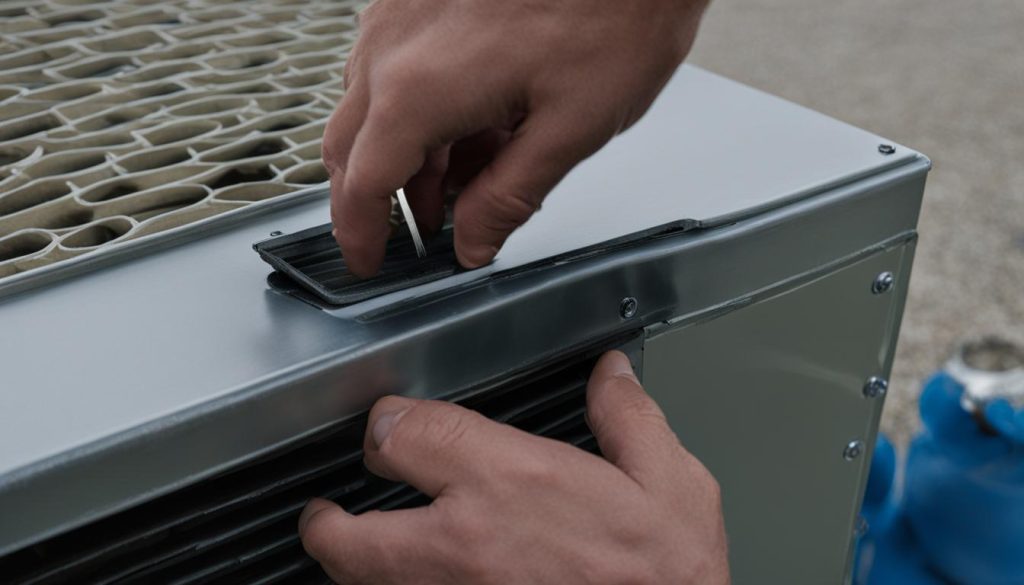
- 1. Take out the garnish: The garnish is the metal or plastic part inside the ceiling that covers the sides of the vent opening. From inside the RV, reach up and pull out the garnish. This will expose the vent for removal.
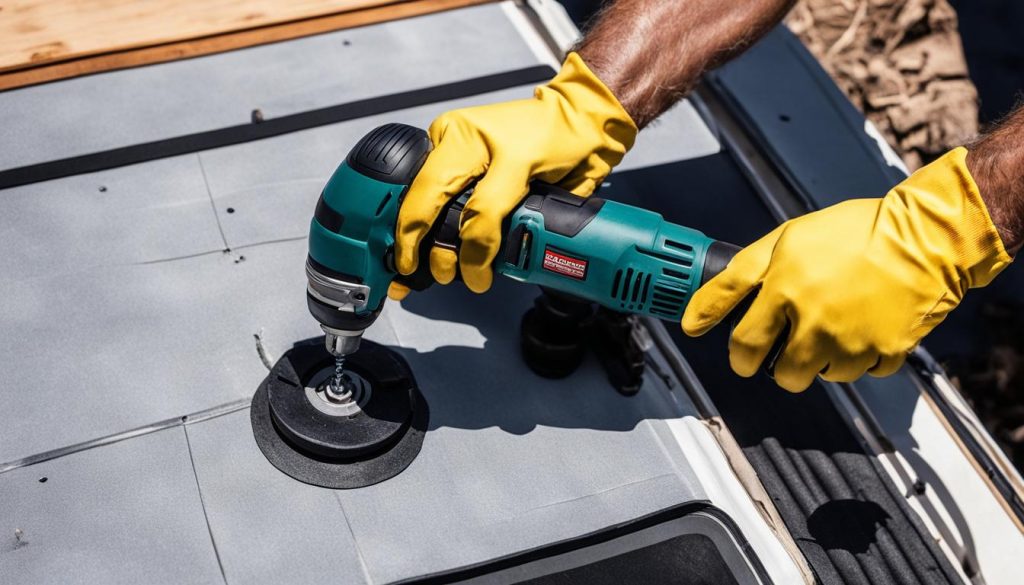
- 2. Scrape off the old sealant: Head up to the roof of your RV and use a putty scraper or flathead screwdriver to scrape off the old sealant around the vent. Be thorough in removing all the old sealant to ensure a clean surface for the new vent.
- 3. Unscrew and lift out the vent: Once the sealant is removed, unscrew the vent and lift it out. Take care not to damage the roof while doing this. If the vent has a circulating fan, make sure to turn off the power and cut the wires diagonally, leaving enough slack to easily reconnect them to the new vent.
- 4. Clean off any remaining sealant: After removing the old vent, clean off any remaining sealant from the roof. Use a putty scraper or a clean cloth to ensure a smooth surface for installing the new vent.
Following these steps will help you successfully remove the old RV roof vent and prepare for the installation of a new one. Now that you’re ready to move on to the next step, let’s discuss how to install the new vent.
Expert Tip:
“When removing the old vent, be careful not to damage the roof or any surrounding structures. Take your time and use the proper tools to ensure a smooth removal process.”
| Tools Needed | Supplies |
|---|---|
|
|
Having these tools and supplies ready will make the removal process much easier and efficient.
Install the New Vent
Once you have successfully removed the old vent, it’s time to install the new one. Follow these steps to ensure a proper installation:
- Read the Instructions: Before you begin, carefully read the instructions provided with the new vent. Pay attention to any special tips or notes that may be included.
- Wire Attachment: If the new vent has a fan, start by attaching the wires. Follow the manufacturer’s guidelines for proper wiring.
- Apply Putty Tape or Sealant: To ensure a watertight seal, apply putty tape or sealant along the edges of the vent that will be facing down onto the roof. This helps to prevent any water leakage.
- Secure with Screws: Place the vent in position and secure it to the roof using the appropriate screws provided. Make sure to tighten them securely, but be cautious not to over-tighten and damage the vent or the roof.
- Seal the Edges: To further ensure a tight seal and prevent any potential leaks, seal over the screws and along the edges of the vent with additional sealant or caulk. This helps to create a barrier against water penetration.
Remember, it is crucial to carefully follow the installation instructions provided by the manufacturer to ensure a proper and secure installation of the new vent.

Installing a new RV roof vent is an important step in maintaining proper air circulation and ventilation inside your RV. It also helps to bring in natural light, creating a more comfortable and enjoyable space. By following these steps, you can confidently install a new roof vent and enhance the functionality of your RV.
Replace the Garnish
Once the new vent is installed, it is time to replace the garnish. The garnish is the metal or plastic part inside the ceiling that covers the sides of the opening where the vent fits. If the new vent comes with a garnish, use that instead of the old one. Simply reattach the garnish from the inside of the RV, covering the sides of the vent opening. This will give the interior a cleaner look and complete the replacement process.

Replacing the garnish is a straightforward process that adds a finishing touch to the newly installed RV roof vent. By ensuring the garnish is securely in place, you not only improve the aesthetics of the interior but also enhance the overall functionality of the vent.
Follow these steps to replace the RV roof vent garnish:
- Ensure the new vent garnish is compatible with your RV model.
- Remove the old garnish by gently pulling it out from the ceiling.
- Insert the new garnish into the vent opening, aligning it properly.
- Secure the new garnish in place using the provided screws or clips.
- Confirm that the garnish fits snugly and covers the exposed sides of the vent opening.
By replacing the garnish, you not only improve the appearance of your RV’s interior but also maintain proper insulation and prevent potential water leakage. Plus, it provides a professionally finished look to your RV roof vent replacement project.
Additional Considerations
While replacing an RV roof vent is a relatively simple DIY project, it’s always a good idea to consult with a local RV dealer or RV parts store for vent options and advice. They have the expertise and knowledge to help you choose the best roof vent options for your RV. Consulting with professionals can also address any specific questions or concerns you may have.
There are various designs and styles of roof vents available on the market, allowing you to choose the one that best suits your needs. Opting for a roof vent that complements the interior of your RV can enhance its appearance while providing proper ventilation. Furthermore, a well-designed roof vent can contribute to a cleaner and more comfortable living space inside your RV.
Take advantage of the wide range of RV roof vent options and make the most informed decision by consulting with an RV dealer or parts store. Their expertise and experience can ensure that you find the perfect roof vent for your RV, maximizing its functionality and aesthetic appeal.
Comparison of Popular RV Roof Vent Options
| Roof Vent | Features | Benefits |
|---|---|---|
| Fantastic Vent 2250 | High-powered fan, remote control, rain sensor | Efficient airflow, convenient operation, protection against rain |
| Maxxair 00-05100K | Integrated rain shield, reversible fan, manual or automatic operation | Rain protection, versatile operation, easy installation |
| Dometic 801200 | 12-volt fan, multiple speed settings, automatic thermostat | Energy-efficient, customizable airflow, automatic temperature control |
Conclusion
Replacing your RV roof vent is a rewarding and straightforward DIY project that can greatly enhance your RV experience. By following the step-by-step guide outlined in this article, you can easily replace your roof vent and enjoy improved air circulation and ventilation in your RV.
Choosing the right vent for your RV is crucial to ensure optimal functionality. Take the time to research and select a vent that suits your specific needs and preferences. Additionally, ensure that you properly install and seal the vent to prevent any leaks or structural issues.
If you have any doubts or would like additional tips, consider consulting with experts in the RV industry. They can provide valuable guidance and insights to help you successfully complete your roof vent replacement. By investing some time and effort into this project, you can reap the benefits of a well-ventilated and comfortable RV interior.
FAQ
What tools and supplies do I need to replace an RV roof vent?
To replace an RV roof vent, you will need a screwdriver, putty scraper, sealant, caulking gun, double-sided tape, and wire cutters.
How do I remove the old RV roof vent?
To remove the old RV roof vent, first, take out the garnish from inside the RV. Then, go onto the roof and scrape off the old sealant, unscrew the vent, and lift it out.
How do I install the new RV roof vent?
To install the new RV roof vent, attach the wires if it has a fan, apply putty tape or sealant along the edges, secure the vent with screws, and seal over the screws and edges.
How do I replace the garnish on the RV roof vent?
To replace the garnish on the RV roof vent, simply reattach the garnish from inside the RV, covering the sides of the vent opening.
Are there any additional considerations when replacing an RV roof vent?
Yes, it is important to consider the various designs and styles of roof vents available on the market and consult with a local RV dealer for vent options and expert guidance.


