RV Air Conditioner Installation Guide
gorvlifestyle.com and its partners may earn a commission if you purchase a product through one of our links
If your RV air conditioner is not cooling properly, it may be time to replace the unit. Replacing an RV air conditioner can be a cost-saving DIY project. In this guide, we will provide you with a step-by-step process for installing an RV air conditioner. By following these instructions, you can save money on hiring a professional and ensure that your RV stays cool during your road trips.
Key Takeaways:
- Replacing your RV air conditioner can be a cost-saving DIY project.
- Before starting, determine if you need a complete installation or if you can replace specific parts.
- Essential parts for installation include the rooftop unit and the ceiling assembly.
- Follow best practices and professional techniques to ensure a successful installation.
- Ensure the roof can support the weight of the new unit and test the unit thoroughly after installation.
Do I Need to do a Complete RV A/C Installation?
Before starting the installation process, it’s important to determine if you need a complete RV air conditioner installation or if you can simply replace certain parts of the unit. If your air conditioner is old or if multiple components are malfunctioning, it is recommended to replace the entire unit. However, if only specific parts, such as the fan blade or motor, need to be replaced, it may be more cost-effective to replace those parts instead.
Replacing the entire unit ensures that you have a brand new, reliable air conditioner that will provide efficient cooling for your RV. It eliminates the risk of future malfunctions and ensures that all components are in optimal condition. Additionally, a complete installation gives you the opportunity to upgrade to a more energy-efficient unit, helping you save on energy costs in the long run.
On the other hand, if only specific parts of your RV air conditioner are malfunctioning, it may be more economical to replace those parts instead of the entire unit. This is especially true if your air conditioner is relatively new and the majority of its components are still in good working order. By replacing the faulty parts, you can extend the lifespan of your current unit and avoid unnecessary expenses.
Ultimately, the decision to do a complete RV A/C installation or replace specific parts depends on the condition of your current unit, your budget, and your long-term goals. Consulting with a professional can provide valuable insights and help you make an informed decision.
Keep in mind that regardless of whether you choose to do a complete installation or replace specific parts, it’s important to follow the proper installation process to ensure the longevity and efficient functioning of your RV air conditioner. In the next section, we will discuss the parts needed for a successful installation.
What are the Parts Needed for a Camper Air Conditioner Replacement?
To complete an RV air conditioner installation, you will need two main parts: the rooftop unit and the ceiling assembly. The rooftop unit is responsible for cooling the air, while the ceiling assembly houses the controls for the air conditioner. Additionally, you may need other tools and materials such as screws, sealants, and wiring connectors. It is important to have the necessary tools and parts before beginning the installation process.
| Parts | Description |
|---|---|
| Rooftop Unit | The rooftop unit is the main component of the RV air conditioner. It is installed on the roof of the RV and is responsible for cooling the air inside the vehicle. |
| Ceiling Assembly | The ceiling assembly is the component that houses the controls for the air conditioner. It is installed on the interior ceiling of the RV and allows the user to adjust the temperature and fan speed of the unit. |
| Screws | Screws are used to secure the rooftop unit and the ceiling assembly in place. They ensure that the air conditioner is securely attached to the RV. |
| Sealants | Sealants are used to create a watertight seal between the rooftop unit and the roof of the RV. They prevent any water from leaking into the vehicle during rainy weather. |
| Wiring Connectors | Wiring connectors are used to connect the electrical wiring of the air conditioner to the RV’s electrical system. They ensure that the unit receives power and functions properly. |
Having all the essential tools and parts before starting the RV air conditioner installation process will help ensure a smooth and successful installation. Make sure to gather everything you need beforehand to avoid any delays or complications during the installation.
What are the Steps to Complete a Camper Air Conditioner Installation?
Installing an RV air conditioner is a relatively simple process that can be completed by someone with minimal technical skills. By following a few best practices and professional techniques, you can ensure a successful installation and avoid common mistakes.
The steps involved in the installation process are as follows:
- Remove the old AC unit: Start by disconnecting the power supply and removing any screws or fasteners securing the unit. Carefully detach the wiring and any ductwork connected to the old AC unit. Take caution to prevent any damage to the roof or yourself during this step.
- Place the new air conditioner on the roof: Carefully lift the new air conditioner onto the roof and position it over the opening. Ensure it is aligned properly with the roof opening.
- Connect the ducts and electrical wiring: Reattach the ductwork to the new air conditioner, making sure it is properly connected and sealed to avoid any air leaks. Connect the electrical wires according to the manufacturer’s instructions, ensuring a secure and safe connection.
- Test the unit: Before securing the new air conditioner in place, test it to ensure proper operation. Turn on the power supply and check if the air conditioner cools the air effectively. Pay attention to any strange noises or vibrations and address them if necessary.
Following these steps will help you complete the RV air conditioner installation process smoothly. Remember to use appropriate tools and follow safety guidelines throughout the installation.
Best Practices for Installing RV Air Conditioner
Quote: “When installing an RV air conditioner, it’s important to follow best practices to ensure proper functioning and longevity of the unit.” – HVAC Expert
Here are some best practices to keep in mind:
- Read the manufacturer’s instructions: Familiarize yourself with the installation guidelines provided by the air conditioner manufacturer. Following their recommendations will ensure you install the unit correctly.
- Choose the right location: Install the air conditioner in a location that allows for efficient airflow and easy access for maintenance. Avoid placing it near vents, exhaust fans, or other obstructions.
- Secure the unit properly: Use the appropriate screws, brackets, or mounts recommended by the manufacturer to secure the air conditioner to the roof. This will prevent any damage caused by movement or vibrations during travel.
- Seal all connections: Ensure that all connections, including ducts and wiring, are properly sealed to prevent air leaks and potential damage to the RV’s interior.
Following these best practices will not only help you install the RV air conditioner correctly but also contribute to its optimal performance throughout its lifespan.
Tips for Installing RV Air Conditioner
When it comes to installing an RV air conditioner, there are some important tips to keep in mind to ensure a successful installation. Here are some key tips:
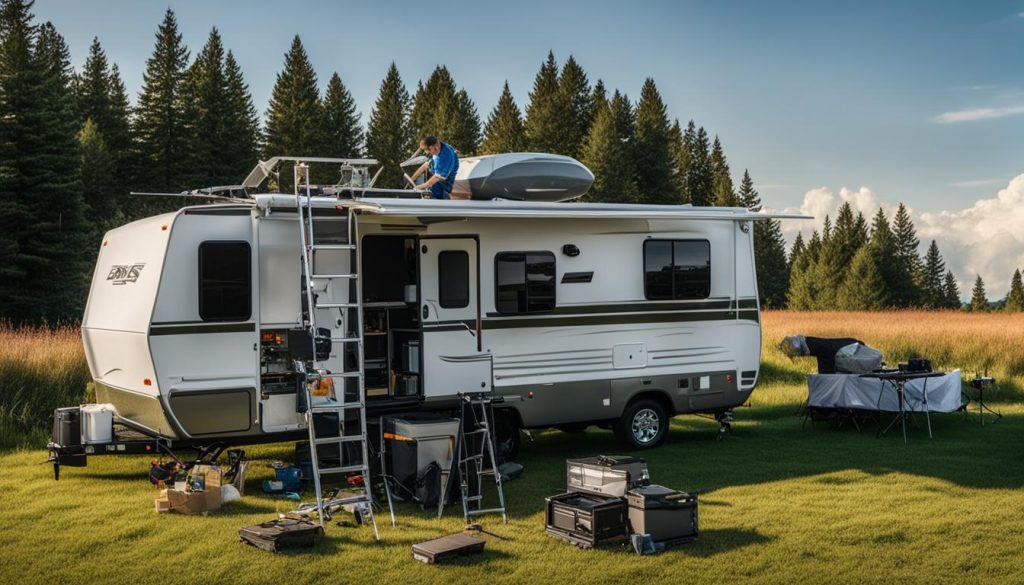
- Ensure the roof can support the weight of the new unit: Before starting the installation process, it is crucial to ensure that your RV’s roof can safely support the weight of the new air conditioner unit. Check your RV’s owner’s manual or consult with a professional if you have any concerns.
- Use caution when removing the old AC unit: When removing the old air conditioner unit, take extra care to avoid causing any damage to the roof or injuring yourself. Follow the manufacturer’s instructions or seek guidance from an experienced installer if needed.
- Clean the area around the roof opening: Before installing the new unit, make sure to thoroughly clean the area around the roof opening. Remove any old sealants or residue to create a clean and smooth surface for installation.
- Consult the manufacturer’s instructions: Each RV air conditioner unit may have specific wiring and ducting configurations recommended by the manufacturer. It is important to consult the provided instructions and follow them carefully to ensure proper installation.
- Test the unit thoroughly: Once the installation is complete, it is essential to test the RV air conditioner to ensure it is working correctly. Run the unit for a sufficient amount of time to verify that it is cooling effectively and that all controls are functioning as intended.
By following these tips, you can help ensure a smooth and successful installation process for your RV air conditioner. Remember to prioritize safety, carefully follow instructions, and seek professional assistance if needed.
Considerations for RV A/C Replacement Packages
When it comes to selecting the right RV air conditioner replacement package, there are key factors to consider to ensure optimal cooling performance and energy efficiency. These factors include the required cooling capacity, energy efficiency rating, and the option to add additional features such as a heat pump or RV AC heat strip. Consulting with a professional at an RV part shop can help you determine the best replacement package for your specific needs.
One crucial consideration when choosing an RV air conditioner replacement package is the cooling capacity. The cooling capacity is measured in British Thermal Units (BTUs) and determines how effectively the air conditioner can cool the interior of your RV. It’s essential to choose an air conditioner with the appropriate cooling capacity based on the size of your RV. A unit with insufficient cooling capacity may struggle to cool the space, while an oversized unit may cycle on and off frequently, leading to inefficiency and increased energy consumption.
Energy efficiency is another important factor to consider. Look for air conditioner models with high Energy Efficiency Ratio (EER) ratings, which indicate how efficiently the unit converts electrical energy into cooling power. An air conditioner with a higher EER rating can provide better cooling performance while consuming less energy, potentially reducing your electricity costs.
Additionally, you may want to consider adding extra features to your RV air conditioner replacement package. A heat pump is a popular option that can provide both cooling and heating capabilities, making it suitable for year-round RV trips. An RV AC heat strip, on the other hand, can provide additional heating during chilly nights, enhancing your comfort on the road.
To summarize, when selecting an RV air conditioner replacement package, it’s crucial to consider factors such as cooling capacity, energy efficiency, and the option for additional features. By choosing the right package for your RV, you can ensure efficient cooling and optimal comfort throughout your travels. Consult with an RV part shop professional to get expert advice and make an informed decision.
Safety Precautions and Maintenance Tips for RV Air Conditioners
Safety should always be a top priority when installing an RV air conditioner. To ensure a safe installation process, it is essential to follow all electrical safety guidelines and turn off the power before working on the unit. This will protect you from any potential electrical hazards.
Once the installation is complete, regular maintenance is crucial to ensure the longevity and efficient operation of your RV air conditioner. Here are some important maintenance tips:
- Keep the air filters clean: Regularly cleaning or replacing the air filters will help maintain optimal airflow and prevent dust and debris from clogging the system. Refer to the manufacturer’s instructions for specific cleaning recommendations.
- Avoid running the unit on low voltage: Running the RV air conditioner on low voltage can strain the system and lead to decreased cooling capacity and potential damage. Make sure your RV park or campground has an adequate power supply to support the air conditioner’s requirements.
- Park in shaded areas: Parking your RV in shaded areas can help reduce the strain on the air conditioner by preventing direct sunlight from heating up the vehicle. This can contribute to better energy efficiency and overall cooling performance.
By following these safety precautions and maintenance tips, you can ensure the safe installation and optimal performance of your RV air conditioner, keeping you comfortable on your road trips.
Troubleshooting Tips
If you encounter any issues with your RV air conditioner, here are a few troubleshooting tips:
- Check the power supply to ensure the unit is receiving adequate electricity.
- Inspect the thermostat settings to ensure they are correctly configured.
- Examine the wiring connections for any loose or damaged wires.
- Clean the condenser coils to remove any dirt or debris that may be obstructing airflow.
- If the problem persists, consult a professional RV air conditioner technician for further assistance.
Remember, regular maintenance and addressing issues promptly can help prolong the life of your RV air conditioner and ensure it continues to provide reliable cooling during your camping adventures.
Conclusion
Installing an RV air conditioner is a straightforward process that can save you money and ensure your comfort during road trips. By following this step-by-step guide, you can successfully install a new air conditioner in your RV and enjoy cool temperatures no matter where you travel.
Remember to prioritize safety throughout the installation process. Turn off the power and follow all electrical safety guidelines before working on the unit. It is also essential to use the necessary tools and materials to ensure a proper installation.
If you’re unsure or uncomfortable with any step of the installation, don’t hesitate to consult with professionals who can provide expert guidance. They can help you navigate any challenges that may arise and ensure that your RV’s cooling system is installed correctly.
With your new RV air conditioner in place, you can relax and enjoy the cool comfort of your vehicle even on the hottest days. So, take charge of your RV’s climate control and embark on your next adventure with peace of mind!
FAQ
Do I Need to do a Complete RV A/C Installation?
It is recommended to replace the entire unit if your air conditioner is old or if multiple components are malfunctioning. However, if only specific parts need to be replaced, it may be more cost-effective to replace those parts instead.
What are the Parts Needed for a Camper Air Conditioner Replacement?
To complete an RV air conditioner installation, you will need the rooftop unit, the ceiling assembly, and other tools and materials such as screws, sealants, and wiring connectors.
What are the Steps to Complete a Camper Air Conditioner Installation?
The steps involved in the installation process include removing the old AC unit, placing the new air conditioner on the roof, connecting the ducts and electrical wiring, and testing the unit to ensure proper operation.
What are Some Tips for Installing RV Air Conditioner?
Some tips for installing an RV air conditioner include ensuring the roof can support the weight of the new unit, using caution when removing the old AC unit, cleaning the area around the roof opening, and consulting the manufacturer’s instructions for proper wiring and ducting configurations.
What are Considerations for RV A/C Replacement Packages?
When selecting an RV air conditioner replacement package, consider factors such as the required cooling capacity, energy efficiency, and additional features like a heat pump or RV AC heat strip.
What Safety Precautions and Maintenance Tips Should I Follow for RV Air Conditioners?
Prioritize safety by following all electrical safety guidelines, turning off the power before working on the unit, and regularly maintaining your RV air conditioner by cleaning the air filters, avoiding running the unit on low voltage, and parking in shaded areas to reduce strain on the unit.

