Why Does My RV Smell Like Sewage? Quick Fixes
gorvlifestyle.com and its partners may earn a commission if you purchase a product through one of our links
If you own a self-contained RV, you may encounter unpleasant odors that make your camper smell like sewage. Unlike a traditional home where waste is flushed or washed away, RVs have tanks that hold the waste, which can result in odors creeping back up into the living space. The main culprit of sewage odors is usually the RV’s black tank, which holds water, waste, and toilet paper from the RV toilet. To prevent and eliminate RV sewage odor, there are several quick fixes you can try. These include preventing tank clogs, keeping plenty of water in the tank, emptying the tank before it gets full, regularly cleaning and maintaining the toilet gate valve, and using tank treatment products to maintain a healthy tank.
Key Takeaways:
- Prevent RV tank clogs by using RV-safe toilet paper and avoiding putting other items down the toilet.
- Ensure there is plenty of water in the tank to prevent clogs and odors. Flush the toilet after each use and add more water if necessary.
- Empty the black tank before it gets full to prevent odors. Monitor the black tank sensor to know when to empty the tank.
- Regularly clean and maintain the toilet gate valve to prevent odors from entering the RV bathroom.
- Use tank treatment products, like Happy Campers RV Holding Tank Treatment, to control odors and maintain a healthy tank.
Preventing RV Tank Clogs
One of the best ways to prevent RV tank clogs is to use RV-safe toilet paper that easily breaks down in the tank. Using the wrong type of toilet paper can lead to clogs and other plumbing issues. RV-safe toilet paper is designed to dissolve quickly, minimizing the risk of clogs and ensuring smooth wastewater flow.
Pro tip: Look for toilet paper specifically labeled as RV-safe or septic-safe. These brands are formulated to disintegrate rapidly, preventing paper build-up in your RV’s tanks.
Avoid putting any other items besides toilet paper down the toilet. Items like wet wipes and feminine hygiene products do not break down easily and can cause clogs. Stick to using only toilet paper to keep your RV’s plumbing system clog-free.
In the unfortunate event that a clog does occur, there are step-by-step processes available to clean out the RV tank and remove the clog. By following these procedures, you can quickly and effectively get your tank back to optimal function.
“Using RV-safe toilet paper and avoiding other items in the toilet can go a long way in preventing clogs and maintaining a healthy RV plumbing system.” – RV Expert
How to Clean Out an RV Tank and Remove Clogs
- Gather the necessary tools and equipment, such as rubber gloves, a sewer hose, and a tank-cleaning wand.
- Prepare a suitable dumping location, such as an RV dump station.
- Empty the tank by connecting the sewer hose to the RV’s waste outlet and the dump station.
- Flush the tank with water using the tank-cleaning wand to dislodge any stubborn clogs.
- Repeat the flushing process until the water runs clear and the clog is cleared.
- Disconnect the sewer hose and properly store it.
- Dispose of the waste properly according to local regulations.
| Preventing RV Tank Clogs | Cleaning Out RV Tank and Removing Clogs |
|---|---|
| Use RV-safe toilet paper | Gather necessary tools |
| Avoid other items in the toilet | Prepare suitable dumping location |
| – | Empty the tank |
| – | Flush the tank with water |
| – | Repeat flushing process |
| – | Disconnect and store the sewer hose |
| – | Dispose of waste properly |
Keeping Plenty of Water in the Tank
To prevent tank clogs and odors, it is important to keep plenty of water in the black tank. This helps to mix the waste with fluids, preventing it from drying out and causing odors.
Here are some tips for keeping enough water in your RV tank:
- Flush the toilet after each use: This ensures that enough water is introduced into the tank and helps in breaking down the waste materials.
- Adding more water down the drain: If you notice that the tank is not adequately filled with water, add more water down the drain. This can be done by pouring a bucket of water or using a sprayer attachment if available. Remember to only use fresh water in the tank; do not use recycled gray water to avoid causing potential contamination or unpleasant odors.
By following these simple steps, you can ensure that the bottom of the tank is always covered with water, helping to mitigate the risk of clogs and odors.
Additionally, you can monitor the water level in the tank using the black tank sensor. This sensor indicates the amount of water present in the tank, giving you a better idea of when it needs to be emptied and refilled.
It is also beneficial to regularly flush down several tanks of fresh water from the toilet. This helps to ensure a thorough cleaning of the tank and keeps it in optimal condition.
Emptying the Tank Before it Gets Full
To further prevent odors and maintain a healthy RV waste system, it is crucial to empty the black tank before it reaches its full capacity. This not only helps prevent unpleasant smells but also ensures the proper functioning of your RV’s sewage system.
One effective method to keep track of the tank’s fill level is by monitoring the black tank sensor. Regularly checking the sensor will provide you with an accurate indication of how full the tank is and when it’s time to empty it. Aim to dump the tank when it reaches around 3/4 full, allowing for an extra one or two flushes before it becomes completely full.
When emptying the tank, it’s also an opportune time to perform a thorough clean. Proper cleaning techniques will help prevent residue buildup and reduce the risk of odors lingering in the tank. Remember to always follow the manufacturer’s instructions and use RV-safe cleaning products to ensure the longevity of your sewage system.
Proper Tank Emptying Process
- Prepare a designated dumping station or a campground’s waste disposal area.
- Wear gloves and protective clothing to prevent any contact with waste.
- Connect a sewer hose securely to the RV’s black tank outlet and the dumping station.
- Open the black tank valve to allow the waste to flow into the sewer system.
- Once the tank is empty, flush it with a sufficient amount of clean water to remove any remaining residue.
- Carefully disconnect and clean the sewer hose using a hose extension and designated cleaning products.
- Close the black tank valve and properly secure the RV’s waste system.
By emptying the black tank before it gets full and performing regular maintenance, you can enjoy a odor-free camping experience and prolong the lifespan of your RV’s sewage system.
| Benefits of Emptying the Tank Before it Gets Full | |
|---|---|
| Prevents odors | Emptying the tank before it reaches its full capacity helps prevent unpleasant smells from permeating your RV. |
| Maintains tank efficiency | Avoiding overfilling the tank ensures the sewage system can function properly and minimizes the risk of clogs or leaks. |
| Reduces maintenance needs | Regularly emptying the tank and cleaning it decreases the likelihood of buildup and reduces the need for extensive maintenance. |
| Improves overall camping experience | By taking care of your RV’s waste system, you can enjoy a more pleasant camping experience without the nuisance of foul odors. |
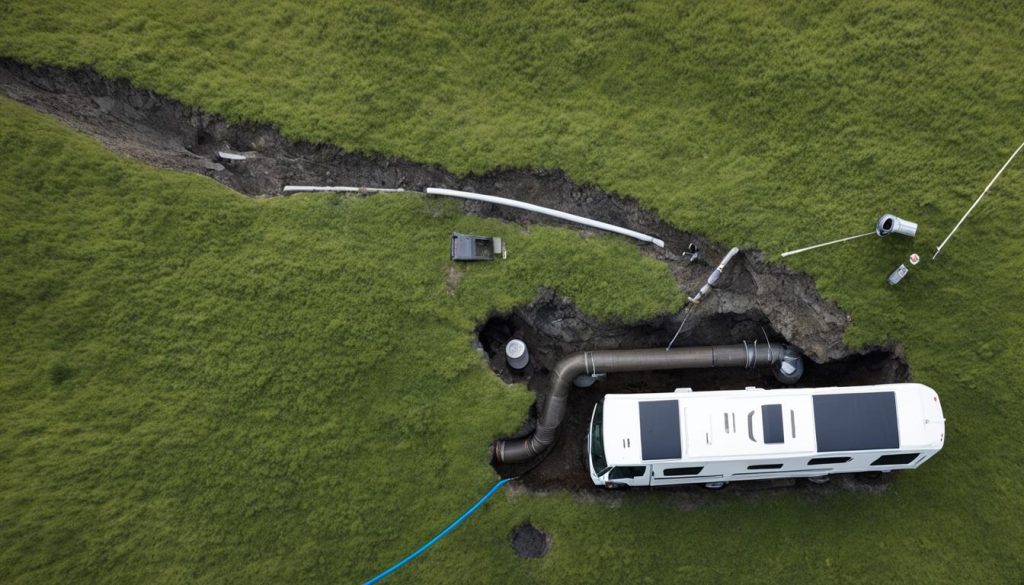
Regularly Cleaning and Maintaining the Toilet Gate Valve
The toilet gate valve is a critical component in preventing odors from wafting up into the RV bathroom. To ensure a fresh and odor-free environment, it’s essential to clean and maintain this valve regularly.
To begin, grab a wet rag and wipe around and under the valve. This simple task helps remove any debris that could interfere with the proper functioning of the valve. Focus on ensuring that the valve closes tightly, creating a secure barrier against unpleasant smells.
Another crucial step in maintaining the toilet gate valve is checking the valve seal for cracks. The seal holds a small amount of water at the bottom of the toilet, preventing lingering odors from infiltrating the bathroom or tank. If you notice any cracks or damage to the seal, it’s important to replace it promptly.
By incorporating regular maintenance and cleaning of the toilet gate valve into your RV toilet maintenance routine, you can effectively keep odors at bay and enjoy a fresh and comfortable bathroom experience throughout your RV travels.
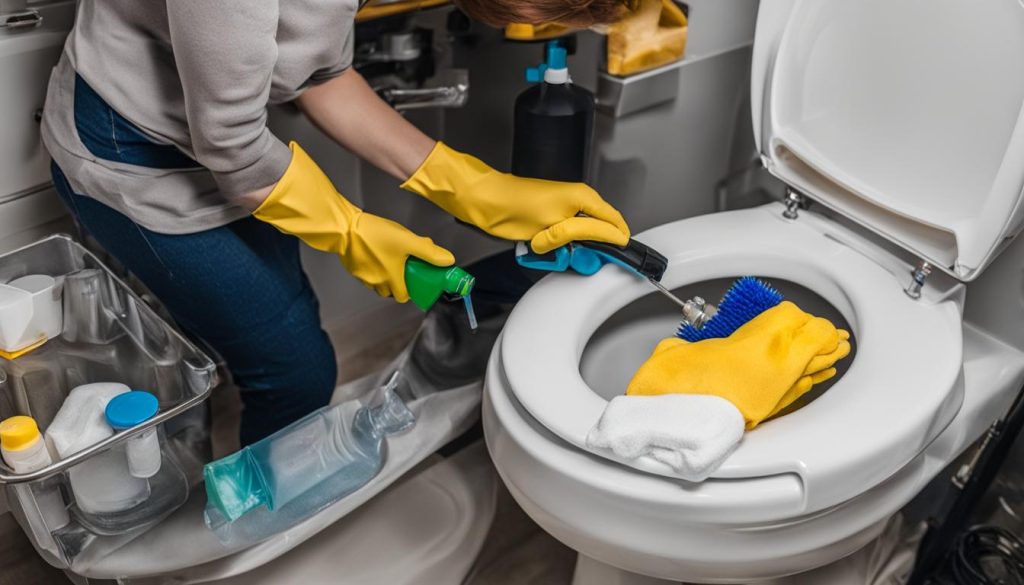
- Wipe around and under the valve with a wet rag to remove debris.
- Ensure the valve closes tightly, providing a secure barrier against odors.
- Check the valve seal for cracks and replace it if necessary to maintain a watertight seal.
Using Tank Treatment for Odor Control
When it comes to maintaining a fresh and odor-free RV, using tank treatment products is an essential step. These treatments help control odors and keep your tank healthy. One highly recommended option is Happy Campers RV Holding Tank Treatment.
Happy Campers RV Holding Tank Treatment is a specially formulated blend of minerals and micronutrients designed to treat waste and eliminate odors without relying on perfumes or harsh chemicals. By using this product in your black tank, you can ensure effective odor control without compromising on your health or the environment.
To get the best results, it’s important to follow the recommended dosage based on the size of your tank. The precise blend of minerals and micronutrients in Happy Campers RV Holding Tank Treatment targets waste decomposition, helping to break down solids and prevent odors. By maintaining a healthy tank environment, you can enjoy your RV adventures without the unpleasant smell of sewage.
So, if you’re looking for a reliable and eco-friendly solution to keep your RV smelling fresh, give Happy Campers RV Holding Tank Treatment a try. With its effective odor control and waste treatment properties, it’s the perfect choice for every RV enthusiast who wants to maintain a clean and enjoyable camping experience.
FAQ
Why does my RV smell like sewage?
Your RV may smell like sewage due to odors coming from the black tank, which holds water, waste, and toilet paper from the RV toilet. It is a common issue in self-contained RVs.
How can I prevent RV tank clogs?
To prevent RV tank clogs, it is important to use RV-safe toilet paper that easily breaks down in the tank. Avoid putting any other items besides toilet paper down the toilet as they can cause clogs. If a clog does occur, there are step-by-step processes available to clean out the tank and remove the clog.
How do I keep plenty of water in the tank?
To keep plenty of water in the black tank, flush the toilet after each use and add more water down the drain if necessary. This helps to mix the waste with fluids, preventing it from drying out and causing odors. It is important to ensure that the bottom of the tank is always covered with water.
When should I empty the tank?
It is recommended to empty the black tank before it gets full. You can monitor the black tank sensor and plan to dump the tank at around the 3/4 full mark. This allows for one or two extra flushes before the tank becomes completely full.
How do I regularly clean and maintain the toilet gate valve?
To keep the toilet gate valve clean and in good repair, wipe around and under the valve with a wet rag to remove debris. Checking the valve seal for cracks is also crucial. Regular maintenance and cleaning of the valve will help prevent odors from wafting up into the RV bathroom.
How can I control odors in the tank?
Adding tank treatment products to the black tank can help control odors and maintain a healthy tank. Happy Campers RV Holding Tank Treatment is a highly recommended product that treats waste and eliminates odors without the use of perfumes. Use the recommended amount based on the size of your tank to prevent unpleasant odors.

