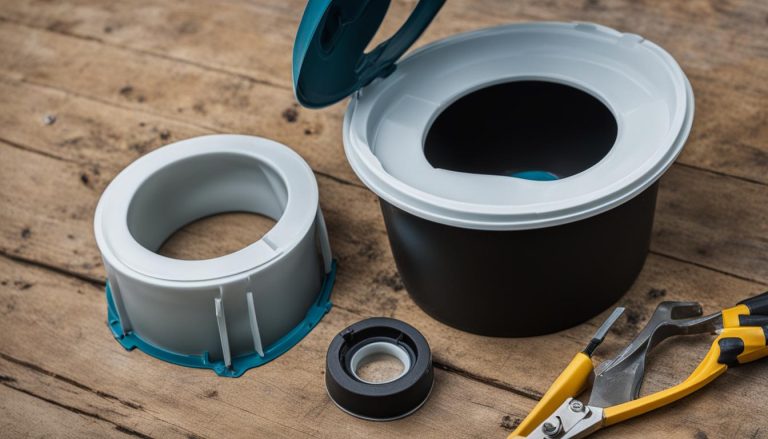
Understanding RV Black Water Basics
gorvlifestyle.com and its partners may earn a commission if you purchase a product through one of our links
Welcome to our guide on understanding RV black water basics. If you’re new to RVing or curious about how the black water tank works, you’ve come to the right place. In this section, we’ll provide you with all the essential information you need to know about the black water tank in an RV.
An RV’s black water tank is a crucial component of the wastewater management system. It is responsible for storing and containing the sewage from the toilet. Alongside the fresh water tank and gray water tank, the black water tank is one of the three primary tanks typically found in an RV.
Properly maintaining and caring for the black water tank is vital to prevent potential problems and ensure a smooth RVing experience. From emptying the tank to monitoring tank levels, we’ll walk you through everything you need to know to effectively manage your RV’s black water tank.
Key Takeaways:
- The black water tank is one of the three tanks in an RV, along with the fresh water tank and gray water tank.
- It stores and contains sewage waste from the toilet.
- Regular maintenance is crucial for preventing issues and ensuring a seamless RVing experience.
- Understanding the differences between black water and gray water tanks is essential for proper waste water management in an RV.
- Properly emptying and maintaining the black water tank is necessary to prevent clogs, odors, and damage.
How Often Should You Empty Your RV Black Water Tank?
When it comes to RV tank maintenance and waste management, one common question that arises is how often should you empty your RV black water tank? The frequency of emptying your black water tank depends on your individual usage and factors such as the number of people using the RV and the size of the tank.
A general guideline is to wait until the tank is about two-thirds full before emptying it. This allows for a more efficient dumping process and ensures that you make the most out of each trip to the dump station. Keep in mind that tank sensors may sometimes give incorrect readings, so it’s important to be aware of the actual waste water accumulation in your black water tank.
Having a regular maintenance schedule for emptying the black water tank can help prevent overfilling and potential issues. Remember, proper RV waste management is essential not only for your comfort but also for the longevity and effective operation of your RV’s black water tank.
Factors Affecting the Frequency of Tank Emptying
Several factors come into play when determining how often to empty your RV black water tank:
- The number of people using the RV: More occupants mean more frequent tank emptying.
- The size of the tank: Smaller tanks will require more frequent emptying than larger ones.
- Duration of your RV trips: If you’re on the road for an extended period, you may need to empty the tank more often.
By considering these factors and having a good understanding of your RV’s black water usage, you can create a schedule that works best for you and helps maintain optimal tank functionality.
| Factors | Suggested Frequency |
|---|---|
| Low occupancy, large tank | Every 4-6 days |
| High occupancy, large tank | Every 2-3 days |
| Low occupancy, small tank | Every 2 days |
| High occupancy, small tank | Every day or every other day |
Remember, these are just suggestions, and it’s essential to adapt your tank emptying schedule based on your specific needs and circumstances.
Proper RV tank maintenance and waste management play a significant role in ensuring a pleasant RVing experience. By emptying your RV black water tank regularly and understanding the factors that affect the frequency, you can avoid potential issues and enjoy your adventures to the fullest.
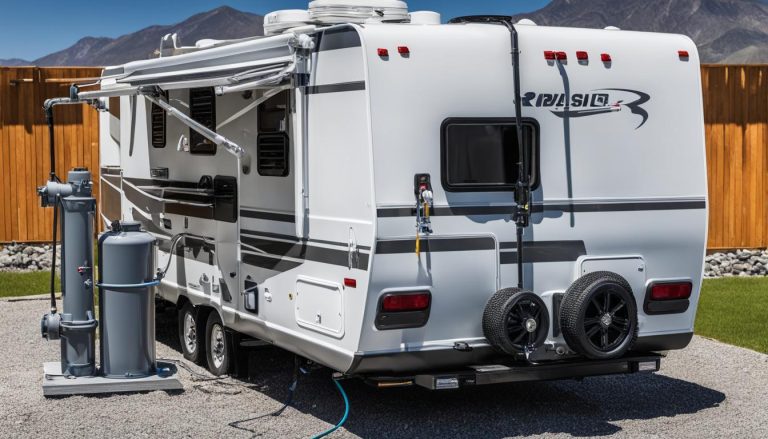
How to Properly Empty Your RV Black Water Tank
Properly emptying your RV black water tank is an important part of maintaining a clean and functional waste management system. By following these steps, you can ensure a smooth and hassle-free dumping process.
- Gather the necessary equipment: Before you start, make sure you have all the essential equipment on hand. This includes a sewer hose, gloves, and any other tools you may need.
- Locate and prepare the valves: Find the black tank valve on the outside of your RV. It is usually labeled “black” or “sewer.” Connect one end of the sewer hose to this valve and secure the other end to the dump station.
- Open the black tank valve: Carefully open the black tank valve to release the waste water. Allow it to drain completely until the tank is empty.
- Close the valve: Once the tank is empty, close the black tank valve to prevent any residue from seeping back into the tank.
- Flush the grey tank: For additional cleanliness, it is recommended to flush the grey water tank after emptying the black tank. This will help clean out any residue in the sewer hose.
Remember to always keep the black tank valve closed unless you are actively dumping. This will prevent solids from getting stuck and causing potential clogs. By following these steps, you can ensure a proper and efficient emptying process for your RV black water tank.

Tips for a Smooth Dumping Process:
“Properly emptying your black water tank is crucial for maintaining a clean and odor-free RV. Follow these steps and enjoy a stress-free dumping experience!”
| Equipment | Procedure |
|---|---|
| Sewer hose | Connect one end to the black tank valve and secure the other end to the dump station. |
| Gloves | Wear gloves to protect your hands from any waste residue. |
| Dump station | Ensure you have access to a proper dump station with facilities for waste water disposal. |
Tips for Maintaining Your RV Black Water Tank
Proper maintenance of the RV black water tank is crucial for its longevity and effective operation. Here are some tips to help you keep your RV black water tank in optimal condition:
1. Regularly flush and clean the tank
To prevent build-up and odors, it is important to regularly flush and clean the RV black water tank. Use a designated black tank cleaner or a mixture of water and vinegar to thoroughly clean the tank. This will help remove any residue and prevent the accumulation of waste material.
2. Use single-ply toilet paper
Using single-ply toilet paper is highly recommended for RVs. It dissolves more easily, reducing the risk of clogs in your black water tank. Avoid using thick or multi-ply toilet paper, as it can cause blockages and hinder the proper functioning of your septic system.
3. Add an odor treatment
Adding an odor treatment to your RV black water tank is an effective way to reduce unpleasant smells. Look for RV-specific treatments that are designed to neutralize odors and break down waste, keeping your tank fresh and odor-free.
4. Clean the tank sensors
RV tank sensors can sometimes give inaccurate readings, causing frustration and uncertainty about tank levels. Regularly cleaning the tank sensors will help ensure accurate readings and prevent false alarms. Use a non-abrasive cleaner and a soft brush to gently clean the sensors.
5. Be cautious of what goes down the toilet
To prevent clogs and potential damage to your black water tank, be mindful of what you flush down the toilet. Only dispose of human waste and toilet paper in the black water tank. Avoid flushing any other items, such as wet wipes, feminine hygiene products, or paper towels.
6. Regularly inspect the tank and valves
Perform regular inspections of your RV black water tank and valves to check for any leaks or damage. Look for signs of wear, cracks, or loose connections. Address any issues promptly to prevent further damage and costly repairs.
By following these tips, you can ensure proper maintenance of your RV black water tank, prolong its lifespan, and prevent any unnecessary issues while on the road.

| Maintenance Tip | Benefits |
|---|---|
| Regularly flush and clean the tank | Prevents build-up and odors |
| Use single-ply toilet paper | Reduces the risk of clogs |
| Add an odor treatment | Reduces unpleasant smells |
| Clean the tank sensors | Ensures accurate readings |
| Be cautious of what goes down the toilet | Prevents clogs and damage |
| Regularly inspect the tank and valves | Identifies leaks or damage |
Understanding the Differences Between Black Water and Gray Water Tanks
When it comes to managing waste water in your RV, it’s important to understand the differences between the black water and gray water tanks. The black water tank is responsible for holding waste water from the toilet, which includes solid waste. On the other hand, the gray water tank holds water from the sinks and shower, without any solid waste.
Maintaining the black water tank requires more attention and regular dumping to prevent clogs and eliminate odors. Since it holds solid waste, it’s crucial to follow proper maintenance practices, use the right products, and empty the tank regularly. On the contrary, the gray water tank is generally easier to manage as it doesn’t contain solid waste. However, both tanks play a vital role in waste water management for a comfortable and hygienic RVing experience.
Understanding these distinctions between the black water and gray water tanks helps you effectively manage your RV’s waste water system. By following best practices and regular maintenance, you can prevent issues, keep your tanks clean, and ensure a pleasant journey on the road.
FAQ
What is black water in an RV?
Black water in an RV refers to the waste water that comes from the toilet. It is stored in the black water tank, one of the three tanks found in an RV.
What is an RV black water tank?
An RV black water tank is a holding tank specifically designed to store and contain sewage from the toilet. It is one of the three tanks typically found in an RV.
How often should I empty my RV black water tank?
The frequency of emptying your RV black water tank depends on individual usage. A general guideline is to wait until the tank is about two-thirds full before emptying it.
How do I properly empty my RV black water tank?
To properly empty your RV black water tank, connect a sewer hose to the black tank valve and secure the other end to the dump station. Open the black tank valve to allow the waste water to drain and close the valve when the tank is empty.
How do I maintain my RV black water tank?
To maintain your RV black water tank, regularly flush and clean the tank to prevent build-up and odors. Use single-ply toilet paper, add an odor treatment, and clean the tank sensors. Be cautious of what goes down the toilet and regularly inspect the tank and valves for any leaks or damage.
What is the difference between black water and gray water in an RV?
The black water tank holds waste water from the toilet, while the gray water tank holds water from the sinks and shower. Both tanks require maintenance, but the black water tank requires more careful management due to the solid waste it contains.