Wire a 30 Amp RV Plug: Simple DIY Guide
gorvlifestyle.com and its partners may earn a commission if you purchase a product through one of our links
Knowing how to wire a 30 amp RV plug is crucial for RV owners, especially when they encounter a damaged plug while on the road. Overheating, prolonged use, and broken prongs can all lead to plug damage, which can further affect the RV’s electrical system. To ensure the safe and correct replacement of a damaged 30 amp plug, it’s essential to have the necessary knowledge and tools.
In this guide, we will walk you through the process of wiring a 30 amp RV plug step by step, providing you with all the information you need to confidently complete the task. From understanding why it’s important to replace the plug to the tools required for the job, we’ve got you covered.
Key Takeaways:
- Having the knowledge of how to wire a 30 amp RV plug is essential for RV owners.
- Damage to the plug can occur from overheating, prolonged use, or broken prongs.
- Replacing a damaged 30 amp plug correctly ensures the safety of the RV’s electrical system.
- To wire a 30 amp RV plug, you will need specific tools and a replacement plug.
- It’s important to follow the provided instructions for proper installation.
Why You Should Know How to Replace Your RV’s 30-Amp Plug
It’s crucial to know how to replace a 30 amp RV plug because damage from overheating, prolonged use, and broken prongs can occur. Overheating can lead to melted plugs and potential damage to the RV’s electrical system. Use over time and broken prongs are common reasons to replace the 30 amp plug. Familiarity with RV power plug wiring and electrical systems is important for safely replacing the plug.
When it comes to RV power plug wiring, understanding the basics is essential for a smooth and hassle-free camping experience. Whether you need to replace a damaged plug or install a new one, having the knowledge and skills to handle RV electrical wiring will give you peace of mind on your outdoor adventures.
One of the main reasons why it’s important to know how to replace your RV’s 30-amp plug is to prevent potential hazards and costly repairs. Overheating can occur due to loose connections, improper wiring, or using appliances that draw too much power for the plug’s capacity. This can lead to melted plugs, compromised electrical systems, and even fire hazards. By being able to replace a damaged plug promptly, you can eliminate these risks and ensure the safety of your RV and its occupants.
Another common reason to replace a 30-amp plug is due to wear and tear over time. Continuous use, exposure to the elements, and vibrations during travel can cause the plug’s prongs to become loose or damaged. A broken or loose prong can result in unreliable electrical connections and potentially damage your RV’s electrical devices. By knowing how to replace the 30-amp plug, you can address this issue promptly and avoid any inconvenience or damage during your camping trips.
Having a good understanding of wiring a camper plug is also beneficial for convenience and adaptability. While most RV parks and campgrounds offer 30-amp electrical hookups, there may be instances when you encounter different outlet types. In these situations, using an RV adapter may be necessary to connect your RV to the available power source. Knowing how to wire an RV plug gives you the flexibility to adapt to different electrical setups and ensures that you can still enjoy the comforts of your RV no matter where you are.
“By knowing how to replace your RV’s 30-amp plug, you can address potential electrical hazards, avoid costly repairs, and ensure the convenience and adaptability of your camper.”
With the importance of RV power plug wiring, it’s essential to have the necessary tools and knowledge to replace a 30-amp plug correctly. In the next section, we will discuss the tools needed for this DIY project and provide a step-by-step guide on how to wire a 30-amp RV plug.
Tools Needed to Wire a 30-Amp RV Plug
To wire a 30 amp RV plug, you will need several tools:
- Wire stripper
- Flat blade screwdriver
- Phillips screwdriver
- Utility knife
- Wire cutter
- Marking pen
- Measuring tape
- Replacement 30 amp plug (NEMA TT-30)
Understanding the RV plug diagram and wiring diagram is important to ensure the correct installation of the new plug.
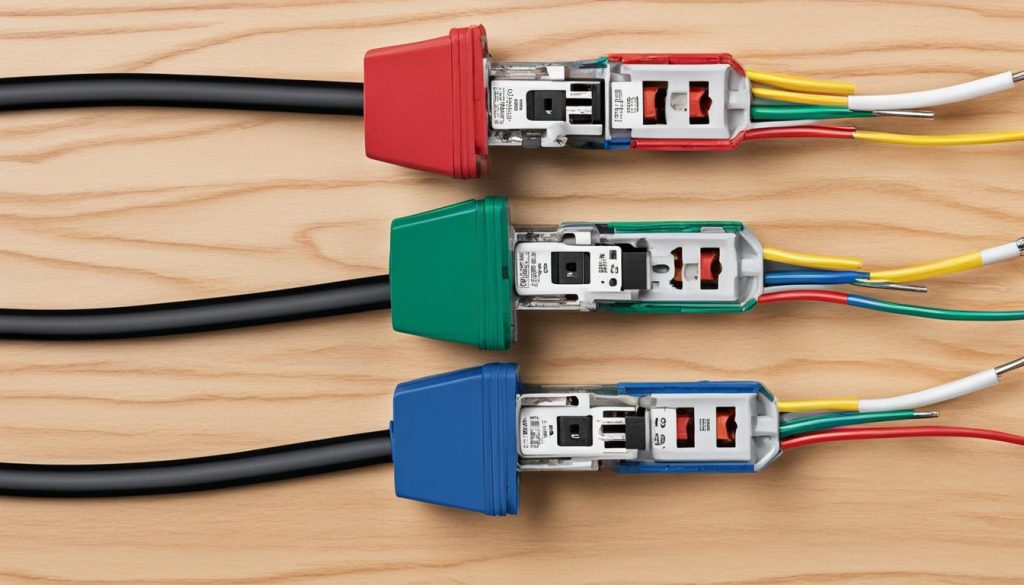
RV Plug Diagram
| Wire Color | Function |
|---|---|
| White | Neutral |
| Green | Ground |
| Black | Hot |
How to Wire a 30 Amp RV Plug
When it comes to wiring a 30 amp RV plug, following the correct steps is crucial to ensure proper installation and functionality. Here is a step-by-step guide to help you wire your 30 amp RV plug:
- Cut off the old plug: Start by removing the old plug from the RV’s electrical cord. Make sure to disconnect the power source before proceeding.
- Remove the insulation: Strip back the insulation on the electrical cord, exposing the wires.
- Cut the wires to the correct lengths: Measure and cut the wires to the appropriate lengths based on the wiring diagram of your new 30 amp plug.
- Strip back the insulation: Use a wire stripper to remove approximately 3/4 inch of insulation from the ends of the wires.
- Connect the wires to the appropriate blades: Insert each wire into the corresponding blade on the new plug, following the wiring diagram provided with the plug.
- Secure the plug: Tighten the screws on the plug to secure the wires in place and ensure a tight connection.
It’s important to carefully follow the instructions that come with the new plug to avoid any wiring mistakes that could lead to potential electrical hazards. Additionally, using an RV adapter may be necessary if you encounter different outlet types while on the road.
Pro Tip: Before starting the wiring process, always double-check that the power source is turned off to ensure your safety.
Now that you know the basic steps involved in wiring a 30 amp RV plug, you can confidently replace your old plug and ensure a reliable power supply for your RV.
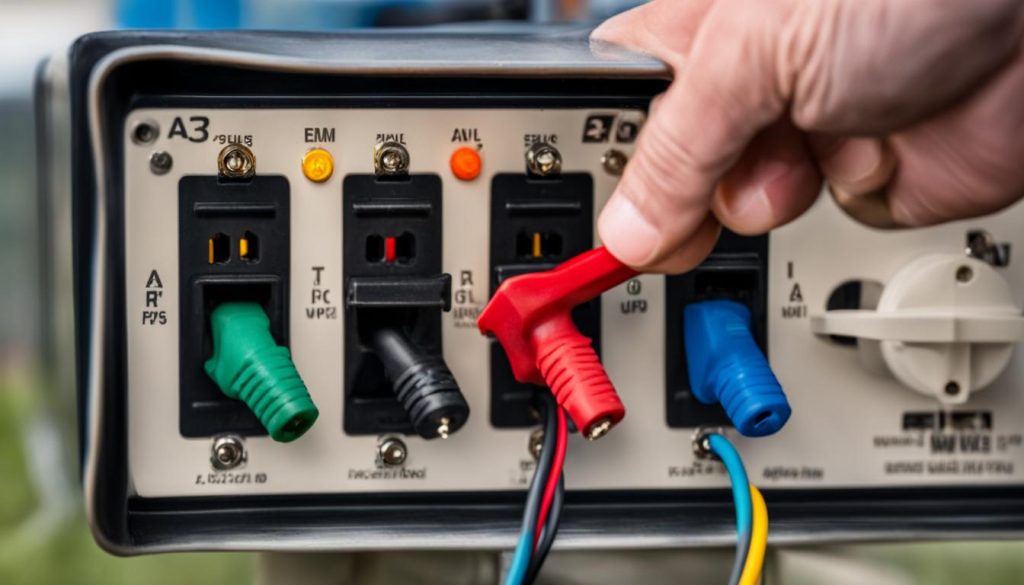
| Step | Description |
|---|---|
| 1 | Cut off the old plug |
| 2 | Remove the insulation |
| 3 | Cut the wires to the correct lengths |
| 4 | Strip back the insulation |
| 5 | Connect the wires to the appropriate blades |
| 6 | Secure the plug |
Free RVing Tips, Tricks, Reviews, Giveaways & More
Are you an RV owner looking for some expert advice and insider knowledge on RV plug installation and wiring? Subscribing to a newsletter or following RVing blogs can provide you with a wealth of valuable tips, tricks, reviews, giveaways, and more. These resources are a fantastic way to stay informed and learn from experienced RVers.
Whether you’re a seasoned RV enthusiast or a novice camper, these newsletters and blogs can offer additional guidance on various aspects of RVing, including RV plug installation and wiring. You can find step-by-step tutorials, helpful diagrams, and expert tips to ensure you get the job done right the first time.
Not only will you find information on RV plug installation, but you can also learn about RV adapter wiring. With different outlet types and campground configurations, having the right adapter is essential for ensuring your RV’s electrical system functions properly. Newsletters and blogs often provide reviews and recommendations on the best adapters to use, saving you time and money.
So don’t miss out on the opportunity to gain valuable insights and stay up-to-date with the latest trends in the world of RVing. Subscribe to a newsletter or start following popular RVing blogs to access a treasure trove of information, including RV plug installation, wiring tips, reviews, giveaways, and much more.
FAQ
Why is it important to know how to wire a 30 amp RV plug?
It’s important to know how to wire a 30 amp RV plug because damage from overheating, prolonged use, and broken prongs can occur. Overheating can lead to melted plugs and potential damage to the RV’s electrical system. Use over time and broken prongs are common reasons to replace the 30 amp plug. Familiarity with RV power plug wiring and electrical systems is important for safely replacing the plug.
What tools do I need to wire a 30-amp RV plug?
To wire a 30-amp RV plug, you will need several tools, including a wire stripper, flat blade screwdriver, Phillips screwdriver, utility knife, wire cutter, marking pen, measuring tape, and a replacement 30 amp plug (NEMA TT-30). Understanding the RV plug diagram and wiring diagram is important to ensure the correct installation of the new plug.
How do I wire a 30 amp RV plug?
Wiring a 30 amp RV plug involves cutting off the old plug, removing the insulation, cutting the wires to the correct lengths, stripping back the insulation, connecting the wires to the appropriate blades, and securing the plug. It’s important to follow the instructions that come with the new plug and ensure proper installation. Additionally, using an RV adapter may be necessary to connect to different outlet types.
Where can I find additional resources for RV plug installation and wiring?
Subscribing to a newsletter or following RVing blogs can provide valuable tips, tricks, reviews, giveaways, and more for RV owners. These resources can offer additional guidance on RV plug installation, wiring, and adapters. It’s a great way to stay informed and learn from experienced RVers.

