DIY Guide: How to Wire a RV 30 Amp Outlet
gorvlifestyle.com and its partners may earn a commission if you purchase a product through one of our links
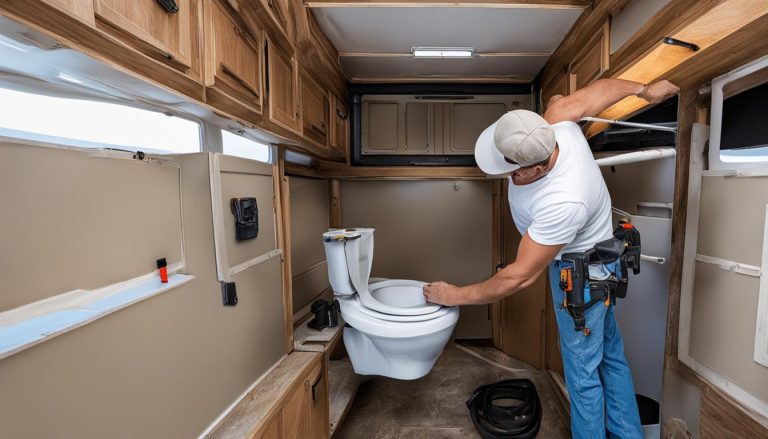
Are you an RV owner in need of replacing a broken or damaged 30 amp plug? Knowing how to wire a 30 amp RV outlet is a valuable skill that can save you time and money. In this DIY guide, we will provide you with a step-by-step process to wire your own 30 amp RV outlet.
Before we dive into the details, it’s important to note that this guide is intended for those who are comfortable working with electricity. If you are unsure or have any concerns, it’s always best to consult a professional electrician.
Key Takeaways:
- Replacing a 30 amp RV plug is a DIY solution to save time and money.
- Knowing how to wire a 30 amp RV outlet is essential for RV owners.
- This guide provides a step-by-step process for wiring a 30 amp RV plug.
- Consult a professional electrician if you have any concerns or uncertainties.
- Always prioritize safety when working with electricity.
Why You Should Know How to Replace Your RV’s 30-Amp Plug
As an RV owner, knowing how to replace your RV’s 30-amp plug is crucial for several reasons. By understanding the importance of RV plug replacement, you can prevent potential damage to your RV’s electrical system and save time and money in the process.
Reason 1: Prevent Overheating and Damage
A damaged or faulty 30-amp plug can lead to overheating, which poses a significant risk to your RV’s electrical system. Overheating can cause wires to melt or insulation to degrade, potentially resulting in short circuits or even electrical fires. By promptly replacing a damaged plug, you can ensure the safety of your RV’s electrical system and prevent costly repairs.
Reason 2: Address Wear and Tear
Over time, regular use of your RV’s plug can cause wear and tear, leading to malfunction or breakage. This is especially true if you frequently connect and disconnect your RV from power sources. By being aware of the signs of wear and tear on your plug, such as loose connections or frayed wires, you can proactively replace it before it becomes a safety hazard.
Reason 3: Quick Fix for a Broken Prong
One common issue with 30-amp plugs is a broken prong, rendering the plug unusable. Knowing how to replace the plug yourself allows you to quickly address this problem without having to wait for professional assistance. This can be especially valuable when you’re on a trip and need a functioning plug to power your RV.
By familiarizing yourself with the process of replacing your RV’s 30-amp plug, you can take control of your RV’s electrical system and ensure its safe operation. Whether it’s preventing overheating and damage, addressing wear and tear, or quickly fixing a broken prong, being able to replace the plug yourself offers convenience, peace of mind, and cost savings.
| Reason | Benefits |
|---|---|
| Prevent Overheating and Damage | – Ensures the safety of your RV’s electrical system – Prevents costly repairs |
| Address Wear and Tear | – Proactively replaces a plug to prevent malfunction or breakage – Avoids safety hazards |
| Quick Fix for a Broken Prong | – Allows immediate resolution without professional help – Ideal for trips and emergencies |
Doesn’t My RV Surge Protector Keep My 30-Amp Plug Safe?
While an RV surge protector offers some level of protection for the RV’s electrical system, it cannot guarantee the safety of the 30 amp plug. The surge protector primarily protects the RV’s electrical equipment from power surges. However, it cannot prevent damage caused by overheating or physical wear and tear on the plug itself. Therefore, it is still important to know how to replace a 30 amp RV plug even if using a surge protector.
Using an RV surge protector is a smart investment to safeguard your RV’s electrical system from power surges. It can save you from costly repairs or replacements of sensitive electronics and appliances. However, it’s crucial to remember that the surge protector focuses on minimizing the impact of power surges on your RV and its electronics.
The surge protector acts as a barrier between the external power source and your RV’s electrical system. It monitors the voltage levels and ensures that any sudden increase in power is diverted away from your RV. This helps prevent damage to your RV’s appliances, lighting fixtures, and wiring caused by voltage spikes.
Nevertheless, RV surge protectors have limitations when it comes to protecting your 30-amp plug. While they can shield your RV’s electrical system from voltage irregularities, they cannot prevent wear and tear or overheating of the plug itself.
Your RV’s 30-amp plug is a critical connection point that supplies power to your RV’s electrical system. Over time, the plug can become damaged or worn due to frequent use. This can lead to poor electrical connections, increased resistance, and potential overheating. If left unaddressed, these issues can pose a safety risk to your RV and its occupants.
Knowing how to replace a 30 amp RV plug is important to ensure the safety and functionality of your RV’s electrical system. By being able to replace the plug yourself, you can address any issues promptly and avoid potential electrical hazards.
So, while an RV surge protector provides valuable protection for your RV’s electrical equipment, it does not negate the importance of knowing how to replace a 30-amp plug. Being proficient in plug replacement allows you to maintain the integrity of your RV’s electrical connections, ensuring optimum performance and safety during your travels.

Key Takeaways:
- An RV surge protector offers protection against power surges but does not guarantee the safety of the 30-amp plug.
- The surge protector focuses on safeguarding the RV’s electrical equipment from voltage irregularities, not on preventing plug damage.
- Knowing how to replace a 30-amp plug is crucial to address wear and tear, poor electrical connections, and potential overheating.
- By being proactive in plug replacement, you can ensure the safety and functionality of your RV’s electrical system.
Tools Needed to Wire a 30-Amp RV Plug
When it comes to wiring a 30-amp RV plug, having the right tools is essential for a successful installation. Here are the tools you’ll need:
- Wire stripper
- Flat blade screwdriver
- Phillips screwdriver
- Utility knife
- Wire cutter
- Marking pen
- Measuring tape
- Replacement 30 amp plug (NEMA TT-30)
These tools will assist you in completing the process of replacing your 30-amp RV plug with ease and efficiency. Let’s take a closer look at each tool:
Wire Stripper
A wire stripper is a specialized tool designed to remove the insulation from electrical wires without damaging the underlying wire. It allows you to expose the necessary lengths of wire for a proper connection.
Flat Blade Screwdriver
A flat blade screwdriver is a versatile tool that can be used for tasks such as tightening screws, prying open electrical boxes, or securing terminal connections on your 30-amp RV plug.
Phillips Screwdriver
A Phillips screwdriver is another common tool used in electrical work. It has a cross-shaped tip that fits into the corresponding screw head, allowing you to tighten or loosen screws with ease.
Utility Knife
A utility knife is a handy tool for cutting through insulation, especially when stripping wires. Its retractable blade ensures safety when not in use.
Wire Cutter
A wire cutter is designed to cut through various gauges of wire effortlessly. It ensures clean and precise cuts, making it easier to work with your 30-amp RV plug.
Marking Pen
A marking pen is useful for labeling wires or making reference marks, making it easier to connect them properly during the installation process.
Measuring Tape
Having a measuring tape on hand allows you to accurately measure the lengths of wire needed for the installation. It ensures that the wires are cut to the correct size for a secure and reliable connection.
Remember, safety should always be a priority when working with electricity. Make sure to follow proper installation guidelines and precautions to avoid any accidents or damage to your RV’s electrical system.

How to Wire a 30 Amp RV Plug
Wiring a 30 amp RV plug may seem daunting, but with the right steps, you can do it yourself. Follow this step-by-step guide to ensure a successful wiring process:
- Cutting off the old plug: Begin by disconnecting the power source and safely removing the old plug from the RV’s electrical system.
- Stripping the insulation: Use a wire stripper to remove the insulation on the wires, ensuring a clean and exposed surface for proper connection.
- Cutting the wires: Measure and cut the wires to the correct lengths, taking into account the distance between the plug and the electrical source.
- Stripping the insulation on the ends: Strip the insulation on the ends of the wires, revealing approximately 3/4 inch of bare wire for connection.
- Connecting the wires: Carefully align the bare ends of the wires with the appropriate blades on the new 30 amp plug. Use wire nuts or terminal connectors to secure the wires in place.
- Securing the plug: Once all the wires are securely connected, tighten the screws on the plug to ensure a stable and reliable electrical connection.
It’s important to note that working with electricity can be dangerous, so always prioritize safety. If you’re unsure or uncomfortable with the wiring process, it’s best to consult a professional to avoid any potential risks.
Following these step-by-step instructions, you can successfully wire a 30 amp RV plug and ensure the proper functioning of your RV’s electrical system.
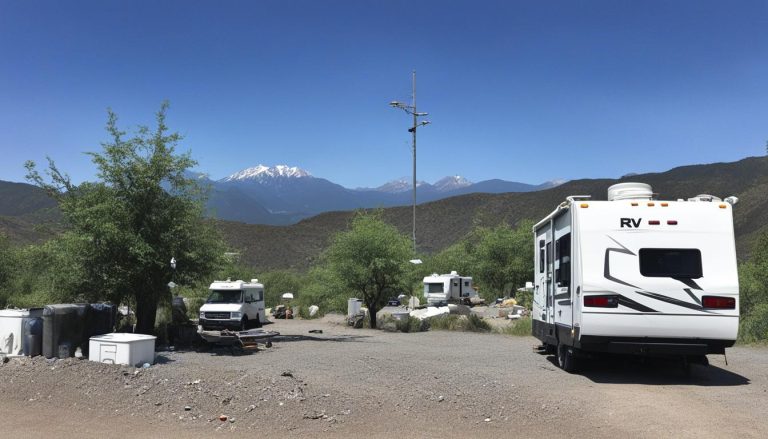
Installing a 30-Amp RV Outlet at Home
Many homes are not equipped with a 30 amp RV outlet, but with some basic knowledge of electricity, you can safely install one yourself. This DIY guide will provide step-by-step instructions on how to install a 30 amp RV outlet at home. Before we dive in, let’s take a look at the tools and materials you will need for the installation:
- Wire stripper
- Flat blade screwdriver
- Phillips screwdriver
- Utility knife
- Wire cutter
- Marking pen
- Measuring tape
- 30 amp RV outlet
Now that you have gathered the necessary tools and materials, follow these step-by-step instructions to install your 30 amp RV outlet:
- Cut off the power supply to the area where you will be installing the outlet. Safety should always be a top priority when working with electricity.
- Choose a suitable location for your RV outlet. It should be easily accessible and located near your RV parking spot.
- Remove the cover plate from the electrical panel or junction box where you will be connecting the wiring for the outlet.
- Attach the green grounding wire from the RV outlet to the grounding bar inside the electrical panel or junction box.
- Connect the black wire from the RV outlet to the hot bus bar or circuit breaker in the electrical panel. This wire will carry the current from the panel to the outlet.
- Connect the white wire from the RV outlet to the neutral bus bar in the electrical panel. This wire will provide the return path for the current.
- Secure all connections with wire nuts or terminal screws, ensuring they are tight and properly insulated.
- Double-check all connections and make sure there are no loose wires or exposed copper.
- Replace the cover plate on the electrical panel or junction box.
- Test the outlet with a voltage tester to ensure it is functioning correctly. If the tester indicates the presence of voltage, turn off the power and recheck your connections.
- Once you have verified that the outlet is working properly, you can safely plug in your RV and enjoy the convenience of having a dedicated power source.
It’s important to note that using a regular household outlet to power an RV is not recommended due to the higher power requirements of an RV. A dedicated 30 amp RV outlet ensures that your RV receives the necessary power without overloading the circuit. By installing a 30 amp RV outlet at home, you can have peace of mind knowing that your RV is powered safely and efficiently.
“Installing a 30 amp RV outlet at home is a great DIY project that can enhance your RVing experience. By following the step-by-step instructions and using the right tools, you can ensure a safe and reliable power source for your RV.”
Now that you have learned how to install a 30 amp RV outlet at home, you can confidently take on this project and enjoy the convenience of having a dedicated power source for your RV. Remember to always prioritize safety and consult a qualified electrician if you have any doubts or concerns.
Understanding the Difference Between 30-Amp and 50-Amp Plugs
When it comes to RV plug types, there are distinct differences between 30 amp and 50 amp plugs. Understanding these differences is essential for RV owners to ensure proper electrical connections and compatibility. Let’s take a closer look at the physical and usage disparities:
30 Amp Plug
- Has two flat current-carrying blades for the line and neutral.
- Features one round prong for the ground.
- Provides up to 3,600 watts of power.
50 Amp Plug
- Consists of two 120-volt hot pins for increased electrical capacity.
- Includes a flat neutral pin and a round ground pin.
- Delivers up to 12,000 watts of power.
It is important to note that the higher wattage of a 50 amp plug enables it to power more appliances or equipment simultaneously compared to a 30 amp plug. Therefore, if you have more power-hungry devices in your RV or plan to use multiple appliances at once, a 50 amp plug may be necessary.
Having a clear understanding of the differences between these plug types allows RV owners to make informed decisions about their electrical needs. By choosing the right plug for your RV and knowing its power capabilities, you can ensure a reliable and safe electrical connection during your travels.
Image:
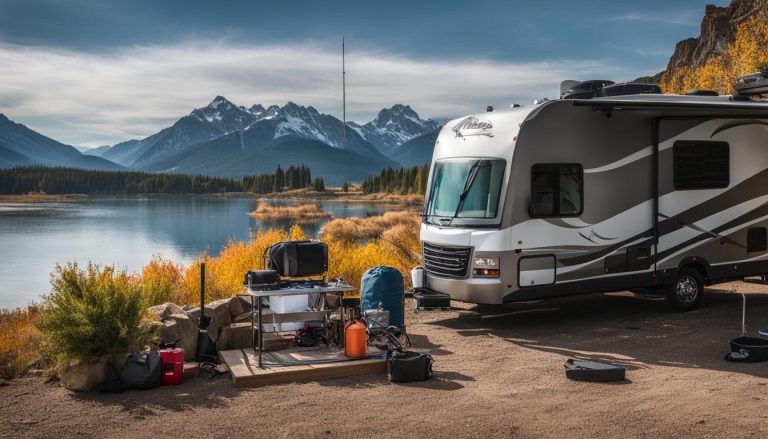
Tips and Considerations for RV Power Installation
When it comes to installing power for your RV, there are a few important tips and considerations to keep in mind. While some RV owners may feel comfortable with a DIY approach, it’s worth considering hiring a professional for the installation.
Professional installation ensures that the power outlet is correctly installed, minimizing the risk of electrical issues and potential damage to your RV. Additionally, professionals have the knowledge and experience to handle any challenges that may arise during the installation process.
Keep in mind that the cost of professional installation may vary depending on factors such as the complexity of the project and the location of your RV. It’s advisable to get quotes from reputable electricians to compare prices and ensure you’re getting a fair deal.
Another consideration to keep in mind is future flexibility. While a 30 amp outlet is sufficient for many RVs, it’s worth considering wiring a 50 amp outlet as well. This allows for additional power capacity, ensuring that you’re prepared for any future upgrades or power requirements.
FAQ
Why is it important to know how to replace a 30 amp RV plug?
It is important to know how to replace a 30 amp RV plug to prevent potential damage to the RV’s electrical system, address wear and tear on the plug over time, and fix a broken prong that may render the plug unusable.
Does an RV surge protector protect the 30 amp plug?
While an RV surge protector offers some level of protection for the RV’s electrical system, it cannot prevent damage caused by overheating or physical wear and tear on the 30 amp plug itself. Therefore, it is important to know how to replace a 30 amp RV plug even if using a surge protector.
What tools are needed to wire a 30 amp RV plug?
The tools typically needed for wiring a 30 amp RV plug include a wire stripper, flat blade screwdriver, Phillips screwdriver, utility knife, wire cutter, marking pen, measuring tape, and a replacement 30 amp plug (NEMA TT-30).
How do you wire a 30 amp RV plug?
To wire a 30 amp RV plug, you need to cut off the old plug, strip the insulation on the wires, cut the wires to the correct lengths, strip the insulation on the ends of the wires, connect the wires to the appropriate blades on the new plug, and secure the plug and cable with screws.
Can you install a 30 amp RV outlet at home?
Yes, with some basic knowledge of electricity, it is possible to safely install a 30 amp RV outlet at home. This involves having the necessary tools and materials and following step-by-step instructions for the installation process.
What is the difference between a 30 amp plug and a 50 amp plug?
A 30 amp plug has two flat current-carrying blades (line and neutral) and one round prong (ground), providing up to 3,600 watts of power. In contrast, a 50 amp plug has two 120-volt hot pins, a flat neutral pin, and a round ground pin, providing up to 12,000 watts of power.
Any tips for RV power installation?
It is advisable to consider hiring a professional for the installation, especially if you are not comfortable working with electricity. The cost involved should also be taken into account. Additionally, it may be beneficial to wire a 50 amp outlet in addition to a 30 amp outlet to allow for future flexibility.