RV Setup Guide: Quick & Easy Steps to Follow
gorvlifestyle.com and its partners may earn a commission if you purchase a product through one of our links
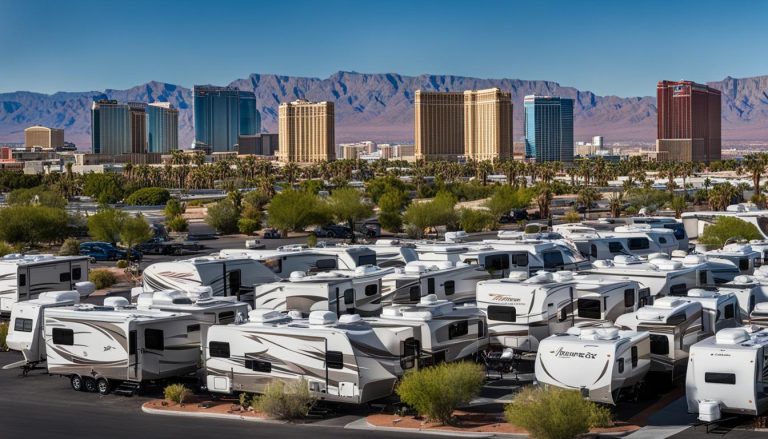
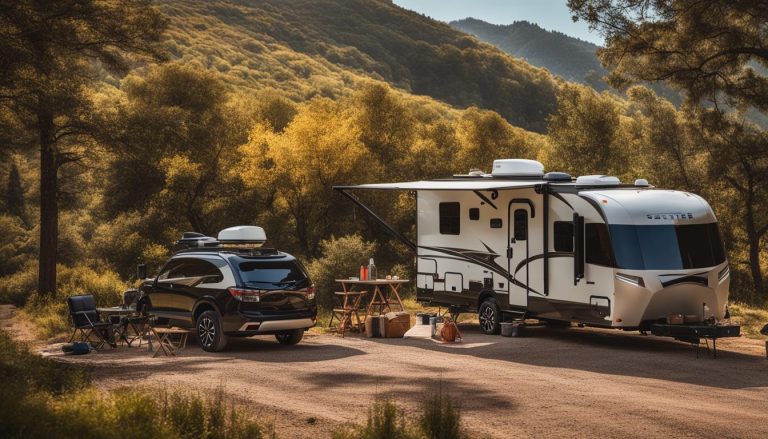
Setting up an RV can be intimidating, especially for beginners. However, with a helpful checklist and step-by-step instructions, you can quickly and easily set up your RV and ensure a stress-free adventure. By following these essential steps, you’ll be able to survey your campsite, park your RV, unhitch your trailer (if applicable), stabilize your RV, handle your hookups, and finalize your setup. This guide will provide you with the necessary information to confidently set up your RV and enjoy your camping experience.
Key Takeaways:
- Follow a checklist and step-by-step instructions for a smooth RV setup.
- Survey your campsite to determine the best parking spot and locate hookups.
- Level your RV, chock the tires, and stabilize your rig for a secure setup.
- Unhitch your trailer properly to separate it from your tow vehicle.
- Handle your hookups carefully, connecting power, water, and sewer correctly.
Step 1: Survey Your Campsite
When you arrive at your campground, it’s essential to survey your campsite before setting up. This initial step allows you to assess the site’s suitability for your RV and ensures a smooth setup process. Surveying your campsite involves several important tasks:
- Locating Hookups
- Assessing the Slope
- Checking for Obstructions
- Prioritizing Sewage Hookup
To begin, locate the electrical, water, and sewer hookups on your campsite. This will help you determine the best parking spot for your RV based on the length of your hoses and cords. It’s crucial to position your RV within reach of these hookups to ensure easy access to essential services.
Next, assess the slope of your campsite. A level surface is preferable to avoid any issues with stability or appliances within your RV. Use a leveling tool or app to ensure your RV is parked on a suitable surface. Adjusting the slope may require the use of leveling blocks or RV leveling systems.
While surveying your campsite, be on the lookout for any obstructions that may hinder your setup process. Watch out for low-hanging tree limbs or branches that could interfere with slide-outs or awnings. Additionally, check for objects or debris that may pose obstacles to parking or maneuvering your RV.
When selecting your parking spot, prioritize the location of the sewage hookup. In most cases, the sewer connection is the shortest reach among the three hookups. Positioning your RV closer to the sewer connection will simplify the process of emptying your tanks when needed.
By carefully surveying your campsite, conducting a campsite assessment, locating hookups, and checking for obstructions, you’ll be able to choose the ideal spot for your RV setup. This will contribute to a safe and enjoyable camping experience.
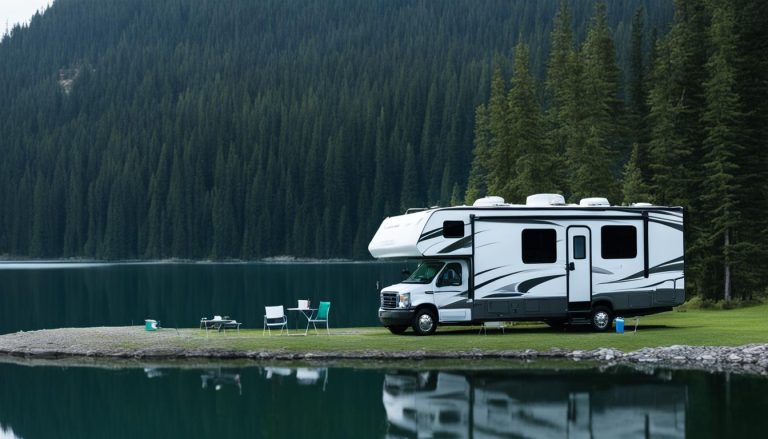
Step 2: Parking Your RV
Once you’ve chosen the ideal spot within your campsite, it’s time to park your RV. The first step is to level your RV from left to right using stackable or rolling leveling blocks. This is crucial as an unlevel RV can cause problems with appliances and plumbing.
After leveling, chock the tires on both sides of the rig to prevent it from moving. If you’re using behind-the-tire chocks, place them on the front and back of the tires. This ensures the RV stays securely in place.
Remember, parking your RV properly is essential for a comfortable camping experience. By leveling your RV and chocking the tires, you can prevent any unwanted movement and ensure stability during your stay. Now that you’ve parked your RV, it’s time to move on to the next step: unhitching your trailer (if applicable).
Step 3: Unhitching Your Trailer
If you’re towing a trailer, the next step in setting up your RV is unhitching it from your tow vehicle. Follow these simple steps to safely and efficiently separate your trailer and tow vehicle:
- Lower the tongue jack: Start by lowering the tongue jack of your trailer until it reaches the ground. This relieves pressure on the hitch and makes it easier to unhitch.
- Unhook the chains and breakaway cable: Remove the safety chains and breakaway cable that connect your trailer to the tow vehicle. These safety features are essential for towing but must be detached before unhitching.
- Remove the sway bar and weight distribution bars: If your trailer is equipped with a sway bar or weight distribution bars, remove them next. These devices help with stability while towing but are unnecessary once you’re parked.
- Flip the locking lever and raise the tongue jack: Locate the locking lever on the hitch and flip it up to release the coupler from the tow vehicle’s hitch receiver. Then, use the tongue jack to raise the trailer’s tongue off the hitch receiver.
- Rock the tow vehicle or apply more leverage, if needed: In some cases, the hitch may be tight and difficult to release. If this happens, try rocking the tow vehicle back and forth or applying more leverage using a wrench or hitch release tool.
- Pull the tow vehicle forward: Once the hitch is released, slowly pull the tow vehicle forward a few inches to create enough space between the trailer and the hitch.
- Adjust the tongue jack for proper leveling: Finally, adjust the tongue jack to ensure the RV is level from front to back. This helps maintain stability and comfort while camping.
By following these steps, you can safely unhitch your trailer and prepare your RV for a comfortable and enjoyable camping experience.

Step 4: Stabilize Your RV
Stabilizing your RV is crucial to ensure a comfortable experience inside and reduce the rocking and bouncing caused by movement. By following the right methods and using stabilizing jacks, you can maintain stability and enjoy a more pleasant stay in your RV.
Stabilizing Methods
Depending on the type of RV you have and the available stabilizing gear, there are different methods to stabilize your RV. Most RVs come equipped with manual scissor jacks that can be lowered to provide stability.
When stabilizing your RV, it is recommended to use a power drill with a special adapter for turning the scissor jacks. This makes the process much easier and saves you time and effort.
Proper Technique
Here are some essential tips to follow when stabilizing your RV:
- Position the stabilizing jacks at the appropriate locations under your RV, taking into account the manufacturer’s guidelines and the specific construction of your RV.
- Lower the jacks until they make solid contact with the ground. Be careful not to overextend or strain the jacks.
- Avoid raising or lowering the tongue jack after stabilizing the RV, as it can damage the stabilizers or tongue hitch.
By properly stabilizing your RV, you can significantly reduce rocking and bouncing, providing a more comfortable and enjoyable experience for everyone inside.

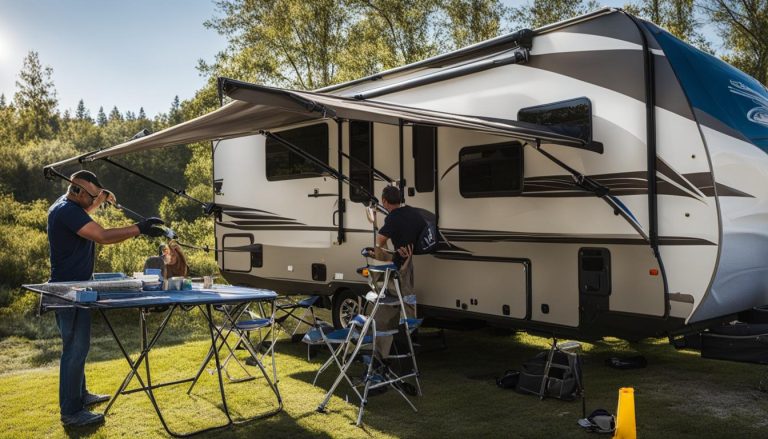
Step 5: Handle Your Hookups
Now that your RV is stabilized, it’s time to handle your hookups. Follow these steps to ensure a smooth and hassle-free experience.
First, connect your electrical cord to the power box. Make sure to check the amperage available at your campsite and use an adapter if needed. To protect your RV from electrical damage, don’t forget to plug in a surge protector.
Next, connect your water hose to the spigot and your RV’s city water inlet. It’s important to use a potable water hose to ensure the water is safe for consumption. Additionally, use a water pressure regulator to prevent any damage to your RV’s plumbing system.
Finally, it’s time to connect your sewer hose to the campsite’s sewage receptacle. Use an elbow fitting and a donut ring for proper sealing and to avoid any leaks or unpleasant odors. Remember to follow the necessary steps to maintain cleanliness and prevent any contamination.
FAQ
What should I do before setting up my RV at a campsite?
Before setting up your RV at a campsite, it’s important to survey the area. Look for electrical, water, and sewer hookups, assess the slope of the site, and check for any potential obstructions that may interfere with your setup.
How do I properly level my RV?
To level your RV, use stackable or rolling leveling blocks to adjust from left to right. This helps ensure appliances and plumbing work properly. Once leveled, chock the tires on both sides of the rig to prevent movement.
What steps should I follow to unhitch my trailer?
To unhitch your trailer, lower the tongue jack and unhook the chains and breakaway cable. Remove the sway bar and weight distribution bars, then release the hitch and pull the tow vehicle forward a few inches. Lastly, adjust the tongue jack to level the RV from front to back.
How can I stabilize my RV?
Stabilizing your RV helps reduce rocking and bouncing. Most RVs have manual scissor jacks that can be lowered. Consider using a special adapter with a power drill for easier operation. Avoid raising or lowering the tongue jack, as it can damage the stabilizers or tongue hitch.
What are the steps for handling my hookups?
Handling hookups involves connecting your electrical cord to the power box, using a surge protector. Connect your water hose to the spigot and the RV’s city water inlet, using a regulator. For the sewer hookup, attach your sewer hose to the campsite’s receptacle, using an elbow fitting and donut ring for proper sealing.