Sanitizing RV Tanks: A Step-by-Step Guide
gorvlifestyle.com and its partners may earn a commission if you purchase a product through one of our links
Welcome to our comprehensive guide on how to sanitize your RV’s fresh water tank. Keeping your water system clean and free from harmful bacteria is essential for a safe and enjoyable RV experience. In this article, we will walk you through the necessary steps and provide valuable tips for cleaning and disinfecting your RV tanks.
Key Takeaways:
- Regular sanitization of your RV’s fresh water tank is important to ensure a safe water system.
- Sanitize your RV tank at least once a year or after it has been unused for 2-4 weeks.
- You can use bleach or an environmentally-friendly cleaning solution for sanitization.
- Make sure to follow the manufacturer’s instructions and dilute the cleaning solution properly.
- Flush the tank and plumbing lines after the recommended time to remove any remaining bleach or cleaning solution.
How Often Should You Sanitize Your RV Fresh Water Tank?
When it comes to maintaining a safe and clean water system in your RV, regular sanitization of the fresh water tank is crucial. But how often should you sanitize it? The frequency of RV tank sanitization can vary, and there are different opinions on the matter.
Some manufacturers recommend sanitizing the tank after each use, while others suggest doing it once a year. However, the most common practice among RVers is to sanitize the tank annually, usually in the spring, as part of the dewinterizing process. This ensures that the water system is ready for spring camping and guarantees safe water for drinking, showering, dishwashing, and laundry on the road.
But what if your RV sits unused for extended periods, such as 2-4 weeks or more? In that case, it is also recommended to sanitize the tank before using it again. This routine maintenance task helps eliminate any potential buildup of bacteria or contaminants that may have occurred during the period of inactivity.
By sanitizing your RV’s fresh water tank at regular intervals, you can enjoy peace of mind knowing that your water system is clean and safe for use. Whether you choose to sanitize after each use, annually, or in response to prolonged periods of inactivity, prioritize the well-being of your water supply to ensure a worry-free and enjoyable camping experience.
| Sanitization Frequency | Recommended Interval |
|---|---|
| After each use | Varying opinions |
| Annually | Most common practice |
| Extended period of inactivity | Before using the tank again |
What Do You Need to Sanitize Your RV Fresh Water Tank?
Sanitizing your RV’s fresh water tank is an important step in maintaining a clean and safe water system for your travels. Fortunately, you don’t need any special tools for this task. Here are the essential supplies you’ll need:
- A measuring cup to accurately measure the cleaning solution.
- A funnel to safely pour the solution into the tank.
- A 5-gallon bucket or water storage container to mix the solution.
- A potable water hose to fill the tank.
- A non-scented bleach or RV tank sanitizer to disinfect the tank.
- Optionally, a water tank filler can make the process easier and more convenient.
Bleach is a commonly used sanitization agent that is effective in killing bacteria and pathogens. However, if you prefer a more eco-friendly approach, there are specially formulated cleaning solutions available for RV tank sanitization. Make sure to follow the instructions provided by the manufacturer for proper dilution and safe use.
Note: Bleach is safe to use on all components of your RV’s water system, including the water pump.
Now that you have all the necessary supplies, you’re ready to proceed with sanitizing your RV’s fresh water tank and ensuring a clean and healthy water system for your adventures.
How to Sanitize RV Fresh Water Tank with Bleach
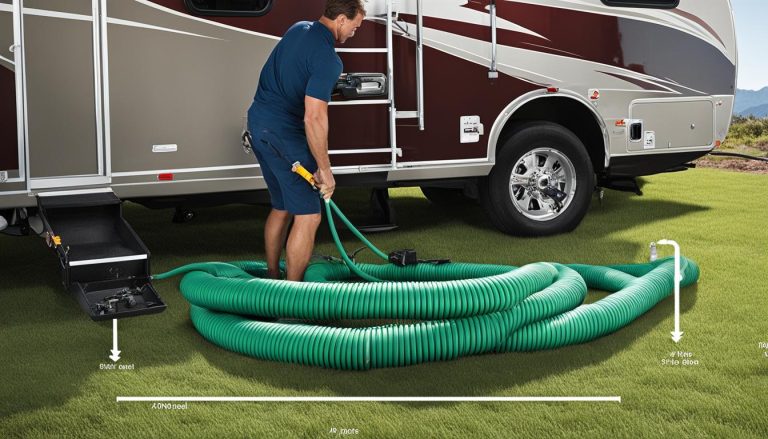
Before you begin the process of sanitizing your RV’s fresh water tank with bleach, it’s important to ensure that your RV is parked in a location where water can safely drain into the soil or run downhill. This will prevent any damage or contamination caused by stagnant water.
The first step is to turn off your water heater and water pump. It’s crucial to drain your freshwater system with the water heater off, as draining it while the heater is on can lead to damage.
Next, drain the fresh water tank and locate the low-point drains for your RV’s plumbing lines. These drains allow you to use gravity to drain the water from your freshwater tank, plumbing lines, and hot water tank.
Now, you’ll need to calculate the amount of bleach needed based on the size of your tank. It’s generally recommended to use 1/4 cup of bleach for every 15 gallons of water in your tank. Dilute the bleach in a gallon of water to create a bleach mixture.
Carefully add the bleach mixture to your fresh water tank, either using a funnel or a hose connected to a water source. Make sure to do this in a well-ventilated area and avoid any direct contact with the bleach.
After adding the bleach mixture, it’s time to fill the tank with potable water. Use a potable water hose to ensure the water is safe for consumption. This will help to circulate the bleach solution throughout the system.
Once the tank is filled, it’s important to pump the water through the system to ensure thorough circulation of the bleach solution. This can be done by turning on the water pump and opening all the faucets in your RV, including both hot and cold water lines. Continue this process until you smell the bleach solution at each faucet.
Now, it’s time to let the bleach solution sit in the tank and plumbing lines for 12-24 hours. This will allow the bleach to effectively disinfect the system and kill any bacteria or contaminants present.
After the recommended time has passed, it’s essential to drain the tank and flush the entire system to remove any remaining bleach solution. This can be done by opening all the faucets and letting the water run until there is no smell of bleach.
By following these steps, you can effectively sanitize your RV’s fresh water tank using bleach and ensure a clean and safe water supply for your adventures on the road.
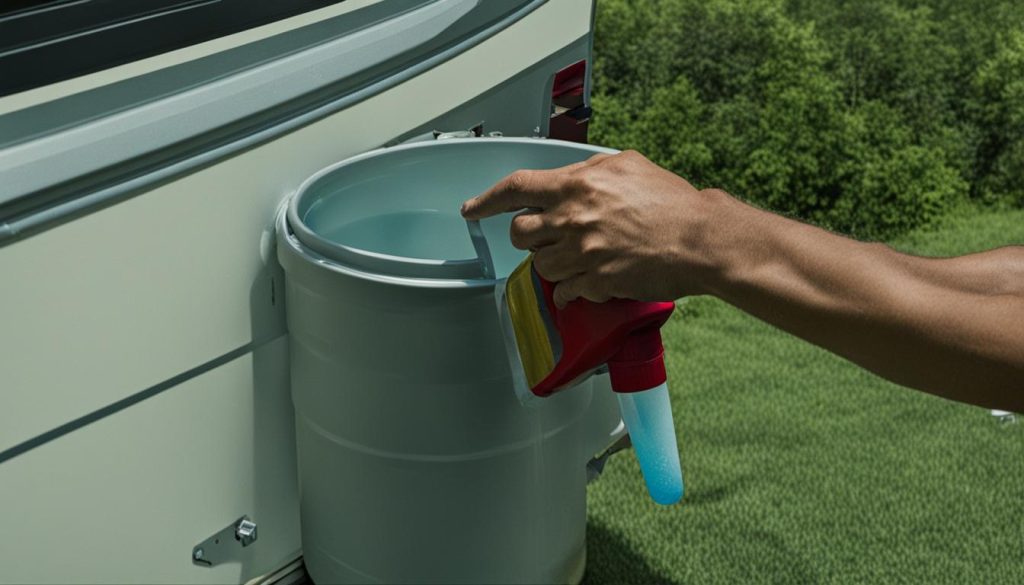
| Steps for Sanitizing RV Fresh Water Tank with Bleach |
|---|
| 1. Park your RV in a location where water can safely drain. |
| 2. Turn off the water heater and water pump. |
| 3. Drain the fresh water tank and locate the low-point drains. |
| 4. Calculate the amount of bleach needed and dilute it in a gallon of water. |
| 5. Carefully add the bleach mixture to the fresh water tank. |
| 6. Fill the tank with potable water and pump it through the system. |
| 7. Let the bleach solution sit in the tank and plumbing lines for 12-24 hours. |
| 8. Drain the tank and flush the system to remove any remaining bleach. |
Tips for Sanitizing RV Water System
When it comes to sanitizing your RV’s fresh water tank, following best practices and guidelines is crucial. Here are some helpful tips to ensure a thorough and effective sanitization process:
- Turn off the water pump and open faucets: Before starting the sanitization process, make sure the water pump is turned off and open the faucets in your kitchen and bathroom. This allows air to assist in draining the water system and ensures an effective cleanse.
- Check the hose clamp: Before filling the fresh water tank, inspect the hose clamp on the filler tube and ensure it is tight. This helps prevent any leaks or contamination during the sanitization process.
- Use an RV water filter: Consider using an RV water filter when filling the tank. This helps remove any impurities and ensures that you are working with the cleanest water possible for sanitization.
- Allow circulation time: After adding the bleach or cleaning solution to the tank, let it circulate through the plumbing lines for a few minutes before closing the faucets and turning off the water pump. This allows the solution to effectively reach all parts of the water system.
- Allow sufficient soaking time: To achieve proper sanitization, it is essential to let the water and bleach mixture sit in the tank and plumbing lines for the recommended 12-24 hours. This time allows the solution to effectively kill any bacteria and sanitize the entire system.
- Proper disposal of bleach solution: After the sanitization process is complete, it is important to dispose of the bleach solution properly. Avoid draining it into the soil, as it can harm plant life and degrade soil health. Instead, follow the recommended disposal guidelines to ensure environmental safety.
By following these tips and incorporating them into your RV tank sanitization routine, you can ensure a clean and safe water system for your travels.
Common Mistakes to Avoid When Sanitizing RV Tanks
While sanitizing your RV’s fresh water tank, it’s important to be aware of common mistakes that can compromise the effectiveness of the process. Avoiding these errors will help ensure that your RV’s water system remains clean and safe for your travels.
1. Failing to turn off the water heater and water pump
Before draining the tank, it’s crucial to turn off the water heater and water pump. Leaving the water heater on during the process can potentially cause damage to the tank. Make sure to turn off both components to prevent any issues.
2. Improperly diluting the bleach or cleaning solution
To effectively sanitize the RV tank, it’s important to properly dilute the bleach or cleaning solution. Failing to do so can lead to ineffective sanitization or even damage to the tank and plumbing lines. Follow the manufacturer’s instructions and guidelines for the correct dilution ratio.
3. Not allowing the water and bleach mixture to sit for the recommended time
After adding the bleach mixture to the tank, it’s essential to let it sit for the recommended time. This allows the bleach solution to thoroughly disinfect the tank and plumbing lines. Failing to give it enough time can result in incomplete sanitization, leaving behind potential bacteria or contaminants.
4. Improper disposal of the bleach solution
When it comes to disposing of the bleach solution, it’s crucial to follow the recommended guidelines. Improper disposal can harm the environment and potentially have negative effects on plants and soil health. Always dispose of the bleach solution responsibly to minimize any ecological impact.
By avoiding these common mistakes, you can ensure a thorough and effective sanitization process for your RV’s fresh water tank. Taking these precautions will help keep your water system clean and safe, providing peace of mind for your travels.
Benefits of Regular RV Tank Sanitization
Regular sanitization of your RV’s fresh water tank offers several benefits. The most significant advantage is ensuring that the water you use for drinking, bathing, and cooking is safe and free from harmful bacteria and contaminants. By maintaining a clean and sanitized water system, you can protect the health and well-being of yourself and your fellow travelers.
Sanitization also plays a vital role in preventing the growth of biofilm and other deposits within the tank and plumbing lines. Over time, these deposits can accumulate and negatively impact water quality and flow. Regular tank cleaning helps to keep your water system in optimal condition, ensuring a steady and reliable water supply during your travels.
Another benefit of proper sanitization is the potential to prolong the life of your RV’s water system components. By implementing regular maintenance and cleaning practices, you can prevent the buildup of corrosive substances and prolong the lifespan of pipes, pumps, and other crucial components. This not only saves you from costly repairs but also ensures that your RV’s water system remains reliable and functional for years to come.
In conclusion, regular sanitization of your RV’s fresh water tank provides numerous advantages, such as maintaining safe drinking water, preventing the growth of biofilm, and prolonging the lifespan of water system components. By prioritizing regular tank cleaning and following recommended sanitization practices, you can enjoy peace of mind knowing that your RV’s water system is clean, efficient, and ready for your next adventure.
FAQ
How often should I sanitize my RV fresh water tank?
The frequency of sanitizing your RV’s fresh water tank can vary, but it is generally recommended to do it at least once a year or after your RV has sat unused for 2-4 weeks.
What tools do I need to sanitize my RV fresh water tank?
You will need a measuring cup, funnel, 5-gallon bucket or water storage container, potable water hose, non-scented bleach or RV tank sanitizer, and optionally a water tank filler.
How do I sanitize my RV fresh water tank with bleach?
Start by turning off your water heater and water pump. Drain the fresh water tank and locate the low-point drains for your RV’s plumbing lines. Calculate the amount of bleach needed, dilute it in a gallon of water, and carefully add it to your fresh water tank. Fill the tank with potable water, pump it through the system, and let it sit for 12-24 hours. Drain the tank and flush the system to remove any remaining bleach solution.
What are some tips for sanitizing my RV water system?
Make sure to turn off the water heater and water pump before draining the tank. Use an RV water filter when filling the tank, and let the bleach or cleaning solution circulate through the plumbing lines before closing the faucets. Properly dispose of the bleach solution to avoid harming the environment.
What common mistakes should I avoid when sanitizing my RV tanks?
Avoid leaving the water heater on while draining the tank, failing to properly dilute the bleach or cleaning solution, not letting the mixture sit for the recommended time, and improperly disposing of the bleach solution.
What are the benefits of regular RV tank sanitization?
Regular sanitization ensures that the water you use in your RV is safe and free from harmful bacteria and contaminants. It also helps prevent the growth of biofilm and other deposits, prolongs the life of your RV’s water system components, and prevents costly repairs.

