RV Toilet Seal Replacement Guide – Quick & Simple
gorvlifestyle.com and its partners may earn a commission if you purchase a product through one of our links
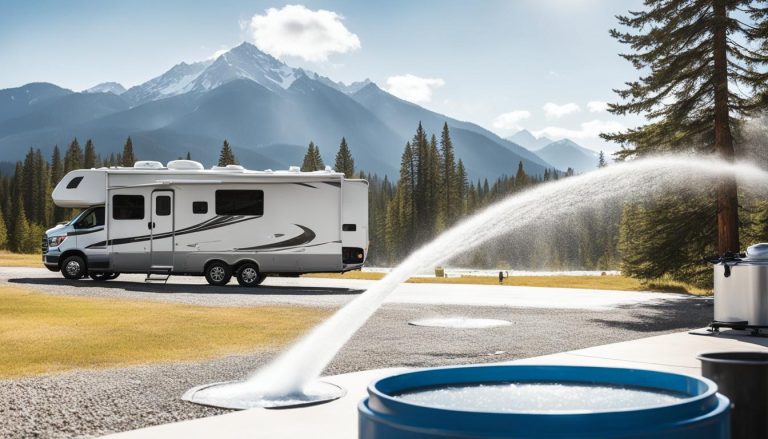
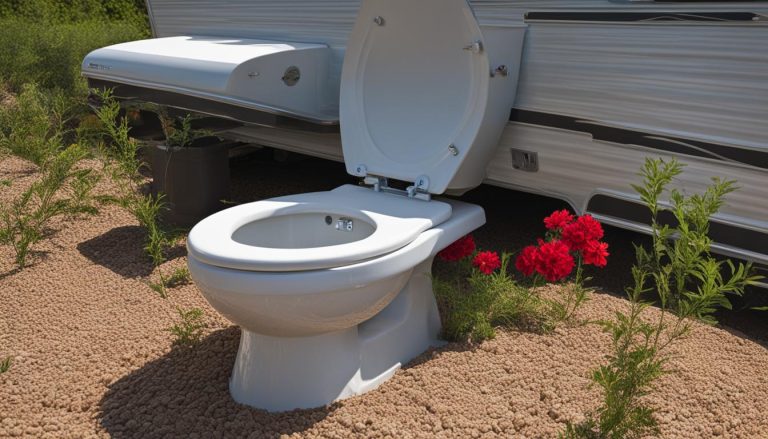
Replacing the waste ball seal in an RV toilet is a simple and inexpensive DIY repair. The waste ball seal helps to maintain a watertight seal between the toilet bowl and the black holding tank. Over time, the seal can degrade or develop mineral scaling, leading to leaks and unpleasant odors. In this guide, we will walk you through the step-by-step process of replacing the seal in your RV toilet, saving you time and money and ensuring a leak-free vacation.
Key Takeaways:
- Replacing the waste ball seal in an RV toilet is a simple and cost-effective DIY repair.
- Signs of a damaged RV toilet seal include leaks, dropping water level in the bowl, and unpleasant odors.
- Gather the necessary tools and materials before starting the RV toilet seal replacement.
- Follow the step-by-step guide to properly replace the seal on your RV toilet.
- It is recommended to remove the toilet bowl for a thorough and effective seal replacement.
Signs of a Damaged RV Toilet Seal
If you own an RV, it’s important to keep an eye out for signs of a damaged toilet seal. Ignoring these signs can lead to leaks, a dropping water level in the bowl, and unpleasant odors in your RV. By recognizing and addressing these issues promptly, you can ensure a comfortable and odor-free camping experience.
https://www.youtube.com/watch?v=q-bw9HLLa5I
Leaking RV Toilet
One of the most noticeable signs of a damaged RV toilet seal is a leaking toilet. If you notice water pooling around the base of the toilet or dripping from the bottom, it’s a clear indicator that the seal is compromised. This can result in water damage to your RV flooring and an unpleasant mess to clean up.
Dropping Water Level in the Bowl
Another sign of a damaged toilet seal is a dropping water level in the bowl. If you find that the water level is consistently lower than usual, it may indicate that the seal is not effectively holding water. This can make flushing less efficient and lead to clogs or blockages in the RV’s plumbing system.
Unpleasant Odor in RV Toilet
An unpleasant odor emanating from your RV toilet is a telltale sign that the seal has been compromised. The waste ball seal is designed to create an airtight barrier between the toilet bowl and the black holding tank, preventing odors from escaping. When the seal is damaged, sewage odors can permeate the RV, making it an uncomfortable environment for you and your travel companions.
If you notice any of these signs, it’s important to take action and replace the RV toilet seal. Ignoring the problem can lead to more significant damage and costly repairs down the line. In the following sections, we will guide you through the process of replacing the seal step-by-step, ensuring a watertight and odor-free RV toilet.
Tools and Materials Needed for RV Toilet Seal Replacement
Before you start replacing the seal on your RV toilet, make sure you have all the necessary tools and materials to complete the job efficiently. Here’s a list of items you’ll need:
- Thetford 34120 Waste Ball Seal kit
- Socket wrench or adjustable wrench
- Disposable gloves
- Plumbers grease or silicone lubricant
- Optional extras: your phone for photos and a telescoping mirror
Gathering these tools and materials beforehand will ensure that you have everything you need within reach, making the replacement process quick and hassle-free.
Note: The image above illustrates some of the tools and materials required for RV toilet seal replacement.
Step-by-Step Guide to RV Toilet Seal Replacement
Follow this step-by-step guide to replace the seal on your RV toilet. By following these instructions, you can ensure a smooth and successful seal replacement process.
1. Shut Off Water to RV System
Begin by shutting off the water to your RV system. This will prevent any water from flowing into the toilet bowl while you work on replacing the seal. To do this, locate the water shut-off valve for your RV and turn it off.
2. Remove Toilet Bowl
Using a socket wrench or an adjustable wrench, carefully loosen and remove the long hex-head screws that hold the toilet bowl onto the pedestal. Make sure to keep track of the screws as you’ll need them later to reattach the toilet bowl.
3. Clean Seal Recess
Once the toilet bowl is removed, you’ll have access to the seal recess. Thoroughly clean the seal recess using a mild cleaner and a brush or sponge. Remove any residue or buildup to ensure a clean surface for the new seal.
4. Lubricate New Seal
Apply a small amount of plumbers grease or silicone lubricant to the new seal. This will help create a smooth and watertight seal between the toilet bowl and the black holding tank. Be sure to evenly distribute the lubricant to ensure optimal performance.
5. Reattach Toilet Bowl
Once the new seal is lubricated, carefully place it into the seal recess. Line up the bolt holes on the toilet bowl with the holes on the pedestal and reattach the toilet bowl using the previously removed screws. Tighten the screws securely but be careful not to over-tighten and damage the toilet bowl or the seal.
6. Check for Leaks
After reattaching the toilet bowl, turn on the water to the RV system and carefully check for any leaks around the seal and the toilet connections. If you notice any leaks, tighten the screws a little more and retest for leaks. Repeat this process until there are no signs of leakage.
Congratulations, you have successfully replaced the seal on your RV toilet! With a properly functioning seal, you can enjoy a leak-free and odor-free RV experience.

Can I Replace Only the RV Toilet Seal Without Removing the Bowl?
If you’re considering replacing the waste ball seal in your RV toilet, you may wonder if it’s necessary to remove the entire toilet bowl. While it is possible to replace the seal without removing the bowl, there are potential challenges to consider.
Removing the toilet bowl provides better access to the seal recess and waste ball valve, allowing for more thorough cleaning and maintenance. Over time, mineral scaling can accumulate in these areas, leading to leaks and unpleasant odors. By removing the bowl, you can clean these parts effectively and ensure a proper seal replacement.
If you choose not to remove the bowl, you may encounter difficulties in properly extracting the old seal and wedging the new seal into place. Additionally, cleaning the surrounding areas can be challenging, as you won’t have as much visibility or access.
For a thorough and effective seal replacement, it’s recommended to take the extra step of removing the toilet bowl. This will allow you to address any potential challenges and ensure a leak-free and odor-free RV toilet.
Potential Challenges of Not Removing the Toilet Bowl for Seal Replacement:
- Difficulty in extracting the old seal
- Challenges in wedging the new seal into place
- Limited visibility and access for cleaning
- Potential for incomplete seal replacement
- Risk of future leaks and odors
By taking the time to remove the toilet bowl, you can overcome these challenges and achieve a successful seal replacement. Your RV toilet will be in optimal condition, ensuring a pleasant and worry-free camping experience.

Pros and Cons of Removing Toilet Bowl for Seal Replacement
| Pros | Cons |
|---|---|
| Better access for cleaning and maintenance | Potential challenges in extracting old seal |
| Thorough and effective seal replacement | Difficulties in wedging new seal into place |
| Reduced risk of future leaks and odors | Limited visibility and access for cleaning |
Benefits of DIY RV Toilet Seal Replacement
Replacing the seal on your RV toilet yourself offers several benefits that can enhance your camping experience. One of the main advantages is the cost savings you’ll enjoy. By opting for a DIY fix instead of hiring a professional, you can save money on labor fees and expensive service charges.
In addition to cost savings, replacing the seal on your RV toilet yourself also saves you precious time. Rather than having to make an appointment with a dealer or repair shop and wait for your turn, you can tackle the repair at your convenience. This means you can get back to enjoying your RV adventures sooner.
Moreover, taking on DIY repairs and maintenance projects increases your self-reliance on the road. You’ll feel empowered knowing that you have the skills and knowledge to handle common RV issues. This sense of self-reliance not only saves you money but also gives you greater peace of mind during your travels.
Lastly, opting for a DIY fix is a low-cost solution for your RV toilet seal replacement needs. By following a comprehensive guide, such as the one provided here, you can replace the seal easily and quickly, ensuring a leak-free and odor-free camping experience. So why spend extra money and time when you can achieve the same results on your own?
FAQ
What are the signs of a damaged RV toilet seal?
The signs of a damaged RV toilet seal include a leaking toilet, a dropping water level in the bowl, and unpleasant odors coming from the toilet.
What tools and materials do I need for RV toilet seal replacement?
You will need a Thetford 34120 Waste Ball Seal kit, a socket wrench or adjustable wrench, disposable gloves, plumbers grease or silicone lubricant, and optional extras such as your phone for photos and a telescoping mirror.
Can you provide a step-by-step guide for RV toilet seal replacement?
Certainly! To replace the seal on your RV toilet, start by shutting off the water to the RV system and releasing the water pressure. Then, use a socket wrench to remove the screws holding the toilet bowl onto the pedestal. After removing the bowl, lift out the old seal, clean the seal recess, and lubricate the new seal. Finally, reattach the toilet bowl and check for any leaks.
Can I replace the RV toilet seal without removing the bowl?
While it is possible to replace the RV toilet seal without removing the bowl, it is not recommended. Removing the bowl allows for better access and cleaning of the seal recess and waste ball valve, leading to a more effective seal replacement.
What are the benefits of DIY RV toilet seal replacement?
DIY RV toilet seal replacement offers cost savings, time savings, increased self-reliance, and a low-cost fix for a leak-free and odor-free camping experience.