RV Air Conditioner Replacement Made Easy
gorvlifestyle.com and its partners may earn a commission if you purchase a product through one of our links
Replacing an RV air conditioner can be a simple and cost-effective DIY project. By following a few tips and guidelines, you can replace your RV air conditioner unit and enjoy a cooler journey in your travels. Replacing the unit yourself can save you money compared to hiring a professional.
Key Takeaways:
- Replacing an RV air conditioner can be a DIY project that saves you money.
- Upgrading your RV air conditioner can improve cooling efficiency and performance.
- Steps for RV air conditioner replacement include gathering the necessary equipment and ensuring compatibility with your thermostat.
- Purchasing the rooftop unit and ceiling assembly are the main parts needed for RV air conditioner replacement.
- Removing the old AC unit involves taking off the shroud and disconnecting electrical wiring.
Reasons to Replace an RV Air Conditioner
There are several reasons why you might consider replacing your RV air conditioner. If your current unit is not keeping your RV cool, it may be time for an upgrade. Replacing the air conditioner can also help troubleshoot any issues you may be experiencing. Upgrading to a newer model can result in improved cooling efficiency and performance.
- Upgrade your cooling power: If your current RV air conditioner is struggling to keep up with the heat, it may be time for an upgrade. Upgrading to a more powerful unit can ensure that your RV stays cool and comfortable, even during the hottest summer days.
- Troubleshoot performance issues: If you are experiencing problems with your RV air conditioner, such as inconsistent cooling or unusual noises, replacing the unit may help troubleshoot these issues. A new air conditioner can provide reliable and efficient cooling, eliminating any performance problems.
- Improve energy efficiency: Older RV air conditioners may not be as energy-efficient as newer models. By upgrading to a more energy-efficient unit, you can reduce your energy consumption and potentially save on your RV’s electricity costs.
- Enhance comfort and convenience: Newer RV air conditioners often come with advanced features and technologies that can enhance your comfort and convenience. From digital thermostats to remote control operation, upgrading your air conditioner can make your RV camping experience more enjoyable.
Upgrading your RV air conditioner can provide you with a more reliable and efficient cooling solution, ensuring that you stay comfortable no matter where your travels take you.
Before replacing your RV air conditioner, it is important to carefully evaluate your needs and research different models and brands. Consider consulting with experienced RV owners or professionals for recommendations on the best options for your specific RV.
Steps for RV Air Conditioner Replacement
Replacing an RV air conditioner is a step-by-step process that can be tackled as a DIY project. By following these guidelines, you can successfully replace your RV air conditioner and enjoy optimal cooling during your travels. Not only will this save you money, but it will also give you the satisfaction of completing the task on your own.
- Gather the Necessary Equipment: To get started, make sure you have the following tools and materials:
| Equipment | Details |
|---|---|
| New AC Unit | Choose a unit that is compatible with your RV’s specifications. |
| AC Duct Tape | Used to secure the ductwork and ensure proper airflow. |
| Screwdriver | Required for removing and installing the air conditioner. |
- Check Compatibility: Before purchasing a new AC unit, contact the manufacturer to ensure it is compatible with your RV’s thermostat. This step is essential to avoid any compatibility issues and ensure a hassle-free replacement.
- Loosen the Existing Unit: Start the replacement process by removing the screws or bolts that secure the old AC unit to the roof. Carefully disconnect any electrical connections.
- Check the Ductwork: Take this opportunity to inspect the ductwork for any signs of damage or leaks. Repair or replace any faulty ducts to improve the overall efficiency of your new air conditioner.
- Hauling the New AC Unit: When hauling the new AC unit up to the roof, it’s recommended to keep it in the box for easier handling and protection. This precautionary step makes the installation process smoother and safer.
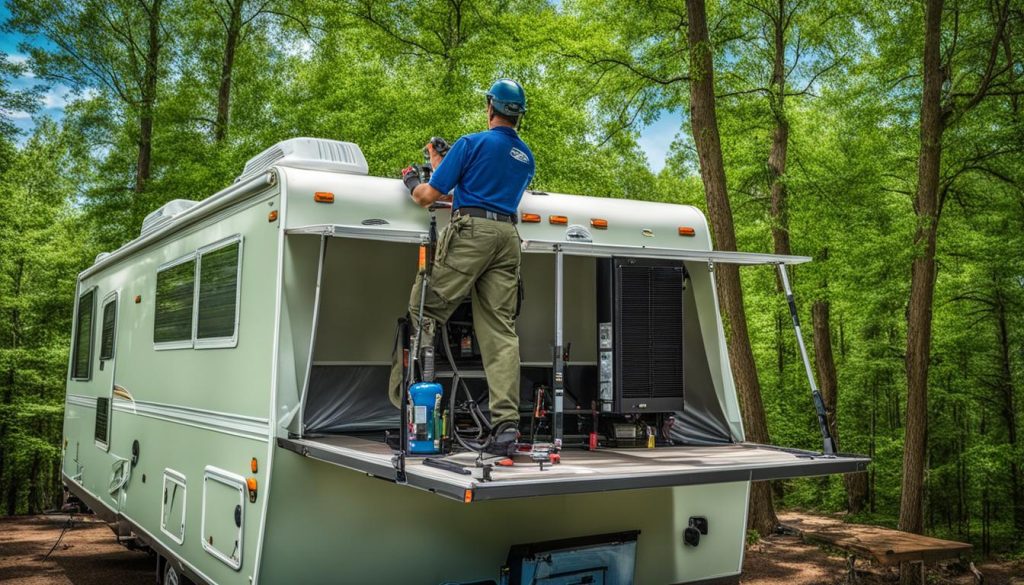
Following these step-by-step instructions, you’ll be able to replace your RV air conditioner confidently and efficiently. It’s important to take your time and ensure each step is completed accurately to avoid any complications during the installation.
Parts Needed for RV Air Conditioner Replacement
When replacing an RV air conditioner, you will need to purchase two main parts: the rooftop unit and the inside vent and controls, also known as the ceiling assembly. The type of ceiling assembly you need will depend on whether your RV uses a ducted or non-ducted air conditioning system. It’s always a good idea to consult with a professional to determine the required cooling capacity for your specific RV.
- Rooftop unit: This is the main component of your RV air conditioner system. It sits on top of your RV and is responsible for cooling the interior. Make sure to choose a unit that is compatible with your RV’s specifications and size.
- Ceiling assembly: This is the part that is installed inside your RV and controls the airflow and temperature. It includes the vent, control panel, and distribution box. The type of assembly you need will depend on whether you have a ducted or non-ducted system.
When purchasing these parts, it’s important to consider the quality and reliability of the brand. Look for reputable manufacturers that specialize in RV air conditioner systems to ensure you’re getting a durable and efficient product. Additionally, consider consulting with an RV expert or professional installer who can provide guidance on the best practices for RV air conditioner replacement.
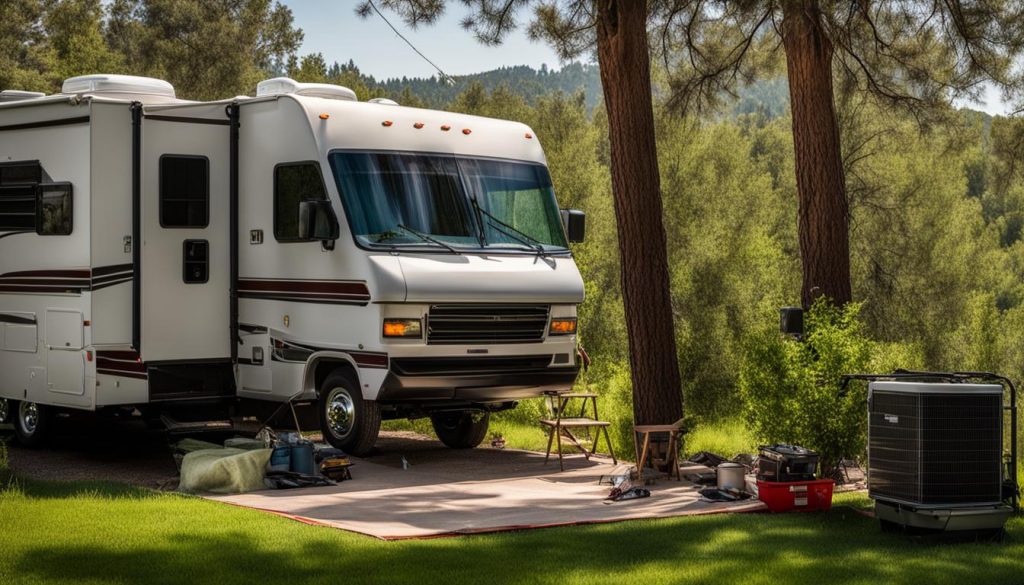
| Rooftop Unit | Inside Vent and Controls (Ceiling Assembly) |
|---|---|
| High cooling capacity | Ducted or non-ducted options available |
| Efficiency and energy-saving features | Control panel for adjusting temperature and fan speed |
| Durable construction to withstand outdoor conditions | Air distribution box for directing airflow |
| Noise-reducing technology | Easy installation and maintenance |
Removing the Old AC Unit
To begin the replacement process, you will need to remove the old AC unit. Follow these steps to ensure a smooth removal:
- Remove the air conditioner shroud on the roof: Using a screwdriver, unscrew the shroud from the roof of your RV. Carefully lift off the shroud and set it aside.
- Disconnect the electrical wiring: Locate the electrical connections on the unit. Disconnect any wires or connections that are attached to the old AC unit. Take note of where each wire was connected for easy reconnection later.
- Remove the ceiling assembly: Inside your RV, locate the ceiling assembly that is attached to the old AC unit. Unscrew any bolts or fasteners holding it in place. Carefully remove the ceiling assembly from its position.
- Remove the retaining flange bolts: On the roof, find the retaining flange bolts that secure the old AC unit in place. Use a wrench or socket set to unscrew and remove these bolts.
- Separate the foam gasket: Once the bolts are removed, carefully separate the foam gasket from the roofing surface. Take care not to damage the gasket or the roof.
- Remove old sealants or excess roof coating: Inspect the area where the old AC unit was located. Remove any old sealants or excess roof coating to prepare the area for the new air conditioner.
Once you have completed these steps, you will be ready to install the new AC unit. Refer to the manufacturer’s instructions for proper installation procedures.
Things to Consider:
If you encounter any difficulties during the removal process or are unsure about any steps, it is recommended to consult a professional or seek assistance from experienced RV owners. Safety should always be a top priority when working with electrical and mechanical components.
Comparison of Old AC Unit Removal Steps
| Steps | DIY Removal | Professional Removal |
|---|---|---|
| Difficulty | Moderate | Easy |
| Time Required | 1-2 hours | Less than 1 hour |
| Tools Needed | Screwdriver, wrench/socket set | Same as DIY |
| Experience Required | Basic DIY skills | Professional experience |
Placing the New Air Conditioner
Now that you’ve successfully removed the old AC unit, it’s time to place the new air conditioner in your RV. This step is crucial to ensure optimal performance and cooling efficiency. Follow these simple instructions to complete the installation:
- Leave the new unit in the box while carrying it to the top of your camper. This will make handling easier and protect the unit from any potential damage.
- Once on the roof, carefully align the foam gasket on the bottom of the rooftop unit with the opening on the roof. This will create a tight seal and prevent any air leakage.
- After aligning the gasket, it’s time to install the ceiling assembly inside your RV. Use the provided bolts to secure the assembly in place, ensuring it is level and properly aligned.
- With the assembly securely in place, you can now connect the ducts and electrical wiring. Follow the manufacturer’s instructions for proper connections.
Congratulations! You’ve successfully installed the new air conditioner in your RV. Now, you can enjoy cooler temperatures during your travels. Remember to test the unit and make sure it is functioning correctly before hitting the road. If you encounter any issues during the installation process, don’t hesitate to consult a professional for assistance.
| Benefits of Proper Placement | Tips for Successful Installation |
|---|---|
|
|
An Alternative Option
If you’re considering replacing your RV air conditioner, you may have wondered if it’s possible to use a window unit from a home improvement store as an alternative option. While it is technically possible to do so, there are several important considerations to keep in mind before pursuing this route.
A window unit may not provide the same level of cooling capacity as a dedicated RV air conditioner. RV-specific units are designed to efficiently cool the confined space of an RV, whereas window units are primarily intended for use in standard home windows. As a result, a window unit may struggle to effectively cool your RV, especially during hot summer months.
In addition to cooling capacity, the size and fit of a window unit can pose challenges when it comes to installation. RVs come in different shapes and sizes, and the windows and walls may not be compatible with standard window units. This could make it difficult to secure the unit, potentially leading to air leaks and inefficiencies.
Another consideration is the airflow distribution within your RV. Dedicated RV air conditioners are designed to distribute cool air evenly throughout the vehicle, taking into account the layout and ventilation system. Window units, on the other hand, may not circulate air as effectively, which can result in uneven cooling and uncomfortable conditions.
Given these factors, it is strongly recommended to consult with a professional or experienced RV owner before considering a window unit as an alternative option. They can provide valuable insights and guidance based on their expertise and firsthand experiences, helping you make an informed decision about the best course of action for your RV air conditioner replacement.
In conclusion, while using a window unit as an alternative option for replacing your RV air conditioner may seem like a cost-effective solution, it is important to carefully consider the potential drawbacks. Consulting with experts and weighing the pros and cons can help ensure that you choose the most suitable option to keep your RV cool and comfortable during your travels.
Tips and Recommendations
When it comes to replacing your RV air conditioner, there are some essential tips and recommendations that can ensure a successful upgrade and the best practices for replacement.
First and foremost, make sure to regularly maintain and clean the air filter of your RV air conditioner. A clean filter improves the performance and efficiency of the unit, allowing it to cool your RV more effectively.
Additionally, you can reduce the workload on your air conditioner by parking your RV in shaded areas whenever possible. This helps to keep the interior cooler and decreases the strain on your AC unit, resulting in improved energy efficiency and performance.
If you don’t feel confident in your electrical skills, it’s always a good idea to hire a professional for the installation process. They have the expertise to safely handle electrical connections and ensure the proper functioning of your new RV air conditioner.
Finally, it is beneficial to read reviews and seek recommendations from experienced RV owners when choosing a specific model and brand for your RV air conditioner upgrade. Their insights and experiences can provide valuable guidance to help you make an informed decision.
FAQ
How do I replace my RV air conditioner?
To replace your RV air conditioner, you will need to gather the necessary equipment and follow a few simple steps. First, gather a new AC unit, AC duct tape, and a screwdriver. Contact the manufacturer to ensure compatibility with your thermostat. Then, loosen the existing unit, check the ductwork, and prepare the area for the new air conditioner. Finally, place the new unit on the roof and connect the ducts and electrical wiring to complete the installation.
Why would I consider replacing my RV air conditioner?
There are several reasons why you might consider replacing your RV air conditioner. If your current unit is not keeping your RV cool, it may be time for an upgrade. Replacing the air conditioner can also help troubleshoot any issues you may be experiencing. Upgrading to a newer model can result in improved cooling efficiency and performance.
What parts do I need to replace my RV air conditioner?
When replacing an RV air conditioner, you will need to purchase two main parts: the rooftop unit and the inside vent and controls, also known as the ceiling assembly. The type of ceiling assembly you need will depend on whether your RV uses a ducted or non-ducted air conditioning system. It is recommended to consult with a professional to determine the required cooling capacity and whether you want to install a heat pump-assisted rooftop unit or an RV AC heat strip.
How do I remove the old AC unit?
To remove the old AC unit, you will need to remove the air conditioner shroud on the roof and the ceiling assembly inside your RV. Disconnect the electrical wiring and remove the retaining flange bolts. Carefully separate the foam gasket from the roofing surface and remove any old sealants or excess roof coating. This will prepare the area for the new air conditioner.
How do I place the new air conditioner?
To place the new air conditioner, it is recommended to leave the unit in the box while carrying it to the top of the camper for easier handling and protection. Carefully align the foam gasket on the bottom of the rooftop unit with the opening on the roof. Install the ceiling assembly inside the RV and secure it with bolts. Connect the ducts and electrical wiring to complete the installation.
Can I replace my RV air conditioner with a window unit?
While it is possible to replace an RV air conditioner with a window unit from a home improvement store, there are some considerations to keep in mind. Window units may not provide the same cooling capacity as RV-specific units, and they may not fit properly in the RV’s window or wall. Additionally, window units may not be as efficient in distributing air throughout the RV. It is recommended to consult with a professional or experienced RV owner before attempting this alternative option.
What are some tips and recommendations for RV air conditioner replacement?
When replacing an RV air conditioner, it is important to keep some tips and recommendations in mind. Regularly maintain and clean the air filter for optimal performance. Consider parking in shaded areas and using window coverings to reduce the workload on the air conditioner. If you are not comfortable with electrical work, hire a professional for the installation. It is also beneficial to read reviews and consult with experienced RV owners for recommendations on specific models and brands.


