Replace Your RV AC Unit: A Step-by-Step Guide
gorvlifestyle.com and its partners may earn a commission if you purchase a product through one of our links
If your RV air conditioner is not functioning properly and needs to be replaced, you can save money by doing the replacement yourself. In this step-by-step guide, we will walk you through the process of replacing your RV AC unit. We will cover all the necessary steps and provide helpful tips along the way.
Do I Need to do a Complete RV A/C Installation?
Before replacing your RV AC unit, it’s important to assess whether a complete installation is necessary or if you can simply replace specific parts. The decision will depend on the condition of your current air conditioner and the extent of the malfunctions.
If your AC unit is old or several components are not functioning correctly, it is often more cost-effective to opt for a complete replacement. This ensures that you have a brand-new unit with all the necessary parts in good working condition, providing optimal cooling for your RV.
However, if only certain parts such as the fan blade or motor need to be replaced and the rest of your AC unit is in good condition, you can save money by replacing those specific parts. This approach is especially beneficial if you have a limited budget and want to extend the lifespan of your existing unit.
Consulting an RV professional is advisable before making a decision. They can assess the condition of your current AC unit and provide expert advice on whether a complete installation or partial replacement is the best choice for your needs and budget.
What are the Parts Needed for a Camper Air Conditioner Replacement?
When replacing your camper air conditioner, you will need two main parts: the rooftop unit and the ceiling assembly. The rooftop unit is the primary component responsible for cooling the air inside your RV. It is mounted on the roof and is connected to the ceiling assembly, which consists of the vents and controls.
The ceiling assembly comes in two types – ducted and non-ducted. Ducted systems have multiple vents strategically placed throughout the RV, allowing for better air distribution and temperature control in each area. Non-ducted systems, on the other hand, rely on the vents in the ceiling assembly for air distribution without additional ductwork.
When choosing between a ducted and non-ducted system, consider factors such as the size of your RV, personal preferences for air distribution, and the overall layout of your vehicle. Ducted systems are often more efficient and provide more even cooling, while non-ducted systems are simpler and easier to install.
Additionally, other parts to consider for your replacement include the control panel, thermostat, and optional features such as a heat pump-assisted rooftop unit or an RV AC heat strip for additional heating capabilities.
Comparison of Ducted and Non-Ducted Camper Air Conditioner Systems
| Aspect | Ducted System | Non-Ducted System |
|---|---|---|
| Air Distribution | Multiple vents for even cooling | Vents in the ceiling assembly |
| Installation Complexity | Requires additional ductwork | No additional ductwork needed |
| Flexibility | Allows for zone cooling | Simpler installation and flexibility in placement |
| Noise Level | Quieter operation due to distance from interior | Vents are closer, may be noisier |
As you plan your camper air conditioner replacement, carefully consider these parts and their specifications to ensure compatibility and optimal performance within your RV. By choosing the right parts and system for your needs, you can enjoy reliable and efficient cooling during your travels.
What are the Steps to Complete a Camper Air Conditioner Installation?
The process of replacing a camper air conditioner involves several steps. By following these steps carefully, you can ensure a successful installation and enjoy a cool and comfortable RV experience.
Step 1: Removing the Old AC Unit
To begin, you’ll need to remove the old air conditioner. Start by taking off the air conditioner shroud, which is the protective cover on the outside of the unit. Next, remove the ceiling assembly inside the RV, which houses the control panel and vents. Disconnect the electrical wiring, making sure to label the wires for easy reconnection later. Finally, carefully remove the foam gasket from the roofing surface.
Step 2: Placing the New Air Conditioner
Once the old unit is removed, it’s time to place the new air conditioner. Carefully position the new unit on the roof, ensuring it aligns with the opening left by the previous unit. Take note of any mounting brackets or supports that may need to be installed. Once in position, secure the new unit in place according to the manufacturer’s instructions.
Step 3: Connecting Ducts and Electrical Wiring
With the new air conditioner in place, it’s time to connect the ducts and electrical wiring. If you have a ducted system, connect the ducts to the unit’s outlets and ensure they are properly sealed. For non-ducted systems, ensure the vents in the ceiling assembly are aligned with the unit’s air outlets. Next, reconnect the electrical wiring, following the labels you made during the removal process. Double-check all connections for accuracy and safety.
Step 4: Testing and Finishing Touches
After completing the installation, it’s important to test the new air conditioner to ensure proper functionality. Turn on the unit and check for any unusual noises or airflow issues. Also, verify that the temperature control is working correctly. Once satisfied with the performance, replace the air conditioner shroud and reassemble the ceiling assembly. Clean up any debris or dust, and congratulations – you have successfully completed a camper air conditioner installation!
Remember, if you’re not confident in your DIY abilities or if you encounter any challenges during the installation process, it’s always best to consult a professional for assistance. Happy camping and enjoy your new, efficient camper air conditioner!
Tips for Replacing Your RV AC Unit
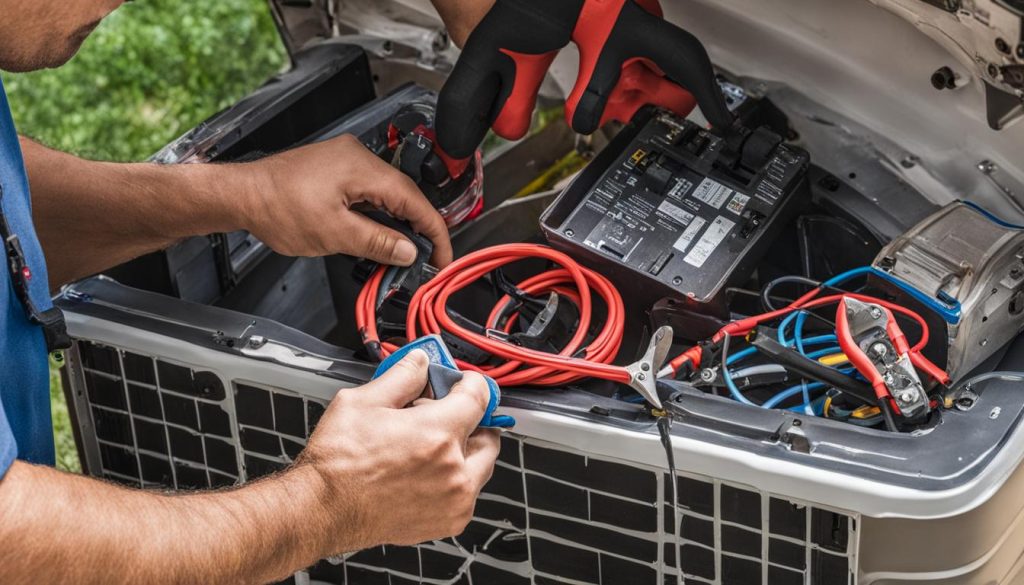
When it’s time to replace your RV AC unit, it’s important to make informed decisions to ensure a smooth upgrade. Consider these tips to help you find the best replacement and optimize your RV’s cooling system.
Upgrade Your Unit for Enhanced Performance
If you’re looking to improve the cooling capacity and energy efficiency of your RV, consider upgrading your AC unit. Research and choose the best RV AC unit replacement that meets your specific needs. Look for models with high cooling capacity and energy efficiency ratings. Reading customer reviews can provide valuable insights into the performance and durability of different units.
Weigh the Cost of Replacement
Before making the decision to replace your entire RV AC unit, consider the cost compared to replacing individual parts. In some cases, replacing a faulty component may be a more cost-effective solution. However, if your AC unit is outdated or experiencing multiple issues, a full replacement may be the best long-term investment. Analyze the costs and benefits to make an informed decision that suits your budget and needs.
Seek Expert Advice and Guidance
Consulting with an experienced RV professional can offer valuable advice and guidance throughout the replacement process. They can provide insights into the best RV AC unit replacement options based on your specific RV model and cooling requirements. Professionals can also ensure proper installation and help you avoid any potential pitfalls or costly mistakes.
RV AC Unit Installation Considerations
When it comes to installing a new RV AC unit, there are several important considerations to keep in mind. Prioritizing safety and following proper installation techniques will ensure a successful and hassle-free installation process. Here are some key factors to consider:
Safety First
Before starting the installation, it’s crucial to prioritize safety. Always disconnect all power sources to avoid any electrical accidents or shocks. Additionally, create a safe work environment by clearing the area of any obstacles or hazards. If you’re not comfortable with electrical work, it’s best to hire a professional electrician who can ensure a safe and efficient installation.
Follow Manufacturer’s Instructions
To ensure a proper installation, it’s essential to carefully read and follow the manufacturer’s instructions. Each RV AC unit may have specific installation requirements and guidelines that need to be strictly followed. By adhering to these instructions, you can guarantee that your new unit will function optimally and avoid any potential warranty issues.
Proper Installation Techniques
When installing the RV AC unit, it’s important to use the correct installation techniques. Ensure that the unit is securely mounted and properly aligned on the roof of your RV. Use the appropriate mounting brackets and fasteners recommended by the manufacturer to ensure stability. By following the correct installation techniques, you can prevent any potential damage to the unit and ensure its longevity.
Maintenance Tips
After installation, regular maintenance is essential to keep your RV AC unit in top condition. One important maintenance task is cleaning or replacing the air filters regularly to prevent dust and debris buildup. Clogged filters can restrict airflow and reduce the cooling efficiency of the unit. Additionally, inspect the unit for any signs of damage, leaks, or wear and tear. Promptly address any issues to prevent further damage and ensure optimal performance.
| Installation Safety Tips | Maintenance Tips |
|---|---|
|
|
By considering these installation and maintenance tips, you can ensure a successful and trouble-free RV AC unit installation. Remember to prioritize safety, follow manufacturer’s instructions, and perform regular maintenance to enjoy optimal cooling performance during your RV travels.
Enjoying Your Cool RV Travels
Now that your new RV AC unit is installed, you can relax and enjoy your travels in cool and comfortable surroundings. To ensure optimal performance, it’s important to maintain and take care of your air conditioning system. One key tip is to keep the foam air filter in the ceiling assembly clean. Regularly removing and cleaning the filter will prevent dust and debris from clogging the unit, allowing for better airflow and cooling efficiency.
In addition to proper maintenance, there are other energy-saving tips that can help you maximize the effectiveness of your RV AC unit. When parking your RV, try to find shaded areas to minimize direct sunlight exposure. This will reduce the workload on your air conditioner and help maintain a cooler interior temperature. Consider using window coverings or shades to block out the sun’s heat as well.
Another factor to keep in mind is the power supply voltage. In some RV parks or campgrounds, the voltage may fluctuate, which can affect the performance of your AC unit. Investing in a voltage regulator can help stabilize the power supply, ensuring consistent operation of your air conditioner. This small investment can save you from potential damage caused by voltage surges or drops.
By following these simple tips, you can make the most of your RV air conditioning system and enjoy cool and comfortable travels wherever you go. Whether you’re embarking on a weekend getaway or a long road trip, a well-maintained and energy-efficient AC unit will keep you comfortable throughout your journey.
FAQ
How do I replace my RV AC unit?
To replace your RV AC unit, you will need to remove the old unit, place the new air conditioner on the roof, align it with the opening, secure it in place, and connect the ducts and electrical wiring. Follow our step-by-step guide for detailed instructions.
Do I need to do a complete RV A/C installation?
Whether you need to do a complete RV A/C installation or just replace certain parts depends on the condition of your air conditioner. If multiple components are malfunctioning or your unit is old, it’s often more cost-effective to replace the entire unit. However, if only specific parts like the fan blade or motor need to be replaced, you can save money by replacing those parts.
What are the parts needed for a camper air conditioner replacement?
When replacing your camper air conditioner, you will need two main parts: the rooftop unit and the ceiling assembly. The ceiling assembly comes in two types – ducted and non-ducted. Ducted systems have multiple vents for distributing cold air throughout the RV, while non-ducted systems rely on the vents in the ceiling assembly for air distribution. Consider factors like cooling capacity, energy efficiency, and whether you want a heat pump-assisted rooftop unit or an RV AC heat strip.
What are the steps to complete a camper air conditioner installation?
The process of replacing a camper air conditioner involves several steps. First, you will need to remove the old AC unit by taking off the air conditioner shroud, removing the ceiling assembly inside the RV, disconnecting the electrical wiring, and separating the foam gasket from the roofing surface. Once the old unit is removed, you can place the new air conditioner on the roof, align it with the opening, and secure it in place. Finally, you will need to connect the ducts and electrical wiring, ensuring proper configuration and wire connections.
What are some tips for replacing my RV AC unit?
When replacing your RV AC unit, consider researching and choosing the best replacement that meets your needs. Look into factors like cooling capacity, energy efficiency, and customer reviews. Additionally, weigh the cost of replacing the unit against the cost of replacing individual parts. It’s always a good idea to consult with an RV professional for guidance and advice.
What should I consider during the RV AC unit installation?
When installing an RV AC unit, prioritize safety by ensuring all power sources are disconnected and creating a safe work environment. If you’re not comfortable with electrical work, hire a professional electrician. Follow proper installation techniques and consult the manufacturer’s instructions. After installation, regularly maintain the unit by cleaning the air filters for optimal performance.
How can I enjoy cool RV travels?
To enhance your RV air conditioning experience, keep the foam air filter in the ceiling assembly clean for optimal performance. Consider parking in shaded areas and covering your windows to reduce the workload of your AC unit. Additionally, be mindful of the power supply voltage and invest in a voltage regulator if necessary.

