RV Toilet Replacement Guide – Do It Yourself!
gorvlifestyle.com and its partners may earn a commission if you purchase a product through one of our links
When it comes to RV maintenance and upgrades, one task that many RVers may encounter is replacing their RV toilet. Whether it’s due to a malfunctioning toilet or simply wanting to upgrade to a newer model, replacing an RV toilet can be a relatively simple DIY project. In this RV toilet replacement guide, we will provide you with step-by-step instructions on how to remove and install a new RV toilet, giving you the confidence to create a comfortable and functional bathroom space in your RV. So let’s get started!
Key Takeaways:
- Replacing an RV toilet is a common maintenance task for RVers.
- Upgrading to a newer model can improve your RV bathroom experience.
- Follow our step-by-step guide to easily remove and install a new RV toilet.
- Choosing the right replacement toilet is crucial for proper installation.
- Maintaining your new RV toilet ensures optimal performance and longevity.
Choosing the Right RV Toilet Replacement
When it comes to replacing your RV toilet, selecting the right replacement unit is crucial. Before making a purchase, there are several factors to consider to ensure a seamless installation and optimal functionality in your RV bathroom.
Space and Flange Considerations
Begin by measuring the space where the new toilet will be installed. This will help you determine the appropriate size and ensure a proper fit. Additionally, take note of the type and location of the floor flange the toilet mounts to. This information will guide you in selecting a toilet that is compatible with your RV’s existing plumbing system.
Features to Look for
When choosing a new RV toilet, think about the features that matter most to you. Consider the toilet’s profile, such as whether you prefer a high or low-profile design. Think about anti-microbial properties to help combat bacteria and odors. Evaluate the water consumption and flow rate to ensure efficient water usage. Consider if you want an attached spray unit for added convenience. Take note of the bowl size and materials, whether you prefer plastic or porcelain. Select a seat and lid design that aligns with your preferences. Decide on the color and overall width that will complement your RV’s interior. Research different brands and their reputations for quality and durability. Lastly, consider the flush mechanism that suits your needs, which could be a foot pedal, slide handle, or push button. Table 2.1 summarizes the key features to consider when choosing an RV toilet replacement.
| Feature | Description |
|---|---|
| Profile | Choose between high or low-profile designs. |
| Anti-Microbial | Look for properties that help combat bacteria and odors. |
| Water Consumption | Consider the amount of water used and flow rate for efficiency. |
| Attached Spray Unit | Decide if you want a built-in spray unit for added convenience. |
| Bowl Size | Select the appropriate size for your comfort and needs. |
| Bowl Material | Choose between plastic or porcelain. |
| Seat and Lid | Choose a design that suits your preferences. |
| Color | Select a color that complements your RV’s interior. |
| Overall Width | Consider the dimensions that will fit in your RV bathroom. |
| Brand | Research brands known for quality and durability. |
| Flush Mechanism | Decide on a foot pedal, slide handle, or push button flush. |
Don’t forget to also explore marine toilets, as they can often be used as suitable replacements in RVs as well.
Removing the Old RV Toilet
Once you have chosen the right RV toilet replacement, it’s time to remove the old toilet. Follow these step-by-step instructions to ensure a smooth and successful DIY project:
- Start by dumping and rinsing the black tank to avoid any unpleasant odors.
- Prepare a spot to place the old toilet once it is removed, using cardboard or old towels to protect surfaces.
- Turn off the city water and/or water pump to prevent any potential leaks.
- Flush the old toilet to release any remaining water pressure.
- Disconnect the freshwater line from the back of the toilet and carefully remove the two bolts at the base of the toilet.
- Lift the old toilet straight up off the flange bolts and set it down in the prepared location.
- Remove the old gasket from the floor flange using a scraper or putty knife.
- Clean the flange and the area where the RV toilet previously sat, ensuring a clean and smooth surface for the installation of the new toilet.
By following these steps, you will successfully remove the old RV toilet and prepare the space for the installation of a new one.
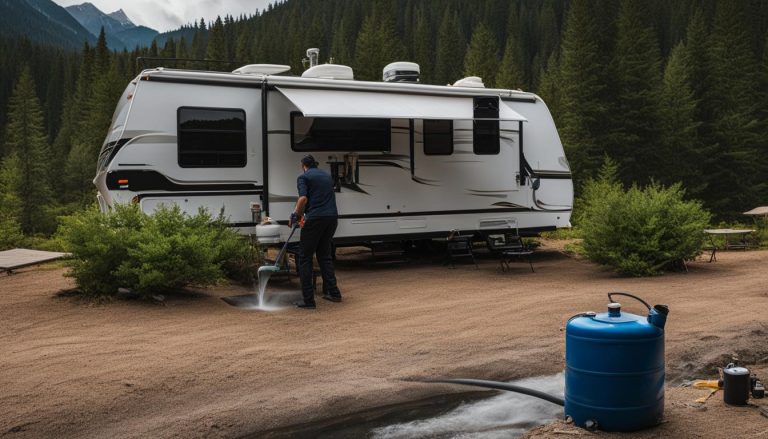
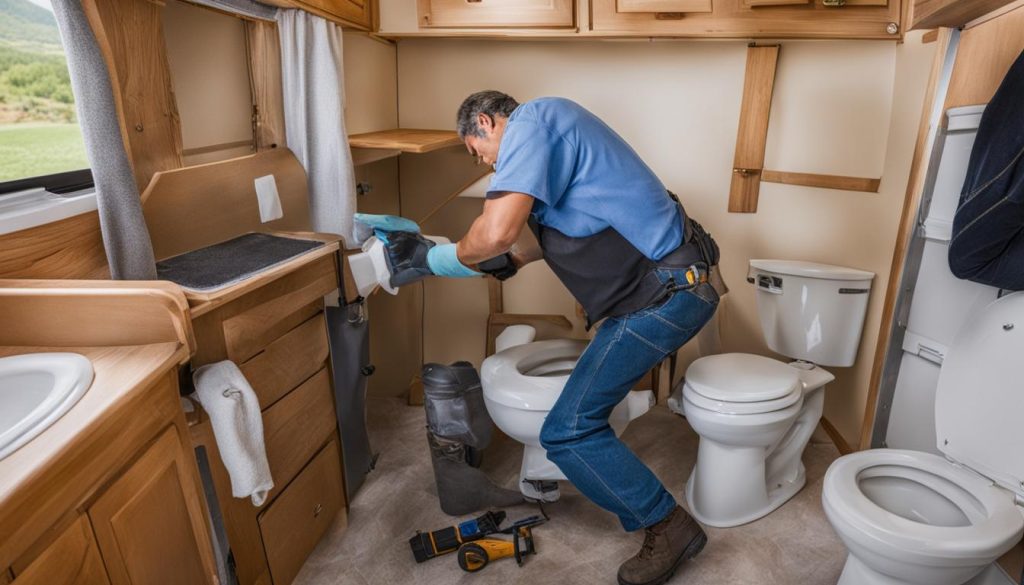
Note: The image above depicts the process of removing an RV toilet during a DIY replacement.
Installing the New RV Toilet
With the old RV toilet removed, it’s time to install the new one. Follow these steps to ensure a successful DIY RV toilet replacement:
- Position the T Bolts: If the new toilet came with new T bolts, position them to accept the new toilet.
- Install the Floor Gasket: Take the floor gasket provided with the new toilet and place it on the base of the toilet. Make sure it is aligned properly.
- Align and Lower the Toilet: Align the mounting holes on the toilet with the T bolts, and slowly lower the toilet over the bolts. Ensure that it sits evenly on the floor.
- Secure the Toilet: Use the nuts and washers provided to secure the new toilet to the floor flange. Be careful not to over tighten as it may damage the toilet or the flange.
- Check Stability: Sit on the new toilet to ensure its stability. If it wobbles or feels loose, adjust the tightness of the nuts and washers as needed.
- Reconnect the Freshwater Line: Reconnect the freshwater line to the back of the toilet. Make sure the fitting is properly threaded and not cross-threaded. Do not overtighten to avoid damaging the threads.
- Turn on the Water: Turn the city water or water pump back on. This will restore the water supply to the toilet.
- Test for Leaks: Flush the toilet and check for any leaks around the base or connections. If you notice any leaks, tighten the fittings or gaskets as necessary. It’s important to ensure a watertight seal.
Congratulations, you have successfully installed a new RV toilet! Your upgraded bathroom will provide a comfortable and functional space during your travels.
| Tools Needed | Materials Needed |
|---|---|
|
|
Maintenance Tips for Your New RV Toilet
Now that you have successfully installed a new RV toilet, it’s crucial to prioritize its maintenance to ensure optimal performance and durability. By following these maintenance tips, you can enjoy a reliable and comfortable bathroom experience in your RV.
Regularly clean the toilet bowl, seat, and lid using RV-safe cleaners. Avoid using harsh chemicals or abrasive cleaners that can damage the toilet’s surfaces. Opt for gentle cleaning solutions specifically designed for RV toilets to keep them looking and smelling fresh.
Periodically inspect the toilet’s seals and gaskets for any signs of wear or leaks. These components play a vital role in preventing water leaks and maintaining a watertight seal. If you notice any damage or deterioration, replace them promptly to avoid potential issues.
Consider using RV-friendly toilet paper and a holding tank treatment. RV toilet paper is specifically designed to dissolve quickly in the holding tank, preventing clogs and potential damage to the plumbing system. Additionally, using a holding tank treatment can help keep the black tank clean and odor-free.
Lastly, keep an eye on the water supply and pressure to ensure proper functioning of the toilet. If you notice any issues with water flow or pressure, check the plumbing connections and valves to address any potential problems. Ensuring a consistent water supply will help maintain the efficiency of your RV toilet.
FAQ
How do I choose the right RV toilet replacement?
Before making a purchase, measure the space where the new toilet will be installed and note the type and location of the floor flange. Consider features like profile, anti-microbial properties, water consumption, bowl size, seat and lid design, and flush mechanism.
How do I remove the old RV toilet?
Start by dumping and rinsing the black tank. Turn off the water supply, flush the toilet to release pressure, disconnect the freshwater line, and remove the bolts at the base of the toilet. Lift the old toilet off the flange bolts and clean the area where it previously sat.
How do I install the new RV toilet?
If the new toilet came with new bolts, position them. Install the provided floor gasket on the toilet’s base, align the mounting holes over the bolts, and lower the toilet. Secure it to the floor flange with nuts and washers. Reconnect the freshwater line and check for leaks.
How should I maintain my new RV toilet?
Regularly clean the toilet with RV-safe cleaners, inspect seals and gaskets for wear, and replace as needed. Use RV toilet paper and a holding tank treatment. Monitor the water supply and pressure for optimal functioning.


