How to Paint RV – Revamp Your Mobile Home
gorvlifestyle.com and its partners may earn a commission if you purchase a product through one of our links
Painting your RV can give it a fresh, new look. Whether you want to update the exterior or refresh the interior, painting can make a big difference. In this article, we will provide you with expert tips on how to paint RV exteriors and interiors, including the best paint for RVs and step-by-step instructions.
Key Takeaways:
- Painting your RV can transform its appearance, both inside and out.
- Using regular exterior and interior paint can yield great results.
- Proper preparation is crucial for a successful paint job.
- Attention to detail and the right techniques can help you achieve a professional finish.
- Painting your RV is a cost-effective way to renovate it on a budget.
Tips for Painting the Exterior of Your RV
Painting the exterior of your RV can completely transform its appearance, giving it a fresh and updated look. While there are different methods for painting an RV, we will focus on a simple yet effective technique that yields great results.
- Choosing the Right Paint: When it comes to selecting the best paint for your RV, opt for high-quality exterior paint that is specifically formulated for outdoor use. Look for paint that is durable, weather-resistant, and provides UV protection to ensure long-lasting results.
- Using a Roller: Instead of using a paint sprayer or special auto body paint, we recommend using a regular roller to apply the paint. This method is easy to execute and doesn’t require any expensive or specialized equipment.
- Assessing the RV’s Condition: Before starting the painting process, it is important to assess the condition of your RV’s exterior. Look for any dents, rust, or corrosion that may need to be repaired before painting. Additionally, remove any decals and thoroughly clean the surface.
- Proper Surface Preparation: To ensure a smooth and professional finish, it is essential to prepare the surface properly. This includes thoroughly cleaning the exterior and removing any dirt, grease, or old paint. Use a mild detergent and a soft brush or sponge to clean the surface, and allow it to dry completely before painting.
- Applying Primer: Applying a high-quality primer is crucial for adhesion and ensuring the paint properly bonds to the surface. Select a primer that is specifically designed for the material of your RV’s exterior, whether it’s fiberglass, aluminum, or metal.
- Choosing the Right Tools: Use high-quality paint brushes and rollers that are suitable for the type of paint you’re using. This will help you achieve a smooth and even application.
- Sealing and Finishing: After the paint has dried, consider applying a clear coat or sealant to protect the surface and enhance the longevity of the paint job. This will help prevent fading, chipping, and peeling, especially in harsh weather conditions.
By following these tips and using the right materials and techniques, you can paint the exterior of your RV like a pro. Not only will it enhance the overall look of your mobile home, but it will also protect it from the elements and ensure its longevity.
Painting the Interior Walls of Your RV
Painting the interior walls of your RV can completely transform the space. Whether you need to cover up wallpaper or update fake wood panels, we will guide you through the process. We recommend using the same approach as painting the exterior—rolling on regular interior paint. This technique is easy to execute and doesn’t require extensive preparation. However, it is important to properly clean and prepare the walls before painting.
- Clean the walls thoroughly using an RV-safe cleaner to remove any dirt, grease, or residue. This will ensure proper paint adhesion.
- If there are any holes or imperfections, fill them with spackling compound and sand them smooth.
- Use painter’s tape to protect trim, windows, and other areas that you don’t want to paint.
When it comes to paint, opt for a high-quality interior paint that is specifically designed for RVs. Look for paints that are durable, easy to clean, and resistant to moisture and fading. There are several brands available that offer a wide range of colors to choose from.
Before selecting a color, consider the overall style and theme you want to achieve in your RV. Lighter colors can make a small space feel larger and more open, while darker colors can add a cozy and intimate atmosphere. Additionally, consider using different colors or accent walls to create visual interest and define different areas within your RV.
Pro tip: If you’re unsure about color choices, consider using online color visualizers or consulting with an interior designer who specializes in RV makeovers.
When applying the paint, start by cutting in along the edges and corners using a brush or small roller. This will ensure clean lines and avoid getting paint on surfaces you don’t want to paint. Once the edges are done, use a roller to cover the larger areas. Apply multiple thin coats for even coverage and allow each coat to dry completely before applying the next.
For a professional and stylish look, consider using some of these top RV painting techniques:
- Tonal Variation: Paint walls in different shades of the same color to create depth and dimension.
- Stripes or Patterns: Use painter’s tape to create stripes or stencils for patterns on your walls.
- Faux Finishes: Experiment with techniques like sponging or ragging to create texture and visual interest.
- Accent Wall: Choose one wall to paint as a bold accent to create a focal point in your RV.
Remember, the key to a successful DIY RV painting project is thorough preparation, quality materials, and attention to detail. Take your time, follow these techniques, and you’ll be able to achieve a professional and stylish look that will make your RV feel like a home away from home.
Prep Work for Painting Your RV
Proper preparation is crucial for achieving a successful RV paint job. Whether you are painting the exterior or interior, there are essential steps you need to take to ensure a smooth and long-lasting finish.
- Assess the condition of your RV: Before starting the painting process, carefully inspect your RV for any damages or areas that need repair. This includes checking for dents, scratches, and leaks that may affect the paint application.
- Remove decals: If your RV has decals on the exterior, it’s important to remove them before painting. Use a heat gun or a hairdryer to soften the adhesive and gently peel off the decals. Make sure to clean the surface thoroughly afterward.
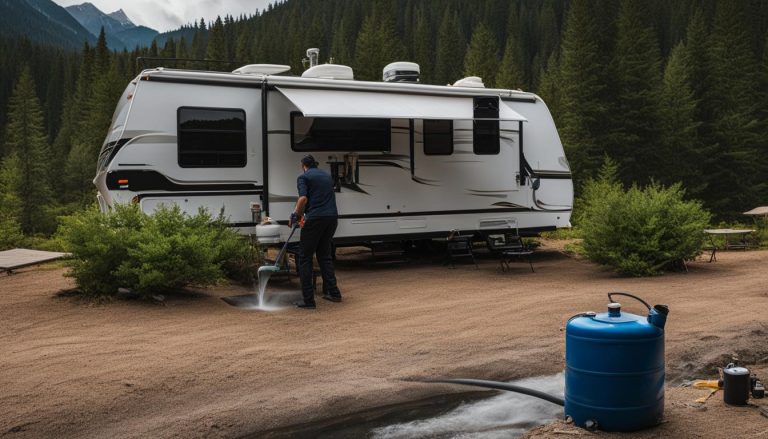
- Power wash: To remove dirt, grime, and any loose paint, give your RV a thorough power wash. This will create a clean and debris-free surface for the paint to adhere to.
- Repair damages: Take the time to repair any damages, such as dents or holes, before applying paint. Use appropriate fillers, putty, or sealants to ensure a smooth surface and prevent future issues.
- Seal corners and windows: It’s essential to properly seal the corners and windows of your RV to prevent water penetration. Use a high-quality sealant that is specifically designed for outdoor use.
- Lightly sand: For areas with bubbling or peeling decals, lightly sand the surface to create a smooth and even texture. This will help the new paint adhere better and prevent any imperfections from showing through.
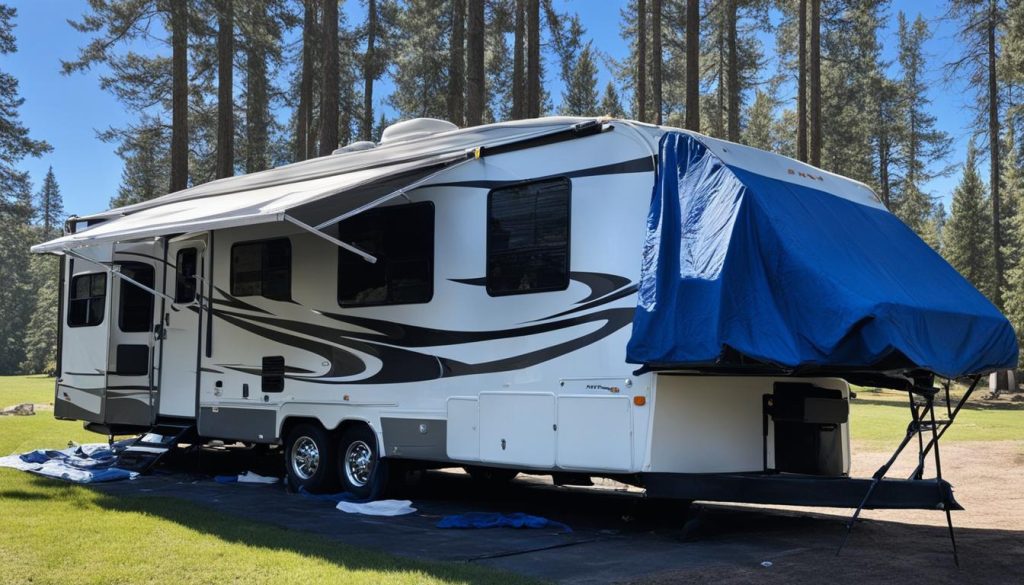
Properly preparing your RV before painting is essential for achieving a professional and long-lasting paint job. By following these steps, you’ll create a solid foundation for the paint to adhere to and ensure a beautiful transformation of your RV’s exterior or interior.
Tips for a Successful RV Paint Job
Achieving a professional RV paint job requires attention to detail and careful execution. To help you achieve stunning results, we have compiled a list of tips and techniques for your RV painting project.
Use the Right Tools
Investing in high-quality tools is essential for a professional RV paint job. Make sure you have the following items:
- Paint rollers and brushes
- Painter’s tape
- Sandpaper
- Drop cloths or tarps
- Masking paper
- Safety goggles and gloves
Apply Multiple Thin Coats
Instead of applying a single thick coat of paint, opt for multiple thin coats. This technique ensures better coverage, minimizes dripping, and allows for smoother finishes. Allow each coat to fully dry before applying the next one.
Proper Drying and Curing Time
Patience is key when it comes to allowing the paint to dry and cure. Follow the recommended drying time on the paint can, and avoid rushing the process. This will help prevent smudging, peeling, or other paint imperfections.
Address Common Issues
One common issue when painting an RV is paint holding up around decals. To overcome this challenge, carefully mask around the decals using painter’s tape and apply the paint evenly. Additionally, consider using different paint finishes for different surfaces, such as a gloss finish for exteriors and a satin or semi-gloss finish for interiors.
Protect Your Work Area
Before you start painting, take the necessary steps to protect your work area. Cover any surfaces or parts of the RV that you don’t want to paint with drop cloths or masking paper. This will ensure that only the intended areas receive the paint.
By following these tips and techniques, you can achieve a beautiful and durable paint job for your RV. Remember to take your time, use the right tools, and pay attention to detail. With a little effort, your RV will have a fresh and professional look that you can be proud of.
Cost-Saving RV Renovation Tips
If you’re looking to give your RV a makeover on a budget, consider embarking on a DIY RV renovation project. Renovating your RV can be a cost-effective way to breathe new life into your mobile home and create a space that reflects your personal style.
One of the most affordable and impactful ways to renovate your RV is by painting. A fresh coat of paint on both the interior and exterior can instantly transform the look and feel of your RV. Choose neutral colors for a timeless and versatile appeal, or go bold with vibrant hues to make a statement.
In addition to painting, there are several other budget-friendly renovation ideas you can explore. Consider finding affordable used RVs that may need some cosmetic updates but are structurally sound. Making necessary repairs, such as replacing worn-out flooring, repairing plumbing or electrical issues, and fixing any leaks, can significantly improve your RV’s functionality and aesthetic.
Another cost-saving tip is to remove outdated materials and decor. Swap out old curtains and replace them with inexpensive and stylish window treatments. Update cabinet doors with a fresh coat of paint or adhesive vinyl to give them a modern look. Add personal touches with affordable decor and accessories, such as throw pillows, rugs, and wall art, to make your RV feel like home.
FAQ
What are the steps to paint an RV?
The steps to paint an RV include assessing the condition of the RV, removing decals, cleaning and preparing the surface, applying a gripping primer, applying multiple thin coats of paint, and allowing for proper drying and curing time between coats.
Can I use regular exterior paint to paint my RV?
Yes, regular exterior paint can be used to paint the exterior of an RV. It is recommended to roll the paint on for best results.
What type of paint should I use to paint the interior walls of my RV?
The interior walls of an RV can be painted with regular interior paint. Rolling the paint on is recommended for easy application.
How should I prepare the walls before painting the interior of my RV?
Before painting the interior of your RV, it is important to properly clean and prepare the walls. This includes removing any wallpaper or fake wood panels and ensuring the walls are clean and free of dirt and grease.
Do I need to use a primer before painting my RV?
Yes, it is recommended to use a gripping primer before applying paint to your RV. This helps the paint adhere better and provides a smoother finish.
How can I achieve a professional-looking RV paint job?
To achieve a professional-looking RV paint job, it is important to use the right tools, apply multiple thin coats of paint, and allow for proper drying and curing time between coats. Following proper techniques and attention to detail will help ensure a durable and beautiful finish.
How can I renovate my RV on a budget?
To renovate your RV on a budget, you can find affordable used RVs, make necessary repairs, remove outdated materials, and add new decor and accessories. With some creativity and hard work, you can transform your RV into a functional and beautiful space without breaking the bank.

