Easy RV Roof Vent Installation Guide
gorvlifestyle.com and its partners may earn a commission if you purchase a product through one of our links
Learning how to install an RV roof vent is an essential skill for RV owners. It not only promotes airflow and ventilation within your RV but also helps prevent mold, mildew, and odors. Follow this easy guide for step-by-step instructions on installing an RV roof vent correctly and efficiently.
Key Takeaways:
- Installing an RV roof vent is vital for airflow and ventilation in your RV.
- Proper installation helps prevent mold, mildew, and unpleasant odors.
- Follow this guide for step-by-step instructions on how to install an RV roof vent correctly.
- Regular maintenance and cleaning of the vent screen ensure optimal airflow.
- Choose the right sealant and materials for a watertight seal and longevity of the vent.
What is an RV Roof Vent?
An RV roof vent is a square opening on the roof of your RV designed to promote airflow, prevent mold and mildew, and allow natural light into the interior. It consists of several components that work together to create a functional and efficient venting system.
- A vent cover shields the opening from rain, debris, and unwanted insects.
- A protective screen prevents larger objects from entering the vent while still allowing airflow.
- Some RV roof vents also come with a fan component that further enhances ventilation and air circulation.
By utilizing an RV roof vent, you can enjoy a steady flow of fresh air inside your RV, ensuring a comfortable and odor-free environment. Additionally, the vent allows natural light to fill the interior space, creating a bright and welcoming atmosphere.
Installing an RV roof vent is a simple and effective way to improve the overall ventilation and comfort of your RV.
To get a clear visual representation of the various components of an RV roof vent, take a look at the diagram below:
| Component | Description |
|---|---|
| Vent Cover | Protects the roof opening from rain, debris, and unwanted insects |
| Screen | Prevents larger objects from entering the vent while allowing airflow |
| Fan Component | Optional feature that enhances ventilation and air circulation |
Having a well-functioning RV roof vent is crucial for a comfortable and enjoyable RV experience. It not only improves air quality but also helps prevent musty odors and the growth of mold and mildew. Ensure your RV is equipped with a reliable and properly maintained roof vent to optimize your camping adventures.
Why Upgrade to an RV Power Vent?
Upgrading to an electric RV power vent offers significant advantages. With a built-in fan and switch operation, an RV power vent allows for easy and efficient air replenishment in your RV. It helps keep the interior fresh and comfortable, especially during hot weather. The ability to quickly remove stale air and replace it with fresh air is essential for a pleasant living environment in your RV.
Unlike traditional manual vents, an electric RV power vent provides you with the convenience of switch-operated ventilation. With just a flip of a switch, you can control the airflow and create a comfortable living space in your RV. This makes it easier to regulate the temperature and improve air circulation, ensuring a more enjoyable and relaxing experience while traveling.
“Upgrading to an electric RV power vent has been a game-changer for me. I no longer have to manually open and close vents, and the built-in fan helps to circulate fresh air throughout my RV. It’s made a noticeable difference in the overall comfort of my living space.”
– Mike Thompson, RV enthusiast
Another advantage of an electric RV power vent is its ability to enhance the freshness of the interior. By expelling stale air and bringing in a fresh supply, it helps eliminate odors and creates a more pleasant and inviting environment. This is particularly beneficial when cooking or dealing with humidity, as the vent effectively removes unwanted smells and moisture, promoting a clean and hygienic living space.
Furthermore, an electric RV power vent can enhance the overall aesthetics of your vehicle. With sleek and modern designs available on the market, these vents not only provide functionality but also add a touch of sophistication to your RV’s interior. Whether you’re renovating your existing RV or building a new one, an electric power vent can be a stylish and practical addition.
Improved Features and Performance
In addition to the convenience and fresh air benefits, electric RV power vents often come with additional features and improved performance. These may include:
- Integrated rain sensors that automatically close the vent when it detects rain to prevent water from entering the RV.
- Remote control operation, allowing you to adjust the vent settings from the comfort of your seat.
- Built-in thermostat functionality to regulate the temperature and maintain a comfortable environment.
- Energy-saving features, such as low power consumption and efficient operation, which can help prolong battery life.
With these enhanced features, an electric RV power vent offers a superior ventilation solution for your RV, providing a fresh and comfortable living space wherever your travels take you.
How to Install an RV Power Vent
Installing an RV power vent involves several steps. Follow this guide to ensure a successful installation.
1. Remove the old vent:
- Unscrew the old vent cover and set it aside.
- Detach the vent screen and carefully remove any sealant or adhesive holding it in place.
- Gently pull out the old vent from the opening, ensuring not to damage the surrounding roof.
2. Locate a power source:
Before installing the new RV power vent, you’ll need to locate a nearby power source. One convenient option is to tap into an overhead light fixture.
Pro tip: Ensure the power source can handle the voltage requirements of the RV power vent to avoid electrical issues. Consult the manufacturer’s instructions for specific power requirements.
3. Wiring:
- Drill a pathway from the power source to the location of the RV power vent. Use grommets to protect the wires and prevent chafing.
- Connect the wires from the power source to the corresponding wires on the RV power vent, following the manufacturer’s wiring diagram.
- Secure the wiring connections using electrical connectors or wire nuts.
4. Install the new RV power vent:
- Position the new vent over the opening, aligning it properly.
- Secure the vent in place using screws provided with the vent. Ensure the vent is properly aligned and snug against the roof.
- Refer to the manufacturer’s instructions for any additional installation steps, such as attaching the vent cover or connecting a fan component.
5. Seal the edges and screws:
To ensure a watertight seal, apply a suitable sealant around the edges of the vent and over the screws.
Pro tip: Use a high-quality sealant specifically designed for RV roofs to ensure long-lasting protection against leaks.
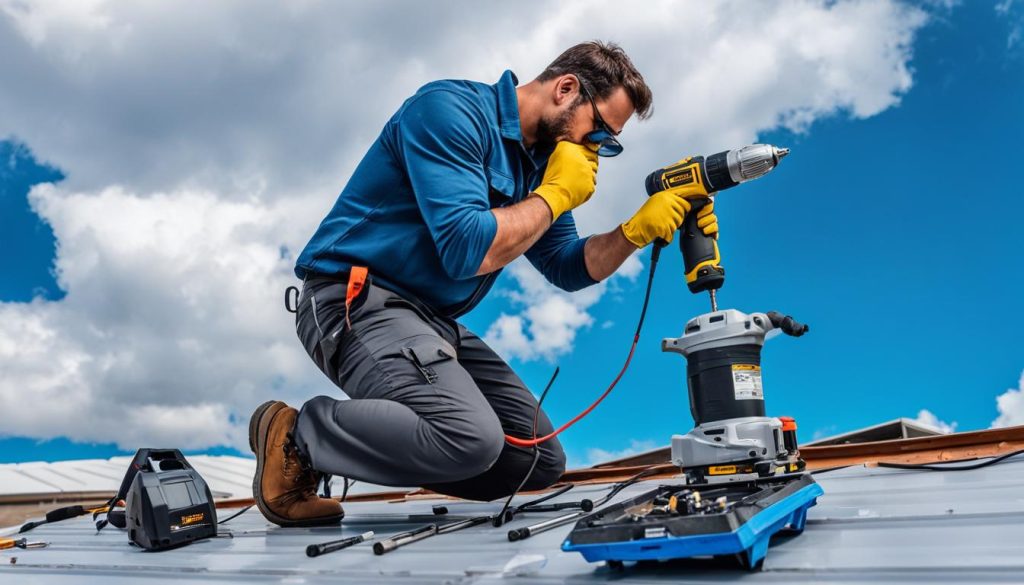
| Tools and Materials | |
|---|---|
| Tape measure | |
| Marker | |
| Drill | |
| Screwdriver or impact driver | |
| Handsaw or circular saw | |
| Metal file | |
| Solvent or degreaser | |
| Rag | |
| Metal primer | |
| Paintbrush | |
| Timber for framing | |
| Clamps | |
| Sealant or adhesive | |
| Caulking gun | |
| Electrical wire (if installing a powered vent) |
Tips for Installing an RV Roof Vent
Installing an RV roof vent is a crucial task that requires careful attention to detail. By following these tips, you can ensure a successful installation and avoid common mistakes that may compromise the integrity of your RV’s roof and ventilation system.
- Measure accurately: Before purchasing a replacement vent, measure the dimensions of the rough opening on your RV’s roof. This will ensure that you select a vent that fits perfectly, minimizing the risk of leaks.
- Clean the vent screen: Regularly cleaning the vent screen is essential for maintaining optimal airflow. A clogged screen can impede ventilation and lead to moisture buildup inside your RV. Use a soft brush or vacuum to remove any dust, debris, or insects that accumulate on the screen.
- Take precautions when removing the old vent: When removing the old vent, be cautious to avoid damaging the roof. Use a screwdriver to carefully unscrew and detach the vent. Apply gentle pressure, and if necessary, use a putty knife to loosen any sealant without causing harm.
- Choose the right sealant: Selecting the appropriate sealant is crucial for ensuring a watertight seal around the vent. Use a high-quality sealant recommended for RV roofs, such as a self-leveling sealant or lap sealant. Apply the sealant generously around the edges of the vent to prevent water intrusion.
| Common Mistakes to Avoid |
|---|
| Not measuring the rough opening accurately, resulting in an ill-fitting vent. |
| Neglecting to clean the vent screen regularly, leading to restricted airflow and potential moisture issues. |
| Removing the old vent too forcefully, causing damage to the roof and surrounding materials. |
| Using an improper sealant or applying an insufficient amount, resulting in water leaks. |
By following these tips and avoiding common mistakes, you can ensure a successful RV roof vent installation that provides efficient airflow and protects your RV from the elements.
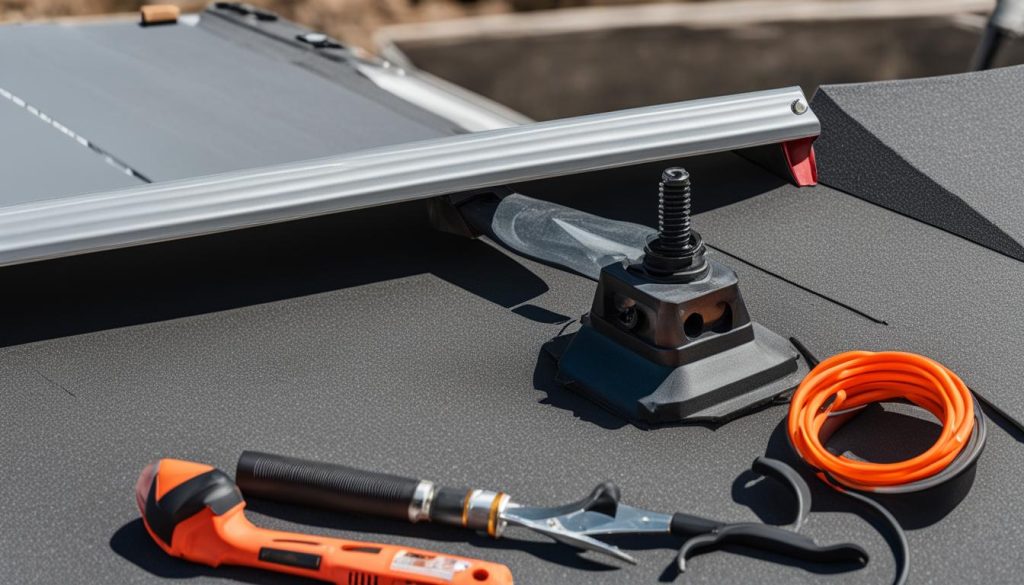
Tools and Materials Needed
When it comes to installing an RV roof vent, having the right tools and materials is crucial. Here’s a comprehensive list of everything you’ll need:
- Tape measure
- Marker
- Drill
- Screwdriver or impact driver
- Handsaw or circular saw
- Metal file
- Solvent or degreaser
- Rag
- Metal primer
- Paintbrush
- Timber for framing
- Clamps
- Sealant or adhesive
- Caulking gun
- Electrical wire (if installing a powered vent)
Having these tools and materials on hand will make the installation process smoother and more efficient. Proper preparation ensures a successful installation and helps maintain the integrity of your RV roof vent.
Investing in quality tools and materials is worth it when it comes to installing an RV roof vent. It ensures durability and longevity, giving you peace of mind during your travels.
Maintaining and Operating an RV Roof Vent
Proper maintenance of your RV roof vent is essential to ensure its longevity and optimal performance. Regularly inspecting and sealing the vent is key to preventing water leaks and maintaining a watertight seal. Check for any cracks or damage in the vent cover or surrounding sealing, and apply a high-quality sealant to address any issues.
In addition to sealing, regular cleaning of the vent screen is necessary to ensure proper airflow and prevent debris buildup. Use a soft brush or cloth to remove dust, dirt, and other particles from the screen. This will help maintain optimal ventilation and prevent any blockage that could impede the vent’s functionality.
When operating your RV roof vent, follow the manufacturer’s instructions for optimal performance. Familiarize yourself with the vent’s controls and settings, whether it is manually operated or has automatic features. Adjust the vent according to the desired airflow and temperature inside your RV to create a comfortable living space.
By maintaining and operating your RV roof vent properly, you can enjoy a well-ventilated and pleasant environment inside your RV. Regular inspections, sealing, cleaning, and following the manufacturer’s guidelines will ensure that your RV roof vent functions effectively for years to come.
FAQ
How do I install an RV roof vent?
To install an RV roof vent, you need to remove the old vent, locate a power source if necessary, install the new vent, and seal the edges and screws for a watertight seal. Follow our step-by-step guide for detailed instructions.
What is an RV roof vent?
An RV roof vent is a square opening on the roof of an RV that is protected by a screen and a vent cover. It promotes airflow, prevents mold and mildew, and lets natural light into the RV’s interior.
Why should I upgrade to an RV power vent?
Upgrading to an electric RV power vent offers significant advantages. It has a built-in fan and switch operation, allowing for easy and efficient air replenishment in your RV. It helps keep the interior fresh and comfortable, especially during hot weather.
How do I install an RV power vent?
Installing an RV power vent involves removing the old vent, locating a nearby power source, such as an overhead light, and drawing power from it. Once the power source is connected, you can install the new vent and secure it with screws. Finally, seal the edges and screws to ensure a watertight seal.
What are some tips for installing an RV roof vent?
When installing an RV roof vent, be sure to carefully measure the dimensions of the rough opening, clean the vent screen regularly, take precautions when removing the old vent to prevent roof damage, and choose the right sealant for proper sealing and maintenance.
What tools and materials do I need to install an RV roof vent?
You will need a tape measure, marker, drill, screwdriver or impact driver, handsaw or circular saw, metal file, solvent or degreaser, rag, metal primer, paintbrush, timber for framing, clamps, sealant or adhesive, caulking gun, and electrical wire if installing a powered vent.
How do I maintain and operate an RV roof vent?
To properly maintain and operate your RV roof vent, regularly inspect and seal it to ensure a watertight seal. Additionally, clean the vent screen and remove debris to maintain optimal airflow.


