RV Awning Fabric Replacement Made Easy
gorvlifestyle.com and its partners may earn a commission if you purchase a product through one of our links
Replacing RV awning fabric may seem like a daunting task, but with the right information and guidance, it can be done easily. In this article, we will provide a step-by-step guide on how to install RV awning replacement fabric. Whether you’re a seasoned RVer or a beginner, this guide will help you successfully replace your RV awning fabric and enjoy a refreshed outdoor space.
Key Takeaways:
- Learn how to measure your RV awning accurately before ordering replacement fabric.
- Explore the different types of RV awning fabrics available and choose the one that suits your needs.
- Gather all the necessary tools and equipment for a smooth replacement process.
- Follow a step-by-step guide for removing the old fabric and cleaning the awning frame.
- Replace the fabric properly by following instructions and having an assistant to help with the installation.
Step 1: Measure your RV awning
Properly measuring your RV awning is crucial to ensure that you order the correct size of fabric. Follow these detailed instructions to measure the length and width of your awning fabric accurately:
- Measure from the center of the roller tube: Start by extending your awning completely and locating the center of the roller tube.
- Measure to the center of the awning arm: From the center of the roller tube, measure to the center of one of the awning arms. Repeat this step on the other side of the awning, ensuring accuracy.
- Double-check the measurements: To avoid ordering the wrong size, it’s essential to double-check your measurements. Ensure that the measurements from both sides of the awning are equal, confirming the accuracy.
By measuring from the center of the roller tube to the center of the awning arm, you’ll have the correct dimensions for ordering your RV awning fabric. Taking accurate measurements is the first step toward a successful awning replacement.
“Proper measurements are the key to ordering the correct size of RV awning fabric for a successful replacement.”
Step 2: Buy RV Awning Fabric
Choosing the right RV awning fabric is a crucial step in the replacement process. With various options available, it’s important to understand the different types of fabrics and their benefits. Here, we will discuss the most common types of RV awning fabrics to help you make an informed decision.
Polyester Fabric
Polyester is a popular choice for RV awning fabric due to its durability and easy maintenance. It is resistant to stains, mildew, and UV damage, making it an ideal option for outdoor use. Polyester fabrics are generally lightweight and provide excellent water resistance, ensuring your RV stays protected from the elements.
Vinyl Fabric
Vinyl awning fabric is known for its exceptional strength and longevity. It offers superior resistance to tears, scratches, and fading, making it a reliable choice for long-term use. Vinyl fabrics are also highly waterproof, making them suitable for areas with heavy rainfall. Additionally, they are easy to clean and maintain, ensuring that your awning stays in pristine condition.
Acrylic Fabric
Acrylic awning fabric offers a breathable and comfortable outdoor experience. It has excellent colorfastness and retains its vibrant colors even when exposed to sunlight for extended periods. Acrylic fabrics are resistant to mold, mildew, and UV damage, providing long-lasting performance. They are also easy to clean and maintain, making them a popular choice among RV enthusiasts.
Recommended Brands
When it comes to RV awning fabrics, there are several reputable brands to consider. These brands have proven track records and offer a wide range of high-quality fabrics to choose from. Some popular options include:
- Dometic
- Carefree
- Solera
These brands are known for their durability, reliability, and innovative features. Be sure to check their websites or visit your local RV dealer to explore their fabric options in detail.
Additional Features
In addition to the type of fabric, you may also want to consider additional features that can enhance your RV awning experience. Some common features include:
- Built-in LED lights for added illumination during evenings
- Privacy screens to create a cozy and secluded outdoor space
- Patterned or textured fabrics for a unique and stylish look
Keep these features in mind when browsing for RV awning fabrics to find the perfect options that meet your specific needs and preferences.
Now that you’re familiar with the different types of RV awning fabrics and the recommended brands, you can confidently choose the fabric that suits your RV and personal preferences. In the next section, we’ll discuss the tools you’ll need for a successful awning fabric replacement.
Step 3: Gather Tools Needed for RV Awning Replacement
Before you start the RV awning fabric replacement process, it’s essential to gather all the necessary tools and equipment. Having everything ready will ensure a smooth installation and help you avoid unnecessary delays. Here is a comprehensive list of tools you’ll need:
| Tools |
|---|
| Screwdriver |
| Pliers |
| Ladder |
| Utility knife |
| Awning rail lubricant |
| Awning cord |
| Drill |
| Assistant |
| Safety gear (gloves, safety glasses) |
Proper safety gear, such as gloves and safety glasses, is important to protect yourself during the replacement process. Additionally, having an assistant can be beneficial, especially when dealing with larger or heavier awnings.
Remember, having the right tools at hand will make your RV awning fabric replacement tutorial much easier and less stressful. With everything prepared, you’ll be ready to tackle the next steps and enjoy a fresh and functional awning for your RV.
Step 4: Remove Your Old RV Awning Fabric
Removing the old fabric from your RV awning is a crucial step in the replacement process. Follow these detailed instructions to ensure a proper and safe removal:
- Start by retracting the awning completely. This will make it easier to access and remove the fabric.
- Next, carefully remove the end caps from both ends of the awning roller.
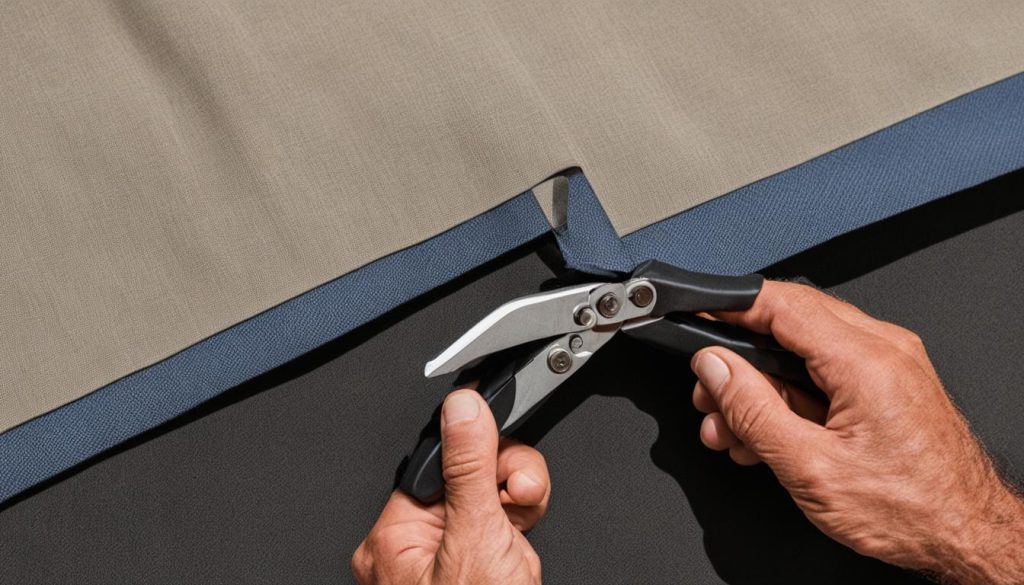
- Once the end caps are removed, you can detach the fabric from the awning rail and roller tube. Gently slide the fabric out of the rail and unroll it from the tube.
- After the fabric is detached from the rail and roller tube, it’s time to remove it from the awning arms. Depending on your awning type, you may need to unscrew or release the fabric from the arms.
- As you remove the fabric, make sure to inspect the awning frame for any debris or dirt. Clean the frame using mild soap and water if necessary.
Removing the old fabric requires caution and attention to avoid any damage to the awning or yourself. Follow these tips for a successful removal:
- Wear protective gloves to prevent injuries and to maintain a good grip while handling the fabric.
- Enlist the help of a partner or friend to assist you in safely removing the fabric.
- Take your time and be gentle when removing the fabric to avoid any tears or snags.
- If you encounter any difficulties during the removal process, refer to the manufacturer’s instructions or consult a professional.
With the old fabric removed, you’re one step closer to enjoying a fresh and updated RV awning. In the next section, we’ll guide you through the process of replacing the fabric with a new one.

Step 5: Replace RV Awning Fabric
Now that you’ve successfully removed the old fabric, it’s time to replace it with a brand new one. Follow this step-by-step guide to easily install your new RV awning fabric and give your vehicle a fresh look.
1. Attach the new fabric to the roller tube:
To start, align the fabric along the roller tube and secure it using the provided fabric cord or awning hooks. Make sure the fabric is evenly distributed and free from any bunching or stretching.
2. Install the fabric into the awning rail and arms:
Carefully slide the fabric into the awning rail, ensuring it is fully inserted. Next, extend the awning arms and attach the fabric to them. Follow the manufacturer’s instructions to properly secure the fabric to the arms, usually through a combination of hooks, screws, or clips.
3. Reattach the end caps:
Once the fabric is securely attached to the roller tube and awning arms, reattach the end caps. These caps prevent the fabric from sliding off the roller tube and hold everything in place. Make sure they are tightly secured to ensure a snug fit.
4. Test the awning:
Finally, extend and retract the awning to test the new fabric and ensure it operates smoothly. Check for any signs of tension, twisting, or misalignment. If everything looks good, congratulations! Your RV awning fabric replacement is complete, and you can now enjoy shade and protection on your next trip.
FAQ
How do I measure my RV awning?
To measure your RV awning, start by measuring the length from the center of the roller tube to the center of the awning arm. Then, measure the width from one end of the fabric to the other. Double-check your measurements to ensure accuracy before ordering the replacement fabric.
What type of fabric should I buy for my RV awning?
There are different types of RV awning fabrics available, such as polyester, vinyl, and acrylic. The best choice depends on your specific needs and preferences. Polyester is durable and resistant to mold and mildew, vinyl is easy to clean and maintain, and acrylic provides excellent sun protection. Consider the climate, budget, and desired features when selecting the fabric.
What tools do I need to replace my RV awning fabric?
You will need a screwdriver, pliers, ladder, utility knife, awning rail lubricant, awning cord, drill, an assistant, and safety gear like gloves and safety glasses. Having the right tools will make the installation process easier and safer.
How do I remove my old RV awning fabric?
To remove the old RV awning fabric, retract the awning, remove the end caps, detach the fabric from the awning rail and roller tube, remove the fabric from the arms, and clean the awning frame. Follow the instructions carefully and take safety precautions to prevent any damage or injury.
How do I replace my RV awning fabric?
To replace your RV awning fabric, start by attaching the new fabric to the roller tube, then install it into the awning rail and arms. Reattach the end caps and test the awning to ensure proper functioning. It is essential to follow the instructions closely and have an assistant to help with the installation.


