Easy RV Awning Installation Guide
gorvlifestyle.com and its partners may earn a commission if you purchase a product through one of our links
Are you looking to install a new awning on your RV? Replacing a worn awning is a simple process that can be done with just a few tools and some basic steps. In this guide, we will walk you through the process of how to install an RV awning, step by step. Whether you are a beginner or a seasoned DIY enthusiast, with the right tools and a little patience, you’ll have your new awning up and ready to provide shade and comfort in no time.
Key Takeaways:
- Gather the necessary tools for the installation, including work gloves, silicone spray, a screwdriver, a power drill, a tape measure, and a stepladder.
- Remove the old fabric by unscrewing the awning support and cutting the fabric in half.
- Install the new fabric by drilling a new slot and sliding it onto the roller, applying silicone spray to the grooves for easier installation.
- Ensure that the RV is parked and stabilized properly before opening the awning.
- Clean the RV awning regularly with water and an approved cleaner, using a soft-bristle brush to scrub away dirt and debris.
Step-by-Step Guide for Installing an RV Awning
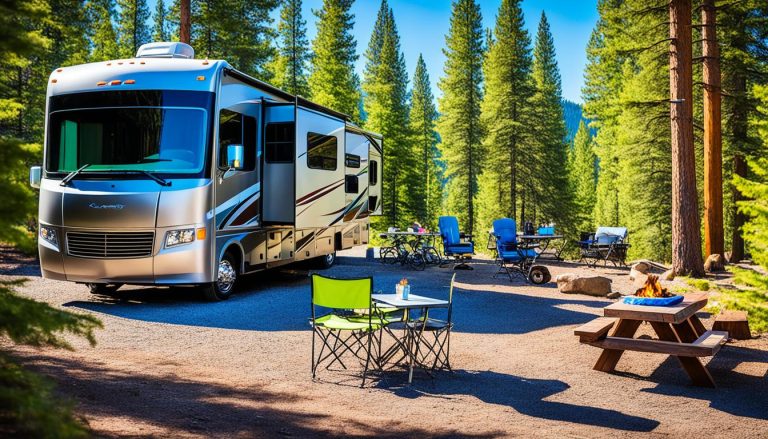
Installing an RV awning can enhance your outdoor experience while providing shade and protection from the elements. Follow this step-by-step guide for a seamless installation process.
Park and Prepare
Before opening the RV awning, ensure that your RV is properly parked, leveled, and stabilized. Check for any potential obstructions that may hinder the opening of the awning.
Opening the Awning
To open the awning, locate the awning switch inside your RV and push the “Extend” side. Make sure the awning extends evenly and does not make contact with any obstructions.
Manual Opening
If you prefer a manual opening, start by loosening the knobs on the awning arms. Separate the inner and outer arms, engage the roll-down switch, and extend the awning using the strap.
Cleaning and Maintenance
Regularly clean your RV awning to keep it in pristine condition. Spray it with clean water, use an approved cleaner and a soft-bristle brush to scrub away dirt and debris. Rinse off the cleaner and debris thoroughly. For stubborn stains, a mixture of isopropyl alcohol and water can be used.
Tip: Regular cleaning not only keeps your awning looking great but also helps maintain its durability.
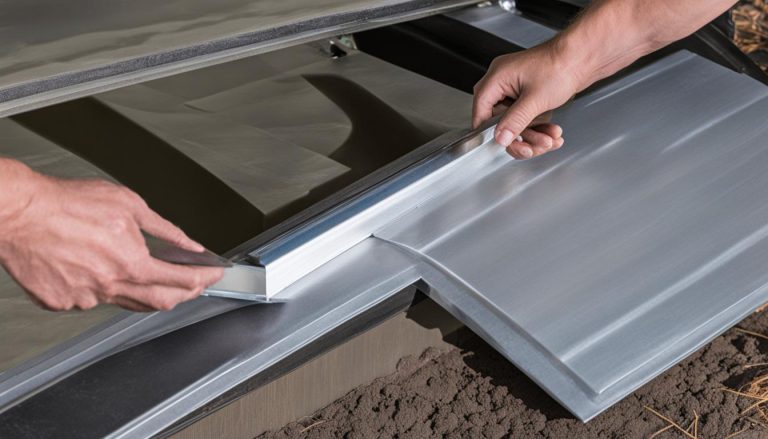
Replacing the Fabric
If you need to replace the fabric of your RV awning, follow these steps:
- First, remove the old fabric by unscrewing the awning support and cutting the fabric in half.
- Measure the size of your awning to ensure you purchase the correct replacement fabric.
- Remove the torsion assembly and endcap from the roller.
- Slide the new fabric onto the roller, making sure it aligns properly.
- Reinstall the torsion assembly and endcap securely.
- Test the awning by rolling it in and out to check for smooth operation.
With these step-by-step instructions, you can confidently install and maintain your RV awning, transforming your outdoor space for a more enjoyable camping experience. Remember to consult your RV manual for any specific instructions and safety precautions.
Make sure to stay tuned for the next section, where we’ll explore tips for installing an electric RV awning.
Installing an Electric RV Awning
Installing an electric RV awning is a convenient option for RV owners looking for easy operation and added functionality. While the installation process shares similarities with a manual RV awning, the key difference lies in the motorized component of the electric awning.
To install an electric RV awning, follow these steps:
- Begin by mounting the motor and roller assembly onto your RV. Ensure proper alignment and secure the assembly according to the manufacturer’s instructions.
- Next, connect the power supply to the motor. This may involve wiring the awning to your RV’s electrical system or utilizing a separate power source, depending on the specific model.
- Once the motor and power supply are in place, secure the awning arms to ensure stability and proper functioning. This may involve tightening screws or fastening brackets, depending on the design of your awning.
It is essential to carefully follow the manufacturer’s instructions provided with your electric RV awning, as specific steps may vary depending on the brand and model. Some electric awnings come with additional features such as automatic retracting in high winds or integration with smart RV systems, enhancing convenience and safety.
Benefits of Electric RV Awnings
Electric RV awnings offer several advantages over their manual counterparts:
- Convenience: With just a push of a button or a flip of a switch, you can effortlessly extend or retract your awning, making setup and takedown a breeze.
- Enhanced control: Electric awnings provide precise control over awning positioning, allowing you to easily adjust the shade coverage based on sun direction or weather conditions.
- Time-saving: The motorized operation of electric RV awnings eliminates the need for manual cranking, saving you time and effort during setup and packing up.

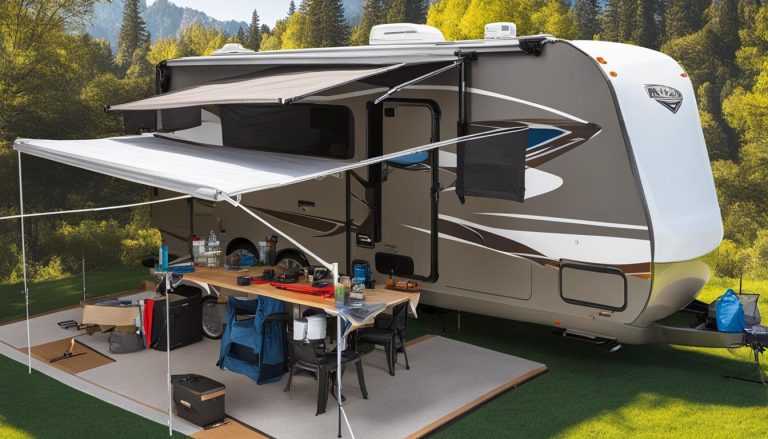
Tips for Installing an RV Awning
If you’ve decided to take on the task of RV awning installation yourself, here are some top tips to make the process easier and more efficient:
- Prepare the area: Before starting the installation, ensure the area where the awning will be installed is clean and free from any obstructions. This will make the process smoother and prevent any damage to the awning.
- Read the instructions: Carefully read and follow the manufacturer’s instructions for your specific RV awning model. This will ensure that you install the awning correctly and avoid any potential issues.
- Gather the right tools: Make sure you have all the necessary tools ready before you begin the installation. This may include a drill, screws, a tape measure, a level, and a ladder. Having the right tools on hand will save you time and frustration.
- Enlist a helper: Installing an RV awning can be a two-person job, especially when it comes to lifting and positioning the awning. Having someone assist you will make the process safer and more manageable.
- Follow a step-by-step approach: Break down the installation process into manageable steps and tackle them one at a time. This will help you stay organized and ensure that you don’t miss any crucial steps.
- Apply silicone spray: To make the installation smoother, consider applying silicone spray to the awning rails. This will reduce friction and make it easier to slide the awning fabric into place.
- Test the functionality: Once the awning is installed, test its functionality by extending and retracting it a few times. This will help you identify any issues early on and make any necessary adjustments.
- Regular maintenance: After installation, be sure to regularly maintain your RV awning to extend its lifespan. This may include cleaning the fabric, inspecting for any signs of wear or damage, and ensuring proper tension.
Following these tips will help ensure a successful and stress-free RV awning installation. Remember to always prioritize safety and consult professional help if needed.

Troubleshooting Common Issues with RV Awnings
When it comes to RV awnings, it’s common to encounter a few issues along the way. Understanding how to troubleshoot these problems can save you time and frustration. Here are some of the most common problems and their solutions:
Tears or Holes in the Fabric: If you notice a tear or hole in your RV awning fabric, don’t panic. You can easily fix it with RV awning repair tape or patch kits. Simply clean the damaged area, apply the tape or patch, and firmly press it down. This will provide a temporary fix until you can replace the fabric if necessary.
Spring Tension Problems: If your RV awning has issues with the spring tension, it’s usually due to either too much or too little tension. To adjust the spring tension, carefully wind or unwind the spring as needed. Start by loosening the lock nuts on both ends of the roller. Then, manually adjust the spring tension by turning the spring with a wrench. Remember to test the awning’s functionality after each adjustment.
Difficulty in Retracting or Extending the Awning: If you’re having trouble retracting or extending your RV awning, it’s likely due to obstructions or misalignment. Before attempting to retract or extend the awning, carefully inspect the area for any obstructions such as branches or debris that may be blocking its movement. Also, check that the awning arms and roller are properly aligned. Adjust as needed and try retracting or extending the awning again.
FAQ
How do I install an RV awning?
To install an RV awning, gather the necessary tools such as work gloves, silicone spray, a screwdriver, a power drill, a tape measure, and a stepladder. Remove the old fabric by unscrewing the awning support and cutting the fabric in half. Install the new fabric by drilling a new slot and sliding it onto the roller. Apply silicone spray to the grooves for easier installation.
How do I open an RV awning?
To open an RV awning, ensure that the RV is parked, leveled, and stabilized properly. Check for any potential obstructions. Locate the awning switch inside the RV and push the “Extend” side. Ensure that the awning extends evenly without making contact with any obstructions. For manual opening, loosen the knobs on the awning arms, separate the inner and outer arms, engage the roll-down switch, and extend the awning using the strap.
How do I clean an RV awning?
Clean an RV awning regularly by spraying it with clean water. Use an approved cleaner and a soft-bristle brush to scrub the awning gently. Rinse off the cleaner and debris. For stubborn stains, a mixture of isopropyl alcohol and water can be used.
What is involved in replacing an RV awning?
To replace an RV awning, remove the old fabric, measure the awning size, remove the torsion assembly and endcap, slide on the new fabric, reinstall the torsion assembly and endcap, and test the awning by rolling it in and out.
How do I install an electric RV awning?
Installing an electric RV awning involves mounting the motor and roller assembly onto the RV, connecting the power supply, and securing the awning arms. Follow the manufacturer’s instructions for the specific electric awning model being installed.
What are some tips for installing an RV awning?
Some tips for installing an RV awning include having the necessary tools, using an awning installation tool for easier installation, and applying silicone spray to the grooves. It is also important to ensure the RV is properly parked, leveled, and stabilized, and to check for any potential obstructions before opening the awning.
What are some common issues with RV awnings and how can I troubleshoot them?
Common issues with RV awnings include tears or holes in the fabric, problems with the spring tension, and difficulty in retracting or extending the awning. To fix a tear or hole, use RV awning repair tape or patch kits. Adjust the spring tension by winding or unwinding the spring as needed. If the awning has trouble retracting or extending, check for obstructions and ensure proper alignment before attempting to retract or extend it.