RV Solar Setup Guide: How to Hook Up Solar Panels
gorvlifestyle.com and its partners may earn a commission if you purchase a product through one of our links
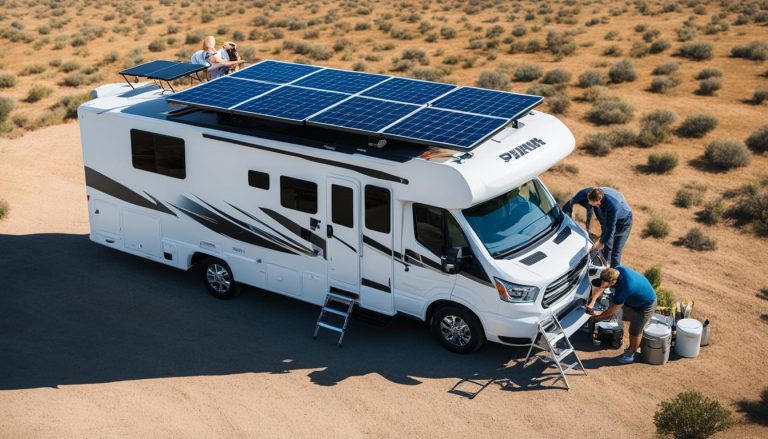
Solar panels atop RVs are becoming increasingly popular as more people are harnessing the power of the sun for their RV adventures. In this guide, we will explain what RV solar panels are, how they work, and provide step-by-step instructions on how to hook up solar panels to your RV. With this information, you can create your own RV solar setup and enjoy the benefits of solar power while on the road.
Key Takeaways:
- RV solar panels are a popular choice for harnessing solar power during RV travels.
- Solar panels convert sunlight into electricity, which can be stored in batteries for later use.
- Before hooking up solar panels, determine your energy needs and choose the right panel type and mounting options for your RV.
- Connect solar panels to a charge controller and battery bank using proper wiring techniques.
- Add an inverter if you want to power AC appliances with solar energy.
How Solar Panels Work for RVs
Solar panels are an essential part of any RV solar system, converting solar energy into usable electricity. Understanding how solar panels work is crucial for harnessing their power and optimizing your RV’s energy efficiency.
At the heart of solar panels are solar cells, which are responsible for capturing the sun’s energy. These cells are made up of semiconductor materials, typically silicon, that have the ability to generate an electric current when exposed to sunlight. Each cell contains two layers, one with a positive charge and the other with a negative charge. When sunlight hits the solar panel, the photons in the light excite the electrons in the semiconductor material, creating an electric field that allows the electrons to flow.
The electricity generated by the solar cells is in the form of direct current (DC). This DC current is then fed through wiring to a charge controller, a device that regulates the flow of electricity and ensures that the RV’s battery is charging efficiently. The charge controller prevents overcharging and optimizes the charging process, extending the lifespan of the battery.
The stored energy in the battery can be used to power various devices and appliances in your RV. However, if you want to power larger appliances or use standard 120-Volt AC power, an inverter is required. The inverter converts the DC power from the battery into AC power, which is what most household appliances and electronics use.
By understanding the inner workings of solar panels for RVs, you can make informed decisions when it comes to choosing the right solar panel setup and optimizing energy usage in your RV.
Solar Panel Components
To fully grasp how solar panels work, it’s helpful to understand the key components that make up a solar panel system:
- Solar Cells: These are the building blocks of solar panels, made of semiconductor materials that convert sunlight into electricity.
- Charge Controller: This device controls the flow of electricity from the solar panels to the battery, preventing overcharging and optimizing charging efficiency.
- Battery: The battery stores the energy generated by the solar panels and provides power when sunlight is not available.
- Inverter: The inverter converts the DC power from the battery into AC power, which is used by most household appliances and electronics.
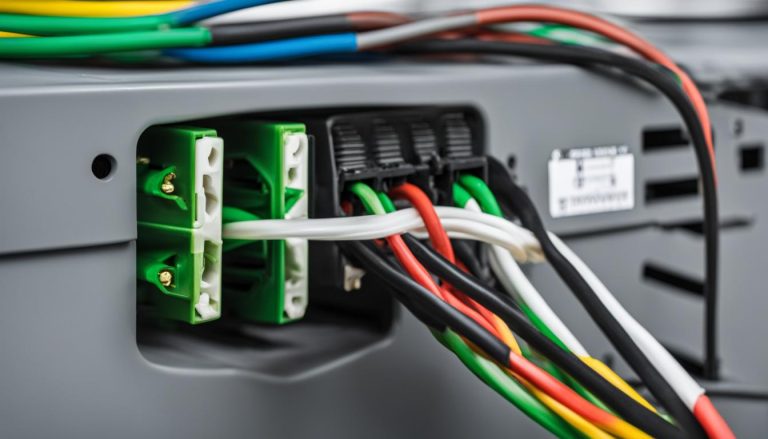
- Wiring: Wiring connects the different components of the solar panel system, allowing the flow of electricity.
| Component | Description |
|---|---|
| Solar Cells | Convert sunlight into electricity through the photovoltaic effect. |
| Charge Controller | Regulates the flow of electricity from solar panels to the battery and prevents overcharging. |
| Battery | Stores the energy generated by solar panels for use when sunlight is not available. |
| Inverter | Converts DC power from the battery into AC power for household appliances. |
| Wiring | Connects the various components of the solar panel system, allowing the flow of electricity. |
Note: The table presents the key components and their descriptions in a concise and organized manner for quick reference.
Benefits of RV Solar Panels
Installing solar panels on your RV offers several advantages:
- Energy Independence: By harnessing the power of the sun, you can reduce your reliance on traditional energy sources and enjoy extended boondocking or off-grid adventures without worrying about battery depletion.
- Cost Savings: Solar energy is free, meaning you can save money by reducing or eliminating the need to rely on RV park hookups or generator fuel.
- Environmentally Friendly: Solar power is a clean and renewable energy source, reducing your carbon footprint and minimizing environmental impact.
- Quiet and Maintenance-Free: Solar panels operate silently and require minimal maintenance, making them a hassle-free addition to your RV.
“Installing solar panels on your RV not only provides the convenience of on-the-go electricity but also allows you to embrace a greener and more self-sufficient lifestyle.”
Now that you understand how solar panels work for RVs, it’s time to determine your solar power needs and begin the installation process. In the next section, we’ll guide you through assessing your energy requirements and selecting the right solar panel setup for your RV.
Determining Your Solar Power Needs
Before hooking up solar panels to your RV, it’s important to determine your solar power needs. This involves figuring out how much energy you’ll use each day and how much energy your solar panels can provide. One way to estimate your energy usage is by calculating the watt-hours consumed by each device or appliance you plan to power with solar energy. You can then determine how many solar panels you’ll need based on their power output.
Additionally, you’ll need to consider the capacity of your RV’s battery bank to ensure that it can store all the power generated by the solar panels. Balancing the energy consumption and storage is crucial for an optimal solar power setup.
“Determining your solar power needs is the first step towards creating an efficient and reliable RV solar setup.”
Estimating Energy Usage
To estimate your energy usage, start by making a list of all the devices and appliances you plan to power with solar energy in your RV. Determine the power consumption (in watts) of each item and multiply it by the number of hours you expect to use them daily. Add up the watt-hours for all the items to get an estimate of your total daily energy consumption.
For example, if you plan to use a 50-watt LED light for 4 hours, a 100-watt refrigerator for 6 hours, and a 200-watt television for 2 hours, your total daily energy consumption would be:
- 50 watts x 4 hours = 200 watt-hours
- 100 watts x 6 hours = 600 watt-hours
- 200 watts x 2 hours = 400 watt-hours
- Total: 200 + 600 + 400 = 1200 watt-hours
In this example, you would need solar panels that can provide at least 1200 watt-hours of energy per day to meet your power needs.
Calculating Solar Panel Requirements
Once you know your daily energy consumption, you can determine how many solar panels you’ll need based on their power output. Solar panels are rated in watts, and their power output can range from 100 watts to 400 watts or more.
To calculate the number of solar panels you need, divide your daily energy consumption (in watt-hours) by the average daily sunshine hours in your location. The result will give you the minimum wattage required for your solar panel setup.
For example, if your location receives an average of 6 hours of sunlight per day and your daily energy consumption is 1200 watt-hours, you would need:
1200 watt-hours ÷ 6 hours = 200 watts
Therefore, you would need at least one 200-watt solar panel to meet your power needs.
| Solar Panel Power Output | Number of Panels Required (Minimum) |
|---|---|
| 100 watts | 12 panels |
| 200 watts | 6 panels |
| 300 watts | 4 panels |
| 400 watts | 3 panels |
Keep in mind that this calculation provides a rough estimate, and factors such as shading, panel orientation, and efficiency should also be considered when determining the number of solar panels needed for your RV.
Furthermore, it’s important to choose RV solar panels that are specifically designed for motorhomes and have suitable dimensions to fit your RV’s roof space.
Considering Battery Capacity
In addition to solar panel requirements, you should also consider the capacity of your RV’s battery bank. The battery bank stores the power generated by the solar panels, allowing you to use it when the sun is not shining.
To ensure that your battery bank can store all the power generated by the solar panels, its capacity should be greater than your daily energy consumption. This will account for energy losses and provide sufficient power reserves.
For example, if your daily energy consumption is 1200 watt-hours, a battery bank capacity of 1500 watt-hours or more would be suitable.
It’s also important to choose deep cycle batteries specifically designed for solar applications, as they can handle the constant charging and discharging cycles required for an RV solar setup.
Installing Solar Panels on Your RV
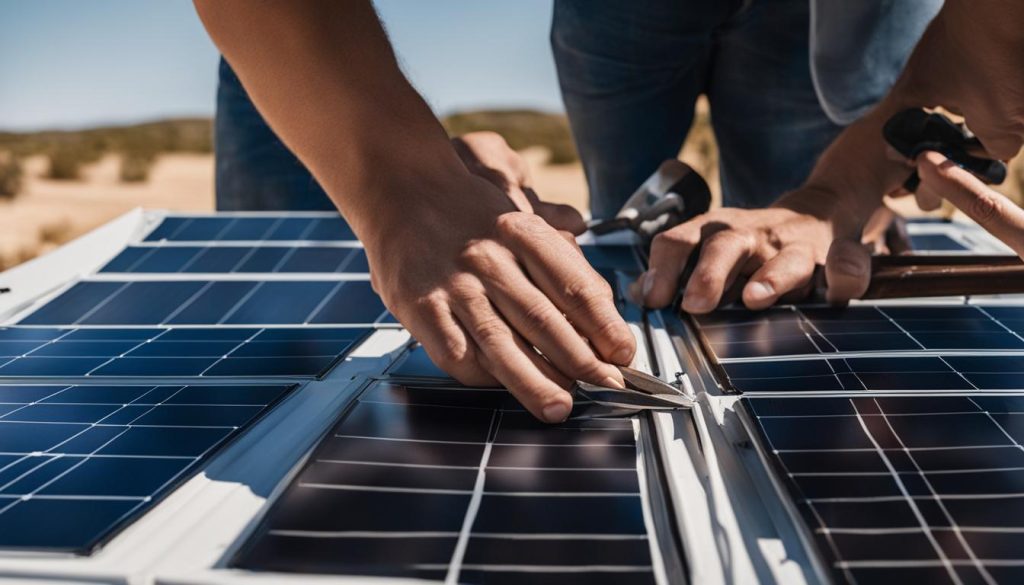
Installing solar panels on your RV can provide you with a reliable and sustainable source of energy while on the road. To ensure a successful installation, careful planning and proper techniques are essential. Here is a step-by-step guide to help you with your DIY RV solar panel installation using an RV solar kit:
- Choose the Right Panels: Select the type of solar panels that best suit your RV’s needs and specifications. Consider factors such as available space on your RV’s roof and voltage compatibility.
- Mount the Panels: Determine the appropriate mounting option for your RV’s roof, whether it’s Z brackets, tiltable mounting brackets, or corner brackets. Securely attach the panels to your RV’s roof following the manufacturer’s instructions.
- Connect the Panels: Connect the solar panels to a charge controller using the recommended wiring configuration. This involves wiring the panels in series or parallel, depending on your setup. Refer to the wiring diagram provided by the charge controller manufacturer for proper installation.
- Attach the Charge Controller: Mount the charge controller in a convenient and accessible location inside your RV. Ensure that the wiring from the solar panels is properly connected to the charge controller.
- Connect to the Battery Bank: Complete the installation process by connecting the charge controller to your RV’s battery bank. This allows the battery bank to store the energy generated by the solar panels for later use.
By following these steps, you can successfully install solar panels on your RV and enjoy the benefits of harnessing solar power for your adventures. Remember to consult the instructions provided with your RV solar kit for specific guidelines and safety precautions.
“Installing solar panels on my RV was a game-changer. Not only did it reduce my reliance on traditional energy sources, but it also provided me with a sense of freedom and independence. I can now enjoy the outdoors without worrying about running out of power. It was definitely worth the effort!” – Eva Rodriguez, RV enthusiast
Connecting the Charge Controller and Battery
The charge controller plays a crucial role in your RV solar power setup. It ensures that your battery is charged correctly and prevents overcharging, which can damage the battery. To connect the charge controller to your RV’s battery, follow these steps:
- Gather the necessary materials: You’ll need stranded copper wire, wire connectors, and a wiring diagram provided by the charge controller manufacturer.
- Locate the battery: Identify the positive (+) and negative (-) terminals of your RV’s battery.
- Connect the wires: Use the stranded copper wire to connect the positive terminal of the battery to the positive terminal of the charge controller, and the negative terminal of the battery to the negative terminal of the charge controller. Ensure the connections are secure.
- Follow the wiring diagram: Use the wiring diagram provided by the charge controller manufacturer to make the correct connections. This diagram will specify which terminals are meant for the battery connections.
- Add a fuse or circuit breaker: For safety purposes, consider adding a fuse or circuit breaker between the charge controller and the battery. This will protect your setup from potential electrical issues.
By properly connecting the charge controller and battery using the recommended materials and following the manufacturer’s instructions, you can ensure the efficient and safe operation of your RV solar installation.
Quick Tip: Maximizing Efficiency
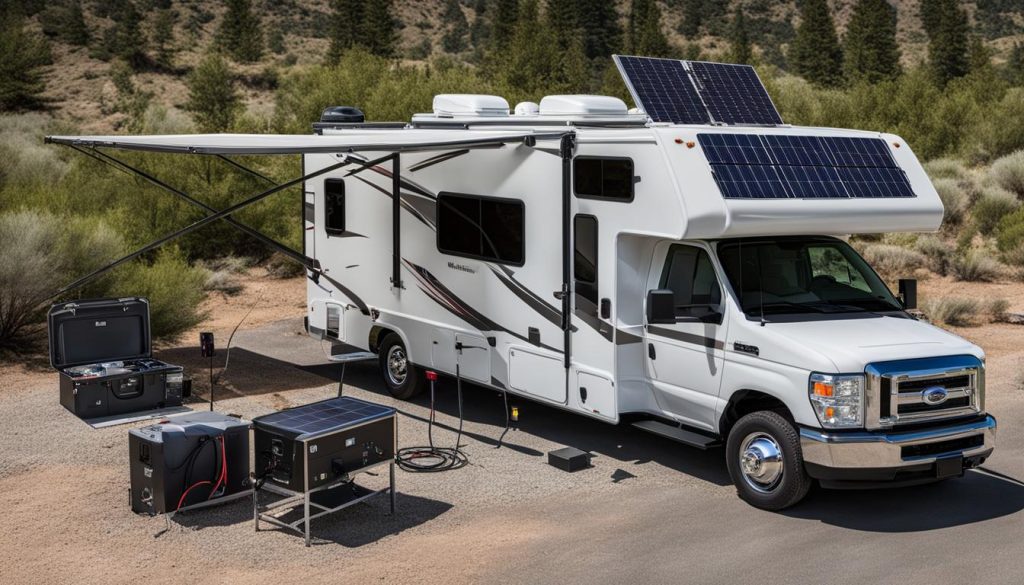
Maximize the efficiency of your RV solar power setup by placing the charge controller near the battery. This minimizes electrical resistance and ensures that the power generated by the solar panels reaches the battery efficiently.
Adding an Inverter for AC Power
If you want to power 120-Volt AC appliances in your RV using solar energy, you’ll need to add an inverter to your setup. The inverter converts the DC power from the battery into AC power that can be used by your appliances.
When selecting an inverter, make sure it is compatible with your battery bank’s voltage and has sufficient power capacity to handle the appliances you plan to use. It’s important to mount the inverter near the battery for easy access and ventilation to prevent overheating.
By adding an inverter to your RV solar system, you can enjoy the convenience of powering AC appliances with solar energy.
Considering Additional Factors
When setting up solar panels for your RV, it’s essential to consider a few additional factors to ensure a successful installation. If your RV is labeled as “solar ready” or “pre-wired for solar,” it may have specific requirements or limitations for the type of panels you can use. To get accurate information, refer to your RV’s manual or contact the manufacturer for guidance.
In some cases, if your RV already has a small factory-installed panel on its roof, it might not be sufficient to recharge a depleted battery while boondocking. In such situations, you may need to remove the existing panel and opt for a more robust system with multiple panels. This upgrade will provide you with the power you need for off-grid adventures.
By considering these additional factors, you can ensure that your RV solar setup meets your power requirements and functions optimally throughout your travels. Remember to consult the appropriate guides and manuals, and if in doubt, seek professional advice to make informed decisions for your RV’s solar panel wiring.
FAQ
What are RV solar panels?
RV solar panels are devices that harness the energy from the sun and convert it into usable electricity to power devices and appliances in your RV.
How do solar panels work for RVs?
Solar panels for RVs work by capturing the energy from the sun through solar cells and converting it into electrical current, which is then stored in the RV’s battery for later use.
How do I determine my solar power needs for my RV?
To determine your solar power needs, you’ll need to estimate your daily energy usage and calculate how many solar panels you’ll require based on their power output. You should also consider the capacity of your RV’s battery bank to ensure it can store all the power generated by the panels.
How do I install solar panels on my RV?
Installing solar panels on your RV involves choosing the right panels, mounting them securely on the roof, and connecting them to a charge controller. Proper wiring and installation techniques are essential for a successful installation.
How do I connect the charge controller and battery for my RV solar setup?
To connect the charge controller and battery, you’ll need to use stranded copper wire and connect the positive and negative terminals of the battery to the corresponding terminals on the charge controller. Follow the wiring diagram provided by the charge controller manufacturer for proper installation.
Do I need an inverter for AC power in my RV?
If you want to power 120-Volt AC appliances in your RV using solar energy, you’ll need to add an inverter to your setup. The inverter converts the DC power from the battery into AC power that can be used by your appliances.
What additional factors should I consider when hooking up solar panels to my RV?
If your RV is listed as “solar ready” or “pre-wired for solar,” it may have specific requirements or limitations for the type of panels you can use. It’s important to consult your RV’s manual or contact the manufacturer for more information. Additionally, if you already have a small factory-installed panel on your roof, it may not be suitable for recharging a depleted battery while boondocking.

