How to Hook Up an RV: Quick & Easy Setup Guide
gorvlifestyle.com and its partners may earn a commission if you purchase a product through one of our links
As a beginner RVer, learning how to hook up your RV to full hookups at a campground is essential for a smooth and enjoyable camping experience. Understanding the steps and order of connecting your RV is crucial to ensure safety, stability, and convenience. This comprehensive guide will walk you through the process of setting up your RV, including steps for parking brake, electrical hookup, water hookup, cable hookup, and sewer hookup.
By following these step-by-step instructions, you’ll be able to confidently connect your RV to the campground’s amenities and enjoy all the comforts of home while on the road. Whether you’re a novice RVer or looking for a refresher, this guide will provide you with the knowledge you need to navigate your next camping adventure with ease.
Key Takeaways:
- Understanding how to hook up your RV properly is crucial for a smooth camping experience.
- Setting the parking brake should always be the first step to ensure stability and prevent accidents.
- Using a surge protector is highly recommended to protect your RV’s electrical system.
- Make sure to use a drinking water safe hose and a water filter for clean and safe water.
- Connect cable TV by plugging in the cable cord and consult your RV’s owner’s manual for the location of the cable port.
- Follow proper procedures when connecting the sewer hose to avoid any issues.
Step 1: Set Your Parking Brake
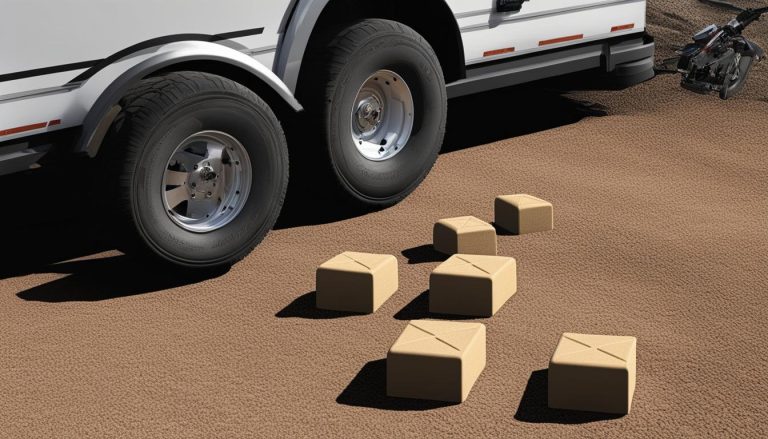
Before you start hooking up your RV, it’s crucial to set your parking brake. This simple step ensures the safety and stability of your vehicle during the hookup process. By engaging the parking brake, you prevent your RV from shifting or rolling, minimizing the risk of damage to cables or campground panels.
Setting the parking brake should be the first task on your checklist when preparing to connect your RV to a campground’s full hookups. This essential precaution lays the foundation for a smooth and secure hookup experience.
To set your parking brake, follow these steps:
- Locate the parking brake lever or pedal inside your RV. Refer to your owner’s manual if needed.
- Gently press down on the brake pedal or pull up on the lever to engage the parking brake.
- Make sure the parking brake is securely engaged by testing the RV’s movement. It should remain stationary even if you release the regular brake pedal.
Note: Remember to release the parking brake only when you’re ready to disconnect and depart from the campground.
| Benefits of Setting the Parking Brake | Tips for Setting the Parking Brake |
|---|---|
|
|
By setting your parking brake first, you establish a solid foundation for a successful RV hookup. Now that you’ve secured your RV, it’s time to move on to the next step: the electrical hookup.
Step 2: Electric Hookup
Now that you’ve securely set your parking brake, it’s time to connect your RV to the electric hookup. This step is crucial in ensuring that your RV has a reliable source of power throughout your stay at the campground.
Before you begin, make sure you know the amp service your RV requires. Most RVs are equipped with either a 30 amp or 50 amp service, while some smaller ones may only need a 20 amp service. It’s important to know the specific amp service your RV needs to avoid any electrical issues.
If the campground’s electrical hookup doesn’t match the amp service of your RV, you may need to use an electrical hookup adapter. These adapters allow you to connect your RV’s electrical cord to the campground’s electrical outlet, ensuring compatibility.
Important: To protect your RV’s electrical system from power surges or damage caused by poorly maintained campground electrical panels, it’s highly recommended to use a surge protector. A surge protector acts as a safeguard, preventing high voltage spikes from reaching your RV’s electrical system.
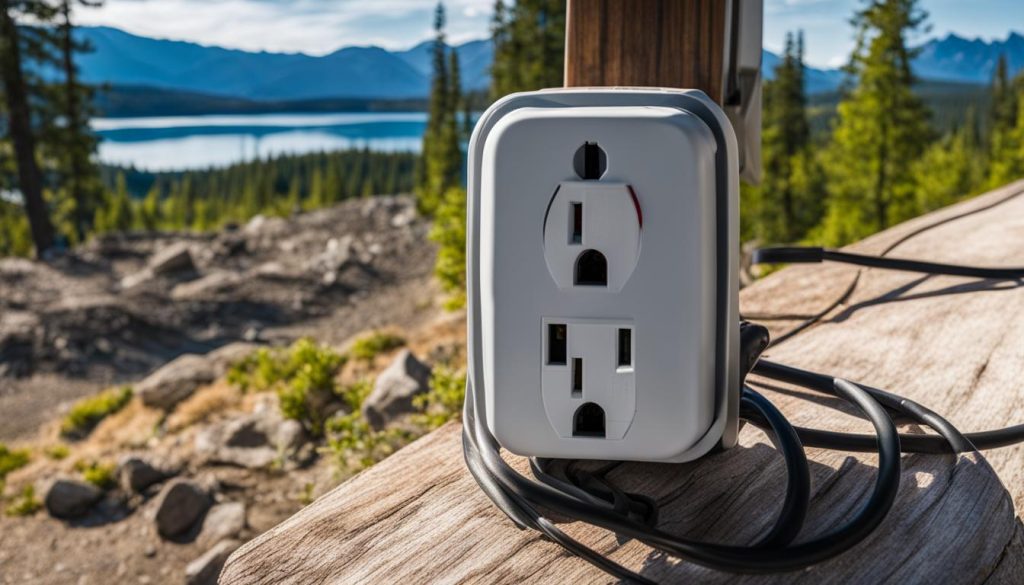
By using a surge protector, you’re not only protecting your RV’s electrical system but also potentially saving money on expensive repairs. It’s a small investment that can provide peace of mind during your RV adventures.
Once you’ve connected your RV to the electric hookup and ensured the proper amp service, you’re one step closer to enjoying all the amenities and comfort your RV has to offer. Now, let’s move on to the next step: connecting your RV to the water hookup.
Step 3: Water Hookup
After securing the electrical hookup, it’s time to connect your RV to the water hookup. Follow these steps to ensure a smooth and reliable water supply during your camping trip.
- Use a drinking water safe hose: It’s important to use a hose specifically designed for drinking water to avoid any contamination. Look for hoses that are labeled as “drinking water safe” or “potable water safe”.
- Attach a water filter: Installing a water filter is essential for ensuring clean and safe water for your RV’s kitchen and bathroom. Connect the filter to the campground’s water spigot and make sure it is securely attached.
- Connect the fresh water hose: Now, it’s time to connect your fresh water hose to the water filter. Ensure a tight connection to prevent any leaks or water loss.
By following these steps, you can enjoy a reliable water source for all your RV needs. Remember to regularly check the filter for any signs of wear and replace it as needed to maintain the water quality.
Having a proper water hookup is crucial for the overall comfort and convenience of your RV experience. Whether you’re preparing meals, taking showers, or washing dishes, clean water is essential. By using a water filter for your RV, you can ensure that the water you and your family consume is safe and free from harmful contaminants.
RV water filters are designed to remove impurities and improve the taste and odor of the water. They can effectively remove sediment, chlorine, bacteria, and other contaminants, providing you with clean and refreshing water throughout your trip.
Investing in a high-quality water filter will not only enhance your camping experience but also help protect the plumbing system of your RV. Sediment and other particulates in the water can cause clogs and damage to pipes and fixtures. A water filter acts as a barrier, keeping these impurities from entering your RV’s water system.
Remember to regularly replace the filter cartridges as indicated by the manufacturer to maintain the filter’s effectiveness. Additionally, always follow the campground’s guidelines for water usage and conservation, as water resources may be limited in some areas.
Benefits of Using a Water Filter for RV:
- Improved water taste and odor
- Removal of sediments and particles
- Elimination of chlorine and other chemicals
- Protection of RV plumbing system
- Safe and clean drinking water
| Water Filter | Features | Price |
|---|---|---|
| Camco TastePURE Water Filter | – Inline design for easy installation – Granular activated carbon for filtration – Lasts for up to 3 months |
$ |
| Clearsource Premium RV Water Filter System | – Dual canister system for maximum filtration – 5-micron carbon block filter – Removes chlorine, sediment, and more |
$$ |
| Hydro Life RV/Marine Exterior Water Filter | – Connects to any standard garden hose – Removes chlorine, sediment, and odor – Compact and portable design |
$ |
Step 4: Cable Hookup and Step 5: Sewer Hookup
If your campground offers cable TV, connecting it to your RV is a breeze. Simply plug in the cable cord, ensuring a secure connection. To locate the cable port in your RV, refer to the owner’s manual for specific instructions. Enjoy your favorite shows and movies during your stay, making your camping experience even more enjoyable.
When it comes to the sewer hookup, following proper procedures is crucial to prevent any issues. Begin by connecting your sewer hose to the RV’s drain spout, ensuring a tight seal. Then run the hose to the sewer drain, using a sewer hose support if needed to maintain a steady flow. It is essential to close the black tank valve and only dump the black tank when necessary to avoid costly problems like the infamous “poop pyramid”. By adhering to these guidelines, you can maintain a clean and hassle-free RV experience.
Remember, a well-executed cable hookup and proper sewer hookup are essential for a comfortable and stress-free camping trip. By following these steps, you can make the most of your RV journey and create lasting memories.
FAQ
What is the first step in connecting my RV to full hookups at a campground?
The first step is to set your parking brake to ensure safety and stability.
How do I connect my RV to the electric hookup?
Make sure you know the amp service your RV requires and use an electrical hookup adapter if necessary. It is also recommended to use a surge protector to protect your RV’s electrical system.
What should I consider when connecting my RV to the water hookup?
Use a drinking water safe hose and a water filter for clean and safe water. Connect the filter to the campground’s water spigot and then connect your fresh water hose to the filter.
How do I connect cable TV to my RV?
Simply plug in the cable cord to the cable port in your RV. Refer to your owner’s manual for the location of the port.
Can you provide some tips for sewer hookup?
Connect your sewer hose to your RV’s drain spout and run it to the sewer drain. Use a sewer hose support if needed. Remember to close the black tank valve and only dump your black tank when necessary.

