RV Delamination Repair Guide – Fix It Yourself
gorvlifestyle.com and its partners may earn a commission if you purchase a product through one of our links
Welcome to the RV Delamination Repair Guide, where you’ll learn how to fix delamination issues in your RV and save on costly repairs. Delamination occurs when the outer layer of an RV’s fiberglass or gel coating separates from the structural layer underneath, often due to water infiltration. If left untreated, delamination can weaken the structure and lead to further damage. But fear not! With a little know-how and the right tools, you can tackle delamination repair yourself.
Key Takeaways:
- RV delamination occurs when the outer layer of an RV’s fiberglass or gel coating separates from the structural layer, usually due to water infiltration.
- DIY delamination repair can be done using a delamination repair kit or by stripping and reconstructing the affected area.
- Professional help may be required for severe cases of delamination.
- Regular preventive maintenance and repairs can help avoid delamination issues.
- Consider the pros and cons of DIY repair versus professional repair, based on the extent of damage and your skill level.
What is RV Delamination and its Causes
RV delamination refers to the separation of the outer layer of an RV’s fiberglass or gel coating from the structural layers. It is a common issue that can affect the integrity and appearance of the RV exterior.
The causes of RV delamination can vary, but one of the main culprits is water infiltration. When cracks or seams on the RV’s exterior are not properly maintained or sealed, water can seep in and lead to delamination. This is especially common in areas with heavy rainfall or high humidity.
In addition to poor maintenance and lack of seam inspection and resealing, other factors that can contribute to RV delamination include rapid temperature changes and using incorrect sealants. These factors can cause the laminated layers to separate over time, weakening the overall structure of the RV.
“Delamination weakens the structure and can result in water damage and mold growth.”
When RV delamination occurs, it not only compromises the structural integrity of the vehicle but also creates cosmetic issues. The separated layers can create unsightly bulges or bubbles on the exterior, detracting from the overall appearance of the RV.
To address RV delamination, it is important to identify the causes and take preventive measures to minimize the risk. Regular maintenance, including proper inspection of seams and resealing with appropriate sealants, can help prevent water infiltration and delamination. Additionally, avoiding rapid temperature changes and using the correct sealants can further reduce the chances of delamination.
Overall, understanding the causes of RV delamination is crucial for RV owners to take proactive steps in preventing this issue. By practicing proper maintenance and addressing any signs of delamination promptly, RV owners can preserve the integrity and appearance of their vehicles for years to come.
DIY RV Delamination Repair Steps
If you’ve noticed delamination on your RV’s exterior, don’t despair. With some DIY skills and the right tools, you can repair the delamination yourself and save on costly professional repairs. Here are the steps to follow for a successful DIY RV delamination repair:
- Start by gathering the necessary tools and materials. You’ll need a delamination repair kit, which typically includes adhesive, syringes, rubber tubing, and instructions. Make sure you have all the items ready before you begin.
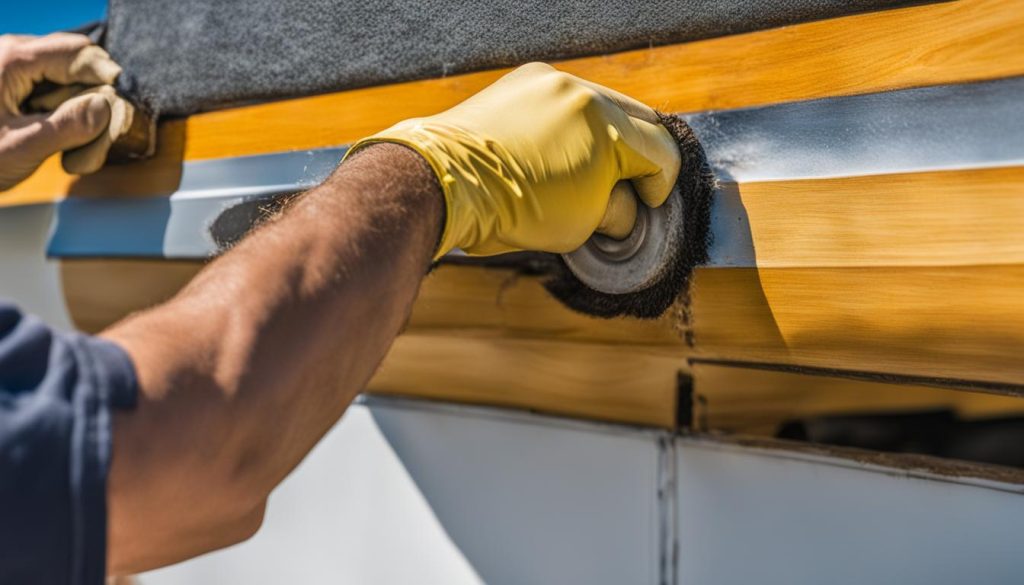
- Prepare the delaminated area by cleaning it thoroughly. Remove any dirt, debris, or loose pieces of fiberglass. This will ensure a clean surface for proper adhesion.
- Once the area is clean, apply the adhesive to the separated layers. Use the syringes and rubber tubing provided in the repair kit to inject the adhesive between the layers. Follow the instructions in the kit carefully to ensure proper application.
- After applying the adhesive, carefully press the separated layers together. Apply even pressure to ensure a strong bond. You may need to use clamps or weights to hold the layers in place while the adhesive cures.
- Once the adhesive has cured, inspect the repaired area for any cracks or gaps. Use additional adhesive, if necessary, to fill in any remaining voids and ensure a smooth surface.
- After completing the delamination repair, it’s important to reseal any cracks or seams in the RV’s exterior. Use a suitable sealant to prevent water infiltration and future delamination issues.
- For added protection, consider applying a protective coating or wax to the repaired area. This will help protect the surface from UV rays, moisture, and other elements, prolonging the lifespan of the repair.
Remember, DIY RV delamination repair requires attention to detail and following the instructions provided in the repair kit. If you’re unsure or uncomfortable with the process, it’s always best to consult with a professional RV repair specialist for assistance.
Tips for a Successful DIY RV Delamination Repair:
- Take your time and be patient throughout the repair process. Rushing can lead to mistakes or incomplete repairs.
- Ensure that the delaminated area is completely dry before applying the adhesive. Moisture can compromise the bond between the layers.
- Follow the instructions in the delamination repair kit carefully. Each kit may have specific guidelines and requirements.
- If the delamination is extensive or beyond your DIY capabilities, it’s best to seek professional help to avoid further damage.
Professional RV Delamination Repair
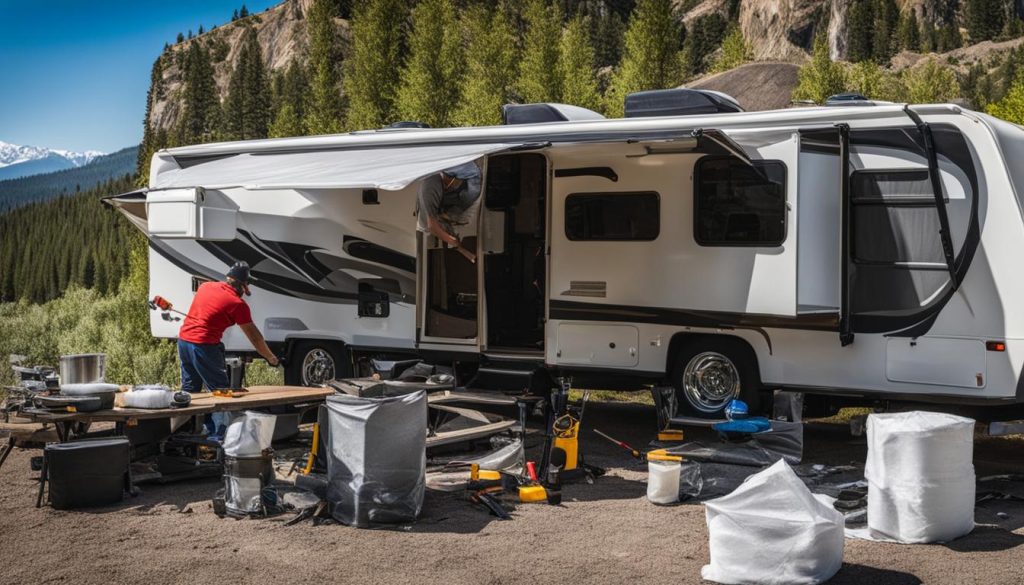
For severe cases of RV delamination, it is recommended to seek professional help. Professional RV delamination repair involves stripping the affected panels and replacing them with new ones. The expertise of an RV repair specialist is crucial to ensure the repairs are done correctly and to prevent further damage.
During professional delamination repair, the damaged areas of the RV sidewall are carefully removed and replaced with new panels that match the original design. This process requires specialized tools and knowledge to ensure a seamless integration and maintain the structural integrity of the RV.
Benefits of Professional RV Delamination Repair
- Expertise: Professional RV repair specialists have the knowledge and experience to diagnose and fix delamination issues efficiently.
- Quality Materials: Professionals use high-quality materials that are specifically designed for delamination repair, ensuring long-lasting results.
- Efficiency: Having professionals handle the repair can save you time and effort, allowing you to focus on enjoying your RV.
- Certified Techniques: RV repair specialists are trained in industry-approved repair techniques, ensuring the repairs meet the highest standards.
The cost of professional RV delamination repair can vary depending on the extent of the damage and the specific repairs needed. Factors such as the size of the affected area, the cost of materials, and the labor involved will influence the overall cost. It is essential to consult with an RV repair specialist to get an accurate estimate for your particular situation.
Investing in professional delamination repair can provide peace of mind knowing that the job is being handled by experienced professionals. By addressing the issue promptly and effectively, you can prevent further damage and prolong the lifespan of your RV.
Continue to the next section to explore the pros and cons of DIY RV delamination repair and decide on the best course of action for your RV.
Pros and Cons of DIY RV Delamination Repair
DIY RV delamination repair offers both advantages and disadvantages for RV owners. It’s important to weigh these factors before deciding whether to tackle the repair project yourself or seek professional assistance.
Advantages of DIY Repair
- Cost savings: One of the primary benefits of DIY delamination repair is the potential cost savings compared to hiring a professional. By opting to fix the delamination issue yourself, you can avoid labor costs and potentially save a significant amount of money.
- Minor repairs: DIY repair is well-suited for addressing minor delamination issues. If the delamination is localized and the damage is minimal, you can handle the repair with the right tools and materials.
- Satisfaction and control: Completing the repair yourself can provide a sense of accomplishment and satisfaction. You have full control over the process, allowing you to ensure the repair meets your standards.
Disadvantages of DIY Repair
- Suitability for severe cases: DIY repair may not be suitable for severe cases of RV delamination. If the delamination is extensive or affects critical structural components, it is best to consult a professional for proper assessment and repair.
- Risk of improper application: DIY repair introduces the risk of improper adhesive application. It can be challenging to ensure complete and secure bonding between the separated layers. Failure to apply the adhesive correctly may result in weak repairs or missed spots that can lead to further issues.
Considering the extent of the damage and your skill level is crucial when deciding whether to proceed with a DIY repair or seek professional help. It is recommended to consult with an RV repair specialist for guidance and advice, especially for complex or severe delamination cases.
Cost of RV Delamination Repair
When dealing with RV delamination, it’s important to consider the cost of repair. The price can vary depending on the severity of the damage and the type of repair needed. Here is an overview of the average costs associated with RV delamination repair:
DIY Delamination Repair
If you’re handy and want to tackle the repair yourself, you can opt for a delamination repair kit. These kits typically range from $100 to $300, depending on the brand and the size of the kit. They contain all the necessary materials and instructions to guide you through the DIY process.
Professional Delamination Repair
For more severe cases of RV delamination, it’s best to seek professional help. The expertise and experience of a professional RV repair specialist can ensure a thorough and long-lasting repair. The cost of professional delamination repair can vary significantly based on factors such as the extent of the damage, the size of the affected area, and the specific repairs needed.
On average, professional RV delamination repair can range from a few hundred to several thousand dollars. It’s essential to consult with an RV repair specialist to get an accurate estimate based on your specific repair needs.
| Repair Type | Average Cost |
|---|---|
| DIY Delamination Repair | $100 – $300 |
| Professional Delamination Repair | Varies from a few hundred to several thousand dollars |
Remember that these figures are average costs and can vary depending on various factors. It’s always a good idea to consult with an RV repair specialist to get an accurate quote and to ensure that the repairs are done correctly. Addressing RV delamination as early as possible can help prevent further damage and save you money in the long run.
Preventing RV Delamination
When it comes to preserving the integrity of your RV, preventive maintenance is crucial in avoiding delamination. By following a few simple tips, you can protect your RV from this common issue and extend its lifespan.
Regularly inspect your RV for any cracks or seams that may need attention. Using appropriate sealants, ensure that all areas are properly sealed to prevent water infiltration. By addressing these small issues promptly, you can prevent potential delamination problems down the line.
In addition, keeping your RV clean and dry is essential. Regularly wash and wax the exterior surfaces to maintain their protective layer. If your RV is not in use, consider using a waterproof cover to shield it from the elements.
When it comes to storage, if possible, storing your RV indoors is ideal. This provides an extra layer of protection against harsh weather conditions. However, if indoor storage is not an option, make sure to park your RV on a level surface and use wheel chocks to prevent movement.
By taking these preventive measures and implementing proper RV maintenance tips, such as regular inspections, sealing, cleaning, and storage, you can significantly reduce the risk of delamination. Protect your investment and enjoy your RV for years to come.
FAQ
What is RV delamination?
RV delamination refers to the separation of the outer layer of an RV’s fiberglass or gel coating from the structural layers.
What causes RV delamination?
RV delamination is often caused by water infiltration through cracks or seams in the exterior. Other common causes include poor maintenance, lack of seam inspection and resealing, rapid temperature changes, and using incorrect sealants.
How can I fix RV delamination myself?
DIY RV delamination repair can be done using a delamination repair kit. The process involves removing the exterior fiberglass layer, applying adhesive to the separated layers, and pressing them together. Additional steps include resealing cracks and seams, and applying protective coatings or wax.
Should I seek professional help for RV delamination repair?
For severe cases of RV delamination, professional help may be necessary. Professional RV delamination repair involves stripping the affected panels and replacing them with new ones. It is important to consult with an RV repair specialist to get an accurate estimate and ensure the repairs are done correctly.
What are the pros and cons of DIY RV delamination repair?
DIY RV delamination repair has its advantages and disadvantages. The pros include cost savings compared to professional repair, the ability to fix minor issues, and the satisfaction of completing the repair yourself. However, DIY repair may not be suitable for severe cases and there is a risk of improper adhesive application. It is important to consider the extent of the damage and your skill level before attempting DIY repair.
How much does RV delamination repair cost?
The cost of RV delamination repair can vary depending on the severity of the damage and the type of repair needed. DIY delamination repair kits typically cost around $100 to $300, while professional repair costs can range from a few hundred to several thousand dollars. It is best to consult with an RV repair specialist for an accurate estimate based on your specific repair needs.
How can I prevent RV delamination?
Preventive maintenance is key to avoiding RV delamination. Regularly inspect and reseal cracks and seams with appropriate sealants. Keep the RV clean and dry, using a waterproof cover if necessary. Store the RV indoors if possible, and protect the exterior with coatings or waxes.

