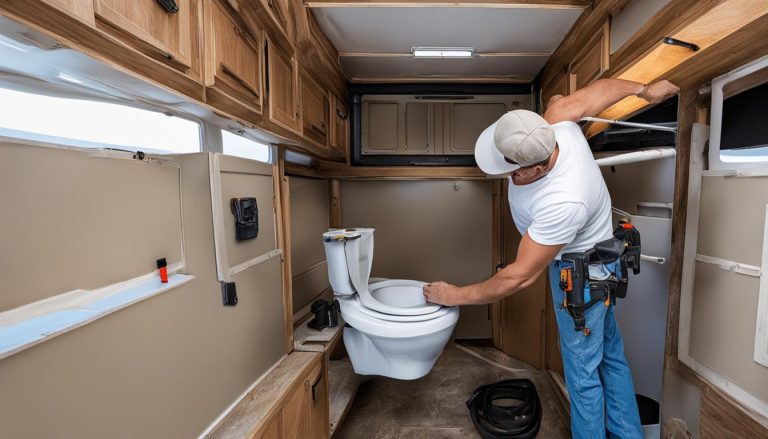
RV Maintenance: Empty Your Black Water Tank Easily
gorvlifestyle.com and its partners may earn a commission if you purchase a product through one of our links
Cleaning your RV’s black water tank is an essential part of RV maintenance. Neglecting to clean the tank regularly can lead to foul odors and sensor malfunctions. To keep your black water tank clean and functioning properly, you need to know the best methods for emptying it.
Key Takeaways:
- Regularly cleaning your RV’s black water tank is crucial for preventing odors and sensor malfunctions.
- Knowing the proper methods for emptying your black water tank is essential for maintenance.
- Emptying your black water tank before it becomes full helps maintain cleanliness and prevent issues.
- Using an overnight RV holding tank treatment can simplify the cleaning process.
- Consider using RV-friendly cleaning solutions or the ice method for effective tank cleaning.
What You Need to Know About RV Holding Tanks
RV holding tanks are an integral part of your RV’s plumbing system, consisting of the gray water tank and the black water tank. These tanks store and manage the waste water produced by your RV, ensuring a clean and comfortable environment during your travels.
Maintaining your RV holding tanks is essential to prevent issues such as tank buildup and unpleasant odors. Here are some crucial dos and don’ts for RV tank maintenance:
- Do: Always keep at least 5 gallons of water in the tanks to prevent them from drying out. This helps maintain the effectiveness of the tank sensors and prevents any solids from sticking to the tank walls.
- Do: Empty your black water tank before your gray water tank. This allows the gray water to flush out any residue left behind by the black water, reducing the chances of buildup.
- Do: Only flush RV-safe materials down the toilet. Avoid disposing of items such as diapers, wipes, or feminine hygiene products, as they can cause clogs and damage your RV’s plumbing system.
- Don’t: Use harsh chemicals or bleach in your RV’s plumbing system. These can deteriorate the tank seals and sensor probes, leading to malfunctions and costly repairs.
- Don’t: Neglect regular maintenance. Clean your tanks regularly and follow the manufacturer’s guidelines for tank care to ensure optimal performance.
By following these simple maintenance tips, you can keep your RV holding tanks clean and functioning properly, ensuring a hassle-free and enjoyable RVing experience.
For a visual representation of an RV holding tank system, refer to the diagram below:
| RV Holding Tank | Description |
|---|---|
| Gray Water Tank | Collects water from sinks and showers |
| Black Water Tank | Stores waste from the toilet |
Use an Overnight RV Holding Tank Treatment
When it comes to cleaning your RV’s black water tank, an overnight RV holding tank treatment is your best bet. These enzymatic tank cleaners are designed to break down waste and eliminate odors, leaving your tank fresh and clean.
There are several highly effective products available on the market, such as Super Seal Pirranha, Thetford Tank Blaster, and Walex CMDOBG Commando Black Holding Tank Cleaner. These treatments use powerful enzymes to dissolve waste and neutralize odors, ensuring a sanitary and pleasant environment in your RV.
Using an RV holding tank treatment is a simple process. Follow these steps to ensure optimal results:
- Before adding the treatment, make sure to fill your tanks to at least 75% capacity. This will allow the treatment to mix thoroughly with the waste and provide maximum cleaning power.
- Start by emptying your black tank first, followed by your gray tank. This sequence ensures that the treatment can target and break down waste material effectively.
- After emptying the tanks, it’s important to repeat the process to ensure thorough cleaning. This will help dislodge any remaining debris and ensure a fresh-smelling RV.
- Finally, perform a thorough flush of your tanks to remove any residual cleaner and ensure a clean slate for your next adventure.
By following these steps and using an overnight RV holding tank treatment, you can maintain a clean and odor-free black water tank, enhancing your overall RV experience. So, don’t forget to give your tank the care it deserves!
Steps for Cleaning Your Black Water Tank
To effectively clean your black water tank, you’ll need the right materials and follow the proper steps. Here’s a breakdown of the process:
1. Flushing Your Tank
Start by flushing your tank using a built-in or aftermarket flush valve. The built-in flush valve allows for easy cleaning by connecting a hose directly to the tank. However, if your RV doesn’t have a built-in flush valve, you can purchase an aftermarket flush valve kit and install it yourself. This will provide a convenient way to rinse out your black water tank.
2. Using Black Tank Cleaning Solutions
Consider using black tank cleaning solutions that are specially formulated to break down waste and eliminate odors. These solutions are available in stores and contain powerful enzymes and bacteria that help dissolve solid waste and control odors. Alternatively, you can make your own cleaning solution using household products like borax, dish soap, or a mixture of baking soda and hydrogen peroxide. These homemade solutions can be just as effective in cleaning your black water tank.
3. The Ice Method
Some RVers swear by the ice method for tank cleaning. This technique involves adding a bag of ice to your black water tank before hitting the road. As you drive, the ice sloshes around and helps to agitate the contents of the tank, breaking up any solid waste that may be stuck to the walls. Once you arrive at your destination, simply drain and rinse your tank to remove the loosened waste.
4. Emptying and Rinsing
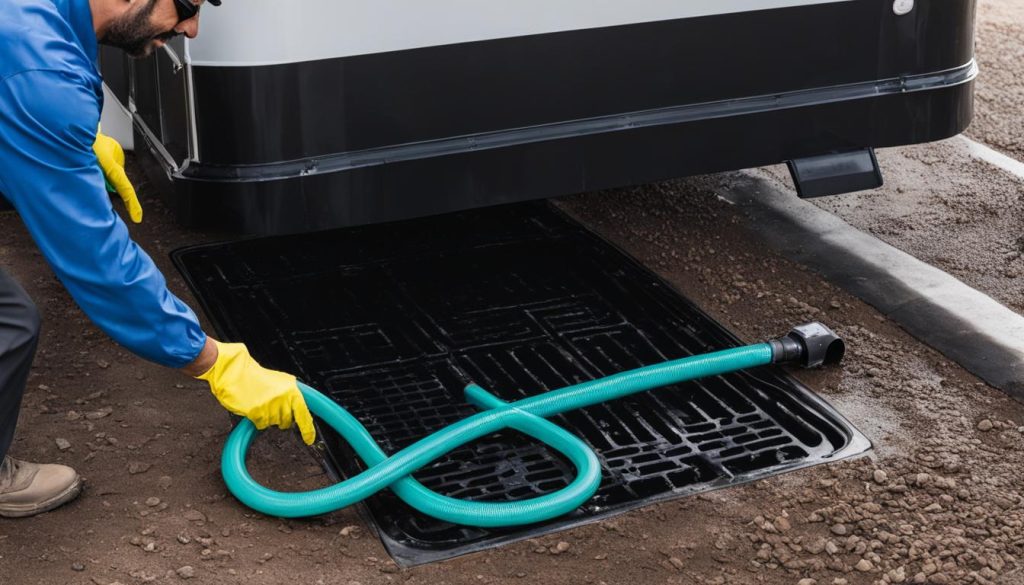
After cleaning your black water tank, it’s important to empty and rinse it thoroughly. Use a sewer hose to empty the tank at an appropriate waste disposal site. Make sure to follow all regulations and dispose of the waste properly. After emptying, close the valve and add freshwater to the tank. Allow it to fill and then empty it again to ensure that all residue has been removed. Rinse the tank a few more times until the water runs clear.
Cleaning your black water tank is an essential part of RV maintenance. By following these steps and using the right cleaning materials, you can ensure that your tank remains clean and odor-free. Regular cleaning will help prevent any buildup and keep your RV’s plumbing system in good working condition.
Overview of How to Empty Your RV’s Holding Tanks
Emptying your RV’s holding tanks is a necessary task to maintain a clean and functional RV plumbing system. Follow these steps to ensure a smooth and efficient emptying process:
1. Sewer Hose Connection
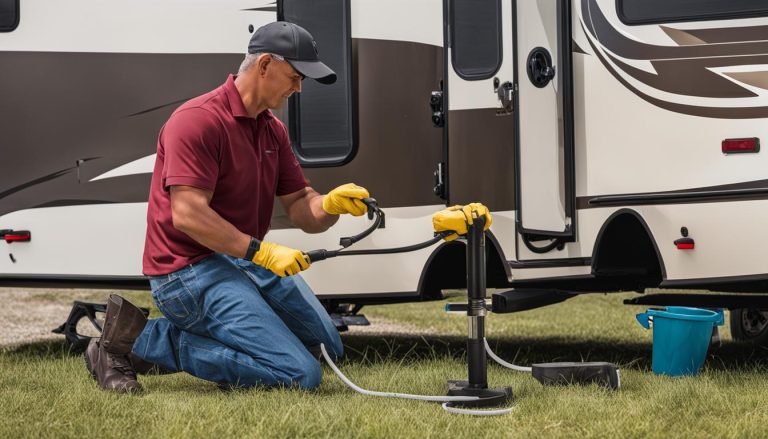
The first step is to properly connect your sewer hose to the RV’s sewage hookup. Make sure the connection is secure to prevent any leaks or mess.
2. Dump Black Water First
When emptying your holding tanks, always start by dumping the black water tank, which holds waste from the toilet. This is done to prevent any gray water, which is relatively cleaner, from getting into the hose.
3. Dump Gray Water Second
After emptying the black water tank, proceed to dump the gray water tank. The gray water tank contains wastewater from your sinks and shower.
4. Freshwater Flush
Perform a preliminary freshwater flush after emptying both the black and gray water tanks. This is done by running water in your sinks and toilet to flush out any remaining residue and ensure a cleaner tank.
5. Proper Handling of Sewer Hose
When handling the sewer hose, always exercise caution to avoid any leaks or mess. Make sure to follow the manufacturer’s instructions for disconnecting and storing the hose properly.
Repeat these steps as needed to completely empty your RV’s holding tanks. Regularly emptying and maintaining your tanks is essential for an odor-free and hygienic RVing experience.
Knowing When and Where to Empty Your RV’s Holding Tanks
When it comes to emptying your RV’s holding tanks, timing and location are key factors. By understanding the best time and place to empty your tanks, you can ensure a convenient and considerate experience for yourself and other RVers.
The best time to empty your tanks is when they are almost full. Waiting until they reach near full capacity ensures that you maximize the use of your tank and minimize the frequency of emptying. This approach helps to maintain a consistent flow and prevents unnecessary trips to the dump station or campground site.
If you are staying at a campground, it is best to use the designated dump station on-site. Most campgrounds provide convenient access to dump stations, equipped with proper facilities for emptying your tanks. By utilizing the campground’s facilities, you ensure a smooth process while respecting the campground’s rules and regulations.
When using a dump station, it’s essential to be mindful of other RVers. Avoid unnecessarily blocking the station and be efficient in emptying your tanks. Considerate and efficient use of the dump station helps prevent congestion and allows others to empty their tanks promptly.
If you have access to a septic tank on your property, it can be a convenient option for emptying your tanks. Using your septic tank provides you with the flexibility and ease of emptying your tanks at any time. However, it is crucial to follow legal requirements and dispose of black tank waste properly to protect the environment and comply with local regulations.
To ensure compliance, check the legal requirements for dumping your black tank in your area. Some locations may have specific guidelines or restrictions on where you can empty your tanks. Familiarize yourself with these regulations to avoid any potential issues or violations.
By knowing the best time and place to empty your RV’s holding tanks, whether at a campground, dump station, or your own septic tank, you can make the process more convenient and considerate for yourself and others. Remember to always adhere to legal requirements and dispose of your black tank waste responsibly.
Key Points:
- Empty your tanks when they are almost full to maximize their use and minimize the frequency of emptying.
- Utilize the campground’s dump station for convenient access and compliance with campground rules.
- Be considerate of other RVers by efficiently emptying your tanks at the dump station.
- If available, use a septic tank on your property for easy and flexible tank emptying.
- Check the legal requirements for dumping your black tank in your area to ensure compliance.
Tips and Tricks for Black Tank Maintenance
Regular maintenance of your black water tank is essential to ensure a hassle-free RV experience. By following a few simple tips, you can keep your tank clean and avoid unpleasant odors.
First and foremost, use RV-friendly toilet paper to prevent clogs and promote easy dissolution. RV-specific toilet paper is designed to break down quickly, reducing the risk of blockages in your tank.
Cleaning your black water tank on a regular basis is also crucial. It’s recommended to clean the tank every time it reaches capacity or before storing your RV for a prolonged period. By doing so, you prevent the build-up of waste and ensure a clean and odor-free tank for your next adventure.
The benefits of regular black tank maintenance are numerous. Aside from preventing odors, it also helps to extend the lifespan of your tank and its components. Additionally, by keeping your tank clean, you minimize the risk of clogs and potential damage to your plumbing system, saving you from costly repairs down the line.
Cleaning your black water tank is easier than you might think. There are several methods and products available to help facilitate the process. Whether you choose to use commercial black tank cleaning solutions or opt for homemade alternatives, regular maintenance allows for easier and more effective cleaning, ensuring a smooth and trouble-free RV journey.
FAQ
How do you empty the black water tank on an RV?
To empty the black water tank on an RV, connect your sewer hose to the hookup, dump the black water tank first, followed by the gray water tank, and perform a freshwater flush by running water in your sinks and toilet.
What are RV holding tanks?
RV holding tanks are the gray water tank and the black water tank. The gray water tank holds wastewater from sinks and showers, while the black water tank holds waste from the toilet.
How do you clean an RV black water tank?
To clean an RV black water tank, use a built-in or aftermarket flush valve to flush the tank. You can also use black tank cleaning solutions or make your own using borax, dish soap, or baking soda and hydrogen peroxide. Some RVers also use the ice method, which involves adding ice to the tank and driving to agitate the contents.
When should you empty your RV’s holding tanks?
It’s best to empty your RV’s holding tanks when they are almost full. This helps prevent unpleasant odors and ensures you have enough capacity for future use.
Where should you empty your RV’s holding tanks?
You can empty your RV’s holding tanks at a campground site or dump station. If you have a septic tank on your property, you can also use that as a convenient option. It’s important to follow legal requirements and dispose of black tank waste properly.
How often should you clean your RV black water tank?
It’s recommended to clean your RV black water tank every time it reaches capacity or before storing your RV. Regular maintenance prevents odors and future issues.

