Easy RV Tank Dumping Guide – Quick Tips!
gorvlifestyle.com and its partners may earn a commission if you purchase a product through one of our links
Are you a first-time RVer dreading the task of dumping your RV tanks? Don’t worry, we’ve got you covered! Dumping RV tanks may seem overwhelming at first, but with the right tips and gear, it can be a manageable and hassle-free process. In this guide, we’ll provide you with some quick tips on how to dump RV tanks and ensure clean waste disposal on the road.
Whether you’re emptying your black tank, draining your gray tank, or maintaining your RV sewer system, we’ll walk you through the process step-by-step. From finding RV dump stations to maintaining your tanks, you’ll have all the information you need to handle your RV waste disposal like a pro.
Key Takeaways:
- Wait until your black tank is around two-thirds full before planning your next dump.
- Ensure your RV is leveled before dumping to ensure proper drainage.
- Invest in a high-quality RV sewer hose to avoid leaks or spills.
- Use RV holding tank treatments to maintain cleanliness and odor control.
- Regularly flush your tanks and monitor sensor readings for proper maintenance.
Tips on How to Dump RV Tanks
Properly draining and emptying RV waste tanks is an essential part of RV sewer system maintenance. Follow these tips to ensure a smooth and hygienic dumping process:
- Use the 2/3 Rule: Wait until your RV’s black tank is around two-thirds full before planning your next dump. This prevents overfilling and gives you ample time to find a suitable RV dump station.
- Level the RV Before Dumping: Ensure that your RV is on a level surface before dumping to allow for proper drainage of the tanks.
- Close the Windows: To avoid unpleasant odors, close all windows and turn off fans before starting the dumping process.
- Have Gloves and Disinfecting Wipes: Keep disposable gloves and disinfecting wipes on hand for hygienic handling.
- Invest in a Good RV Sewer Hose: Choose a high-quality RV sewer hose that provides a proper connection and minimizes the risk of leaks or spills.
- Install a Twist-On Waste Valve: Consider installing a twist-on waste valve to prevent spills and act as an additional barrier in case of leaks from the black or gray tanks.
- Dump the Black Tank First: Start by emptying the black tank. Use a black tank sprayer or hose to flush out any residue until the water runs clear.
- Dump the Gray Tank Second: Open the gray tank valve to allow the gray water to help clean out the remaining residue in the sewer hose.
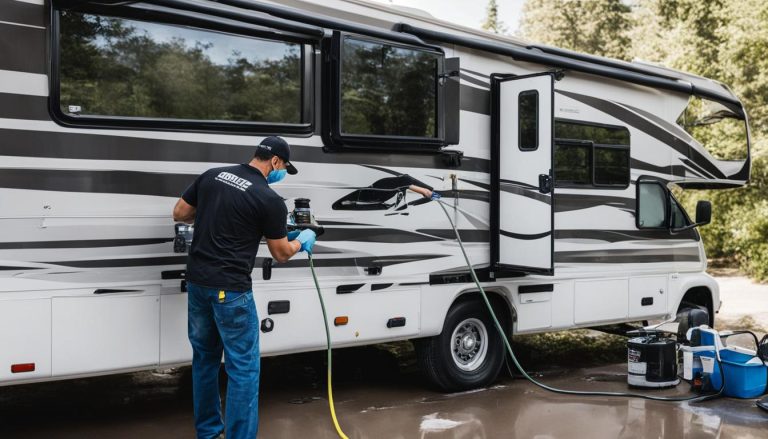
- Spray the Sewer Hose: Before disconnecting, use a non-potable water hose to spray down the sewer hose while it is still connected to the sewer to ensure cleanliness.
- Put Everything Away: Before leaving the dump station, make sure to properly store all equipment and checklists to avoid leaving anything behind.
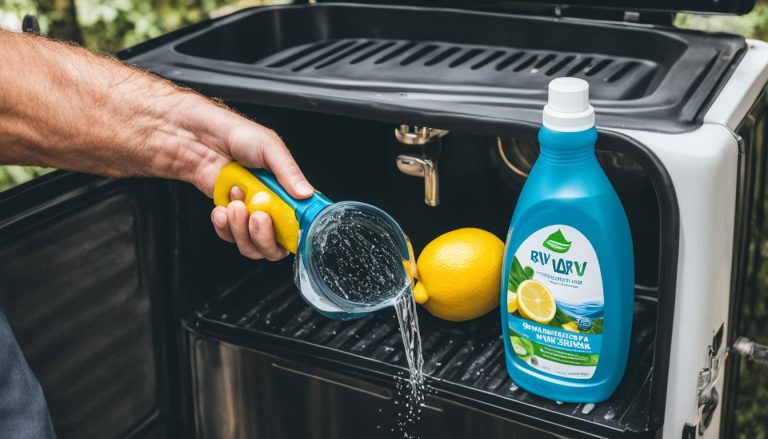
- Treat the Holding Tanks: Use RV holding tank treatments regularly to maintain the cleanliness and odor control of the tanks.
| Tip | Description |
|---|---|
| 2/3 Rule | Wait until your RV’s black tank is around two-thirds full before planning your next dump. |
| Level the RV | Ensure that your RV is leveled before dumping to ensure proper drainage of the tanks. |
| Close the Windows | To avoid unpleasant odors, make sure to close all windows and turn off fans before beginning the dumping process. |
| Have Gloves and Disinfecting Wipes | Keep disposable gloves and disinfecting wipes handy for hygienic handling during the dumping process. |
| Have a Good RV Sewer Hose | Invest in a high-quality RV sewer hose to ensure proper connection and avoid leaks or spills. |
| Use a Twist-On Waste Valve | Installing a twist-on waste valve can prevent spills and serve as an additional gate in case of any leaks from the black or gray tanks. |
| Dump the Black Tank First | Start by emptying the black tank, and use a black tank sprayer or hose to flush out any residue until the water runs clear. |
| Dump the Gray Tank Second | Open the gray tank valve to allow the gray water to help clean out the black tank residue in the sewer hose. |
| Spray the Sewer Hose | Use a non-potable water hose to spray down the sewer hose while it is still connected to the sewer to ensure cleanliness. |
| Put Everything Away | Before leaving the dump station, make sure to put away all the equipment and checklists to avoid any items getting left behind. |
| Treat the Holding Tanks | Use RV holding tank treatments to maintain the cleanliness and odor control of the tanks. |
How to Find RV Dump Stations
Finding a suitable RV dump station is crucial for proper waste disposal on the road. Here are some ways to find RV dump stations:
- Use Allstays: Allstays is a helpful app that allows you to filter and locate RV dump stations near your location.
- Check RV Parks and Resorts: Many RV parks and resorts offer dump stations as part of their amenities. Some may charge a fee, while others include it in the nightly rate.
- National Park Campgrounds: Some national park campgrounds have RV dump stations available. Check the specific campground’s website or contact them for information.
- Truck Stops and Gas Stations: Many truck stops and gas stations have RV dump stations, but they usually charge a fee for usage.
- RV Dealers and Supply Stores: Local RV dealerships and supply stores may have dump stations available for use. Contact them in advance to inquire about any fees or restrictions.
- Cabela’s and Bass Pro Shops: Some Cabela’s and Bass Pro Shop locations have SaniDumps where you can pay a fee or get a code from the cashier.
- Welcome Centers: Welcome centers sometimes have free RV dump stations available, although the quality may vary.
| Dump Station Location |
Availability | Cost |
|---|---|---|
| Allstays | Online | Free |
| RV Parks and Resorts | On-site | Varies (included in some nightly rates) |
| National Park Campgrounds | On-site | Varies (check specific campground) |
| Truck Stops and Gas Stations | On-site | Varies (usually a fee) |
| RV Dealers and Supply Stores | On-site | Varies (inquire about fees) |
| Cabela’s and Bass Pro Shops | On-site | Varies (pay a fee or get a code) |
| Welcome Centers | On-site | Varies (free, quality may vary) |
Note: Availability and cost may vary depending on location and specific circumstances. Always check with the respective sources for the most accurate and up-to-date information.
By utilizing these resources, you can easily locate RV dump stations to ensure proper waste disposal during your travels.
Dumping RV Tanks at Home
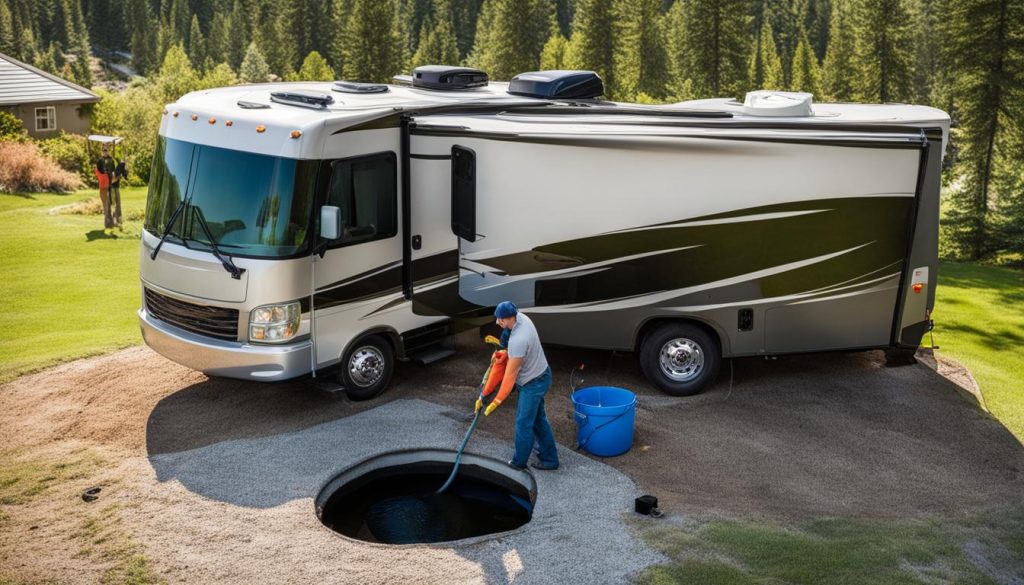
Dumping RV tanks at home can be a convenient option for some RV owners. However, it is important to check local laws and regulations before choosing this option. Here are three common methods for emptying RV tanks at home:
- The Bucket Method: This method is suitable for smaller amounts of waste and involves collecting the waste in a bucket and pouring it into a home cleanout or septic tank access port.
- The Macerating Method: Using a macerator pump, the waste is macerated into a finer consistency before being emptied into a home cleanout or septic tank access port via a garden hose.
- Dumping into Cleanout Port: If your home has a cleanout port connected to a septic tank or city sewer system, you can directly empty the tanks into this port using a sewer hose.
Expert Tip:
“Before attempting to dump your RV tanks at home, always ensure that you familiarize yourself with the local regulations regarding waste disposal. This will help you avoid any potential legal issues and ensure that you’re doing it in a safe and responsible manner.”
Maintaining Your RV Septic System
Proper maintenance of your RV septic system is essential for trouble-free operation. Follow these tips to maintain your RV tanks and ensure smooth waste disposal:
- Regular Flushing: Regularly flush your tanks to prevent waste buildup and maintain proper functioning. Use water to clean out the tanks periodically.
- Use Tank Treatments: Control odors and aid in breaking down waste in the tanks by using RV tank treatments.
- Use Single-Ply Toilet Paper: To prevent clogs in the black tank, avoid using thick or multi-ply toilet paper.
- Sanitize the Tanks: Periodically sanitize the tanks using recommended cleaners or a diluted bleach solution made from household bleach and water.
- Clean the Tanks: Flush the tanks with water and use a garden hose or specialized cleaning tools to remove any buildup or residue.
- Pay Attention to Sensor Readings: Monitor the sensor readings of your tanks, although they may not always be accurate. Empty the tanks when they reach around two-thirds full to prevent overflow.
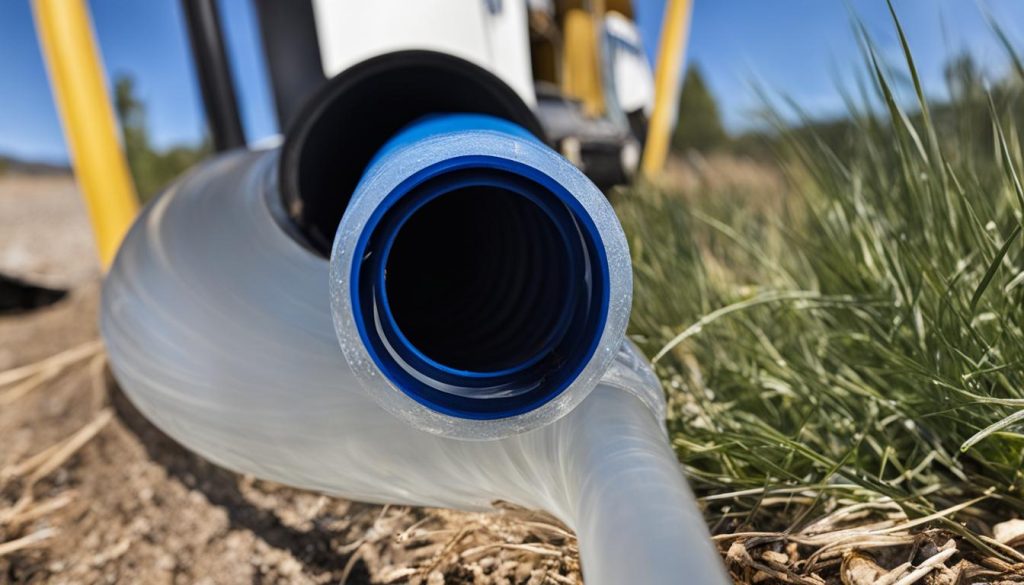
Proper maintenance is key to the longevity and effective operation of your RV septic system. By following these tips, you can ensure a smooth and hassle-free experience while on the road.
Additional Tips for RV Waste Disposal
When it comes to RV waste disposal, there are some additional tips that can help you maintain a clean and efficient system. Here are a few strategies to consider:
1. Use Enzyme or Bacteria Treatments: Adding enzyme or bacteria-based treatments to your RV holding tanks can help break down waste and promote proper functioning. These treatments are designed to reduce odors and prevent clogs, keeping your tanks in good condition.
2. Avoid Dumping Inappropriate Materials: It’s important to only dispose of waste and toilet paper in your RV’s black tank. Dumping other materials, such as paper towels or feminine hygiene products, can lead to clogs and damage the system. Be mindful of what goes into the tank to avoid unnecessary issues.
3. Be Mindful of Weather: Extreme weather conditions can impact your RV sewer system. In freezing temperatures, take precautions to prevent the tanks from freezing, such as using tank heaters or adding antifreeze to the system. In extreme heat, be mindful of odor control by using treatments and keeping tank vent caps closed.
4. Monitor Tank Levels: Regularly monitoring your tank levels is important for proper maintenance. Avoid overfilling the tanks by emptying them before reaching maximum capacity. Plan for regular dumping based on your usage to prevent any potential issues.
5. Follow Local Regulations: Always adhere to local laws and regulations regarding RV waste disposal. Some areas have specific guidelines on where and how you can empty your tanks. By following these regulations, you can avoid fines and help protect the environment.
FAQ
How often should I dump my RV tanks?
It is recommended to wait until your RV’s black tank is around two-thirds full before planning your next dump.
What do I need to have on hand for RV tank dumping?
It is important to have disposable gloves and disinfecting wipes handy for hygienic handling during the dumping process.
In what order should I dump my RV tanks?
Start by emptying the black tank first, followed by the gray tank.
How can I find RV dump stations?
You can use apps like Allstays, check RV parks and resorts, national park campgrounds, truck stops and gas stations, RV dealers and supply stores, or welcome centers.
Can I dump my RV tanks at home?
Yes, but it is important to check local laws and regulations before doing so.
How can I maintain my RV septic system?
Regularly flush your tanks, use tank treatments, use single-ply toilet paper, sanitize the tanks, and clean them periodically.
Any additional tips for RV waste disposal?
Use enzyme or bacteria treatments, avoid dumping inappropriate materials, monitor tank levels, and follow local regulations.

