De-Winterize Your Keystone RV: A Step-by-Step Guide
gorvlifestyle.com and its partners may earn a commission if you purchase a product through one of our links
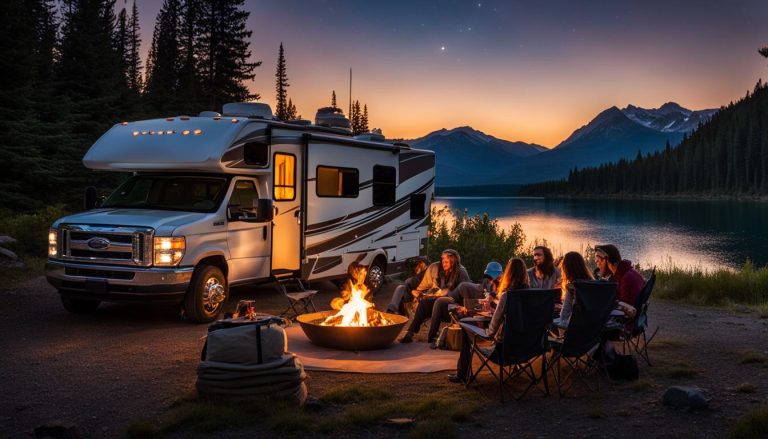
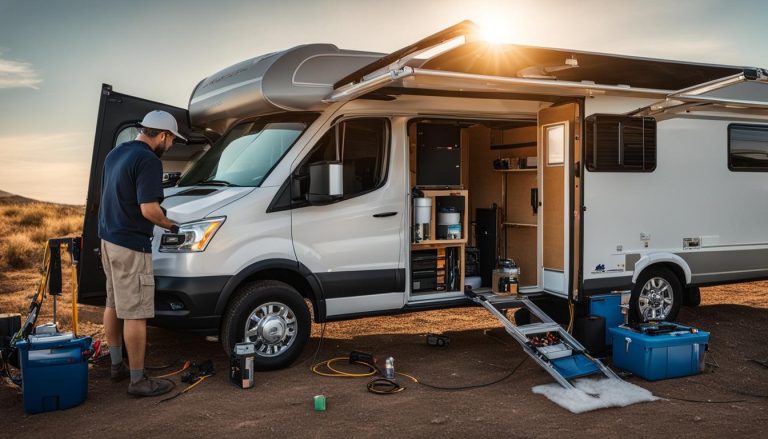
Winterizing your RV is an important step to protect it during the colder months, but now that spring has arrived, it’s time to de-winterize your Keystone RV and get ready for new adventures on the open road. In this step-by-step guide, we will walk you through the process of de-winterizing your RV, ensuring that your rig is primed and ready for your next trip. From preparing the water system to testing and operating appliances, and ensuring the black and gray tanks are ready, we’ve got you covered.
Key Takeaways:
- Follow a step-by-step process to de-winterize your Keystone RV
- Prepare the water system by flushing faucets and restoring the air gap
- Test and operate all appliances, including safety equipment
- Properly prepare the black and gray tanks by adding water and deodorant
- Perform cleaning and maintenance tasks before hitting the road
Preparing the Water System
To ensure your Keystone RV is ready for your upcoming adventures, it’s essential to properly prepare the water system. Follow these steps to de-winterize your water system and get it ready for use:
- Open the low point drains: Locate the low point drains on your RV, usually found underneath the vehicle. Open them to allow any remaining antifreeze and water to drain out.
- Run water through exterior shower and faucets: Turn on the exterior shower and run water through all faucets, both hot and cold, until the water runs clear. This will help flush out any residual antifreeze and ensure clean water in your system.
- Flush the water heater: Follow the manufacturer’s instructions to flush the water heater. This will remove any sediment or buildup that may have accumulated over the winter months.
- Restore the air gap in the water heater: Check the air gap on the water heater and ensure it is properly restored. This prevents backflow and helps maintain the integrity of your water system.
By following these steps, you can de-winterize your water system and have it ready for use in no time. Now you can enjoy clean water during your RV adventures!
Testing and Operating Appliances
Once your water system is de-winterized, it’s time to ensure that all your appliances are in proper working order. Testing and operating your RV appliances after winterization is crucial to make sure everything is functioning as expected. Here’s a checklist of essential steps to follow:
1. Refrigerator
Start by turning on your RV refrigerator and adjusting the temperature setting. Allow it to cool for a few hours and check if it maintains a consistent temperature. Ensure that the door seals properly and there are no leaks.
2. Stove and Oven
Test each burner on the stove to ensure they light and heat evenly. Check the oven for proper functioning, making sure it reaches and maintains the desired temperature. Clean any accumulated grease or debris for optimal performance.
3. Microwave
Operate the microwave and test its different functions. Confirm that it heats food evenly and without any unusual noises or smells. Clean the interior and exterior of the microwave to remove any dirt or stains.
4. Safety Equipment
Inspect and test all safety equipment, including smoke detectors and carbon monoxide detectors, to ensure they are functioning correctly. Replace batteries if necessary and ensure they are within their expiration dates.
Remember to refer to the manufacturer’s instructions for detailed information on operating each appliance properly and safely.
By conducting these tests, you can be confident that your appliances are ready to use and will provide a seamless experience during your RV adventures.
| Appliance | Test Steps |
|---|---|
| Refrigerator | Turn on and adjust temperature setting. Check cooling and door seals. |
| Stove and Oven | Test burners for proper lighting and heating. Check oven temperature and cleanliness. |
| Microwave | Operate and test different functions. Check heating uniformity and clean as needed. |
| Safety Equipment | Inspect and test smoke detectors and carbon monoxide detectors. Replace batteries if necessary. |

With your appliances operating smoothly, you can now enjoy the convenience and comfort they provide during your RV trips. However, it’s important to note that regular maintenance and proper use are essential for their longevity. Refer to the appliance manuals and follow recommended maintenance guidelines to ensure optimal performance throughout your journeys.
Preparing the Black and Gray Tanks
Properly preparing the black and gray tanks in your Keystone RV is an essential step in de-winterizing and getting your RV ready for your next adventure. Follow these steps to ensure that your tanks are clean and ready for use:
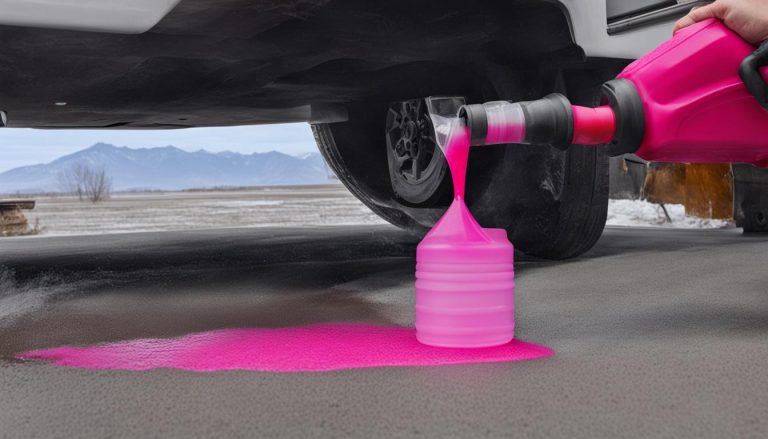
- Start by filling water into the tanks. This will help flush out any remaining antifreeze or debris that may have accumulated over the winter.
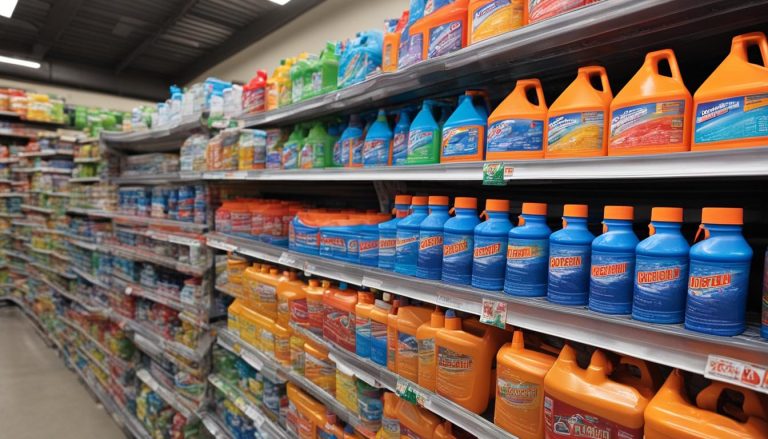
- Add the appropriate amount of deodorant to the tanks. This will help control odors and keep your RV smelling fresh.
- Don’t forget to leave some water in the toilet to cover the seal. This will help prevent any odors from escaping and keep the toilet functioning properly.
By following these steps, you can ensure that your black and gray tanks are clean and ready to handle waste during your travels. Regular maintenance of your tanks is also important to prevent any issues and ensure proper functionality.
Remember to refer to your Keystone RV owner’s manual for specific instructions and guidelines on tank maintenance.

Expert Tip:
Regularly inspect your black and gray tanks for any signs of leaks or damage. It’s also a good idea to use tank treatments and follow proper dumping procedures to maintain the longevity of your tanks.
Cleaning and Maintenance
Before hitting the road, it’s essential to give your RV a thorough cleaning and perform necessary maintenance tasks. Ensuring that your RV is clean and well-maintained not only enhances its visual appeal but also helps to maintain its functionality and longevity. Follow this RV cleaning checklist and incorporate these helpful cleaning tips to get your Keystone RV in top shape:
RV Cleaning Checklist
Use this checklist to efficiently clean your RV:
- Start by decluttering and removing any personal belongings or unnecessary items from the RV.
- Vacuum and sweep the floors to remove dirt, dust, and debris.
- Wipe down all surfaces, including countertops, tables, cabinets, and walls.
- Clean the windows, both inside and outside, using an RV-safe glass cleaner.
- Thoroughly clean the kitchen area, including the stove, oven, sink, and refrigerator.
- Clean the bathroom, including the toilet, shower, and sink.
- Wash the bedding, curtains, and any fabric upholstery.
- Don’t forget to clean the exterior of your RV, including the awnings, windows, and tires.
By following this comprehensive RV cleaning checklist, you can ensure that your RV’s interior and exterior are spotless, creating a pleasant and inviting environment for your future adventures.
Inspecting the RV Exterior
In addition to cleaning, it’s essential to inspect the exterior of your RV for any signs of damage or wear. Conducting a thorough exterior inspection can help identify existing problems that may need immediate attention and prevent potential issues from escalating.
- Look for any cracks or damage to the RV’s body, windows, or roof.
- Check the condition of the tires, including the tread depth and tire pressure.
- Inspect the lights, including headlights, taillights, and blinkers, to ensure they are functioning correctly.
- Examine the awnings and slide-out mechanisms for any signs of wear or damage.
If you come across any issues during the inspection, make sure to address them promptly. Timely repairs and maintenance can help prevent further damage and ensure a safe and enjoyable RVing experience.
| Maintenance Tasks | Recommended Frequency |
|---|---|
| Check and replace air filters | Every 3 months |
| Inspect and clean the RV’s roof | Twice a year |
| Lubricate slide-out mechanisms | Annually |
| Test smoke and carbon monoxide detectors | Monthly |
| Flush and sanitize the freshwater tank | At the beginning and end of the camping season |
Regular maintenance is key to keeping your RV in optimal condition and avoiding costly repairs down the road. Refer to this RV maintenance checklist to ensure you stay on top of essential maintenance tasks:
Cleaning and Maintenance Tips for your Keystone RV
“Maintaining a clean and well-maintained RV not only improves its appearance but also enhances its performance and prolongs its lifespan. By following these cleaning tips and performing regular maintenance, you can ensure that your Keystone RV remains in top shape throughout your travels.”
With proper cleaning and maintenance, your Keystone RV will be ready to hit the road and provide you with memorable adventures for years to come.
DIY Repairs and Upgrades
If you’re looking to take on some DIY repairs or upgrades for your Keystone RV, there are plenty of resources available. Keystone RV offers a series of instructional videos that cover a range of repairs and upgrades, from replacing clearance lights to updating your RV’s blinds and shades. These videos provide step-by-step instructions and expert tips to help you tackle projects on your own.
One of the most common DIY repairs for RV owners is fixing minor leaks or cracks in the exterior walls or roof. With the help of Keystone RV’s maintenance videos and some basic tools, you can easily patch up any damaged areas and ensure that your RV stays watertight.
RV DIY Repairs and Maintenance Tips
- Inspecting and cleaning RV windows, seals, and slides
- Recaulking and resealing joints and seams
- Replacing or repairing damaged RV furniture or cabinetry
- Upgrading RV lighting fixtures and bulbs to more energy-efficient options
RV Upgrade Ideas
If you’re looking to enhance your RV experience, there are a variety of upgrades you can consider:
- Installing solar panels for off-grid power
- Upgrading your RV’s entertainment system with a smart TV, soundbar, or streaming device
- Adding a backup camera for easier maneuverability
- Installing a leveling system for more stability when parked
Remember, before attempting any DIY repairs or upgrades on your Keystone RV, it’s essential to familiarize yourself with the proper techniques and safety precautions. Always consult the manufacturer’s manuals and guidelines to ensure you’re following the correct procedures.
| Repair/Upgrade | Description | Difficulty Level |
|---|---|---|
| Replacing clearance lights | Upgrade your RV’s exterior lighting by replacing old or broken clearance lights. | Easy |
| Updating blinds and shades | Give your RV’s interior a fresh look by updating outdated or damaged blinds and shades. | Moderate |
| Installing solar panels | Reduce your reliance on campground electricity by installing solar panels on the roof of your RV. | Advanced |
RV Maintenance Tips
Maintaining your Keystone RV is essential to keep it in optimal condition and ensure a smooth and enjoyable travel experience. From regular roof care to winterization tips, here are some key maintenance tasks to keep in mind.
Firstly, caring for your RV’s roof is crucial to prevent leaks and damage. Regularly inspect the roof for any signs of cracks or loose seals. Clean the roof with mild soap and water, avoiding harsh chemicals that can cause damage. Applying a protective sealant can help extend the lifespan of your RV’s roof and enhance its durability.
Next, proper winterization is essential to protect your RV during the colder months. Follow a comprehensive winterization checklist to ensure that all water systems are prepared, including draining and flushing the water lines, adding antifreeze, and protecting the water heater. This will safeguard your RV from freezing temperatures and potential damage.
Condensation and moisture control is another crucial aspect of RV maintenance. To avoid excessive condensation, ensure proper ventilation in your RV by opening windows or using ventilation fans. Use dehumidifiers or moisture-absorbing products to keep humidity levels in check. Regularly inspect and address any signs of moisture or mold to prevent further damage.
Lastly, don’t forget about maintaining your RV’s slide-outs. Clean and lubricate the slide-out mechanisms regularly to ensure smooth operation. Inspect the seals and gaskets for any signs of wear or damage, and replace them if necessary. Proper slide-out maintenance will prolong their lifespan and prevent any unexpected malfunctions.
FAQ
How do I de-winterize my Keystone RV?
To de-winterize your Keystone RV, start by preparing the water system, testing and operating appliances, preparing the black and gray tanks, cleaning and performing maintenance tasks, and considering DIY repairs or upgrades. Follow our step-by-step guide for detailed instructions and best practices.
What steps should I take to prepare the water system in my Keystone RV?
To prepare the water system in your Keystone RV, open the low point drains, run water through the exterior shower and all the faucets until the water runs clear, flush the water heater, and restore the air gap. This will ensure that your water system is free of any residual antifreeze and ready for use.
How do I test and operate the appliances in my Keystone RV?
Testing and operating the appliances in your Keystone RV is essential. Check the functionality of the refrigerator, stove, oven, microwave, and any other appliances in your RV. Don’t forget to inspect and test safety equipment such as smoke detectors and carbon monoxide detectors to ensure they are in proper working order.
What steps should I take to prepare the black and gray tanks in my Keystone RV?
To prepare the black and gray tanks in your Keystone RV, fill water into the tanks and add the appropriate amount of deodorant. Leave some water in the toilet to cover the seal. These steps will help ensure that your tanks are clean and ready for use.
How should I clean and perform maintenance tasks on my Keystone RV?
Before hitting the road, give your Keystone RV a thorough cleaning. Wipe down all surfaces, load your equipment and belongings, and sweep out any dirt or debris. Take the time to inspect the exterior of your RV for any signs of damage or wear and make any necessary repairs.
Are there resources available for DIY repairs and upgrades for my Keystone RV?
Yes, Keystone RV offers a series of instructional videos that cover a range of repairs and upgrades. These videos provide step-by-step instructions and expert tips, from replacing clearance lights to updating your RV’s blinds and shades, to help you tackle projects on your own.
What are some maintenance tips for my Keystone RV?
Regular maintenance is crucial to keep your Keystone RV in top shape. Take care of your RV’s roof, properly winterize it, and understand how to deal with condensation and moisture. Keystone RV offers a range of maintenance videos that provide valuable tips and guidance to help you maintain and care for your RV properly.