Efficient RV Black Tank Cleaning Guide
gorvlifestyle.com and its partners may earn a commission if you purchase a product through one of our links
Cleaning your RV’s black tank is an essential part of RV maintenance to prevent odors and ensure proper functioning. Neglecting to clean the black tank can lead to unpleasant smells and sensor malfunctions. In this guide, we will provide you with the best methods for efficiently cleaning your RV’s black tank, ensuring hassle-free journeys and peace of mind.
Key Takeaways:
- Regularly cleaning your RV’s black tank is crucial to prevent odors and malfunctions.
- Use RV-safe toilet paper and avoid flushing anything that can cause blockages.
- Enzyme-powered holding tank cleaners are the easiest and most effective way to clean your black tank.
- Proper maintenance includes keeping at least 5 gallons of water in the tank, avoiding harsh chemicals, and keeping gate valves closed until they are more than half full.
- Follow a step-by-step guide to ensure a thorough cleaning of your black tank.
Tips for Maintaining Your RV’s Holding Tanks
To keep your RV’s black tank clean and performing at its best, there are a few maintenance tips to follow:
- Always keep at least 5 gallons of water in your holding tank to prevent buildup and avoid drying out.
- Use RV-safe toilet paper to avoid clogs and ensure easy breakdown.
- Avoid flushing anything that can cause blockages, such as wipes, feminine hygiene products, or excessive amounts of toilet paper.
- Avoid using harsh chemicals or bleach in your black tank, as they can damage the tank and seals.
- Keep your gray and black tank gate valves closed until they are more than half full. This prevents the tanks from drying out and ensures there is enough weight to push everything out when emptying the tanks.
By following these maintenance tips, you can ensure that your RV’s black tank remains clean, odor-free, and in good working condition for your future adventures.
Why Is Maintenance Important?
Maintaining your RV’s holding tanks, especially the black tank, is crucial for a smooth and enjoyable camping experience. Neglecting proper maintenance can lead to clogs, odors, and even costly repairs. By implementing these tips, you can prevent unpleasant surprises and keep your black tank functioning optimally.
The Easiest Way to Clean RV Holding Tanks
Cleaning your RV’s black tank is crucial for maintaining a hygienic and odor-free recreational vehicle. To ensure an efficient and hassle-free cleaning process, the easiest and most effective method is to use enzyme-powered holding tank cleaners. These enzymatic tank cleaning products are specifically designed to break down and liquefy waste and buildup in your black and gray tanks, making them a reliable choice for RV owners.
Some highly recommended enzyme-powered holding tank cleaners include:
- Super Seal Pirranha
- Thetford Tank Blaster
- Walex CMDOBG Commando Black Holding Tank Cleaner
These products should be used overnight while your RV is hooked up to sewer services. Simply follow the manufacturer’s instructions and fill your tanks to more than 75% of their capacity. After that, empty the tanks and flush them with water. For a thorough clean, repeat the process in the morning. This method ensures the complete breakdown of waste and buildup, leaving your black tank clean and fresh, ready for your next adventure.

Note: Always remember to read and follow the instructions provided by the manufacturer of the holding tank cleaner.
Selecting the Right Materials for Black Tank Maintenance
Before cleaning your black tank, it’s important to have the right materials on hand. Making the right choices can simplify the cleaning process and ensure the longevity of your RV’s black tank. Here are some key considerations:
Flushing Method
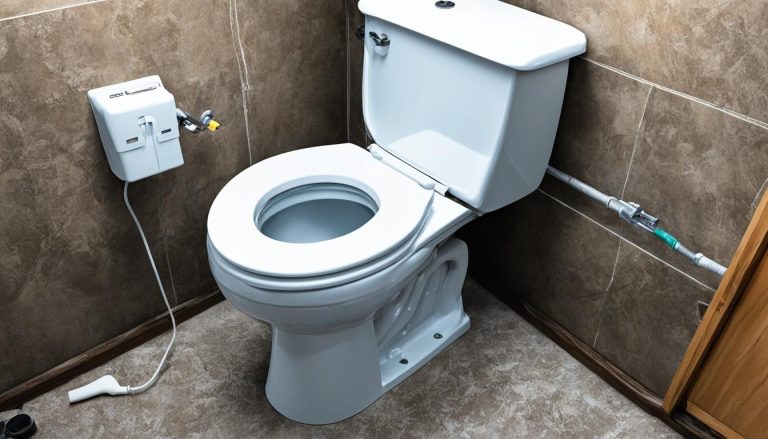
If your RV has a built-in flush valve, you’re in luck! Simply connect a hose to the flush valve and use it to flush out your black tank. This method provides an efficient and convenient way to clean the tank.
If your RV doesn’t have a built-in flush valve, you can consider purchasing a tool like the Camco Swivel Stick. This handy tool attaches to your toilet and allows you to clean the tank from the inside. It’s a great alternative for RVs without a built-in flush valve.
Treatment Product
In addition to a flushing method, you’ll need a treatment product for your black tank. There are a variety of commercial black tank cleaning solutions available in the market. These products are specifically formulated to break down waste and control odors in your black tank.
If you prefer a DIY approach, you can make your own black tank cleaner using household ingredients. Borax, Dawn dish soap, baking soda, or hydrogen peroxide can be used to create effective cleaning solutions. These homemade cleaners are cost-effective and environmentally friendly.
Remember to avoid using bleach or harsh chemicals when cleaning your black tank. These substances can damage the tank and plumbing system, leading to costly repairs down the line.
By selecting the right materials for black tank maintenance, you can ensure a smooth and effective cleaning process, prolonging the lifespan of your RV’s black tank.
Step-by-Step Guide for Cleaning Your RV’s Black Tank
Cleaning your RV’s black tank is an important task that ensures proper functioning and eliminates unpleasant odors. Follow these six simple steps to effectively clean your RV’s black tank and maintain a hygienic environment for your adventures.
- Step 1: Draining the Tank
- Step 2: Flushing the Tank
- Step 3: Repeat Flushing if Necessary
- Step 4: Rinse the Gray Water Tank
- Step 5: Equipment Cleaning and Storage
- Step 6: Adding Water and Black Tank Treatment
Begin by draining the black tank when it is between 1/2 to 2/3 full. Locate an approved dumping location and empty the tank completely.
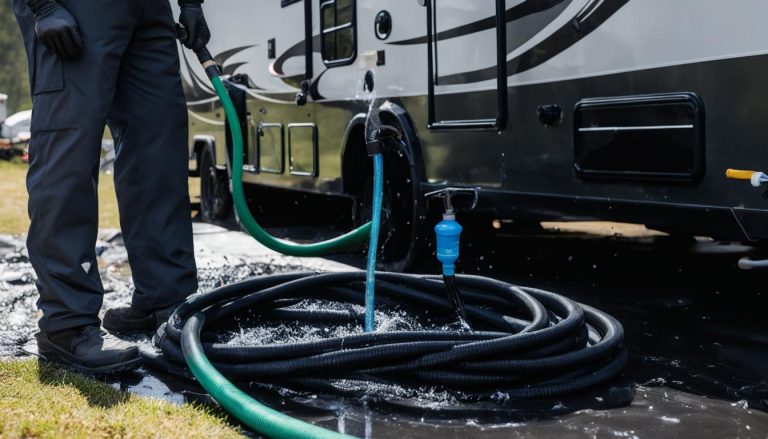
After draining, it’s time to flush the tank to remove any remaining waste and buildup. Depending on your RV’s equipment, you can use a flush valve, a built-in rinsing system, or a rinsing wand. Make sure to thoroughly clean all areas of the tank.
In some cases, you may need to repeat the flushing process multiple times until the water runs clear. This ensures that all waste and debris are completely removed from the tank.
Next, it’s recommended to rinse your gray water tank. This step helps clean the sewer hose used and prevents any remaining sewage solids from causing issues. Properly rinsing the gray water tank ensures a more thorough cleaning process.
After completing the cleaning process, it’s important to clean and properly store all equipment used. This includes rinsing the flush valve, rinsing wand, or any other tools used during the cleaning process. Ensure that all equipment is properly dried and stored in a clean and organized manner.
To maintain a clean black tank for future use, it’s essential to add water and a black tank treatment. Adding water helps prevent dryness and keeps the tank’s sensors functioning properly. Using a black tank treatment product helps break down waste, control odors, and maintain a healthy tank environment.
By following these step-by-step instructions, you can effectively clean your RV’s black tank and ensure a pleasant and hassle-free camping experience. Regular cleaning and maintenance of your black tank will help prevent clogs and malfunctions, allowing you to enjoy your RV adventures to the fullest.

The Importance of Regular Cleaning and Maintenance
Regular cleaning and maintenance of your RV’s black tank are crucial to prevent clogs, malfunctions, and odors. Neglecting to clean the black tank can lead to costly repairs and potential accidents. It’s important to clean the black tank every time it is filled or when you’re ready to dump. Additionally, proper maintenance includes using RV-safe toilet paper, avoiding flushing anything that can cause blockages, and keeping the tank and sensors in good condition. By following these practices, you can ensure a clean and well-maintained black tank for hassle-free RV journeys.
Expert Tips for Cleaning and Care of RV Holding Tanks
To optimize the cleaning and care of your RV’s holding tanks, it’s recommended to track your maintenance using online tools like RV LIFE Maintenance. These tools allow you to keep all documents in one place and receive timely reminders for maintenance tasks.
When cleaning your black tank, it’s important to be considerate of other RVers. Choose appropriate locations like campgrounds or empty dump stations to minimize any disruptions or inconveniences.
Another important tip is to use the correct RV toilet paper. Ordinary toilet paper may not break down properly, leading to clogs and other issues. Look for RV-safe toilet paper that is specifically designed to dissolve easily in the RV’s holding tanks.
Additionally, avoid flushing wipes or sanitary products down the toilet. These items can cause blockages and damage the tank and plumbing system. Stick to flushing only toilet paper and waste to keep your black tank clean and free of obstructions.
FAQ
How often should I clean my RV’s black tank?
It is recommended to clean your RV’s black tank every time it is filled or when you’re ready to dump.
What can I use to clean my RV’s black tank?
You can use enzyme-powered holding tank cleaners or DIY solutions using household ingredients like borax, Dawn dish soap, baking soda, or hydrogen peroxide.
How do I clean my RV’s black tank?
To clean your black tank, drain it when it is between 1/2 to 2/3 full, flush the tank using a flush valve or a rinsing wand, and repeat the process until the water runs clear.
Can I use bleach to clean my RV’s black tank?
It is best to avoid using bleach or harsh chemicals, as they can damage your tank and plumbing system.
How do I prevent odors in my RV’s black tank?
To prevent odors, always keep at least 5 gallons of water in your holding tank, use RV-safe toilet paper, and avoid flushing anything that can cause blockages.
How do I maintain my RV’s black tank?
Besides regular cleaning, maintain your black tank by using RV-safe toilet paper, avoiding blockage-causing flushes, and keeping the tank and sensors in good condition.
Can I track my RV’s black tank maintenance?
Yes, you can use online tools like RV LIFE Maintenance to track your maintenance and receive timely reminders.
Where should I clean my RV’s black tank?
Choose appropriate locations like campgrounds or empty dump stations to clean your black tank and be considerate of other RVers.