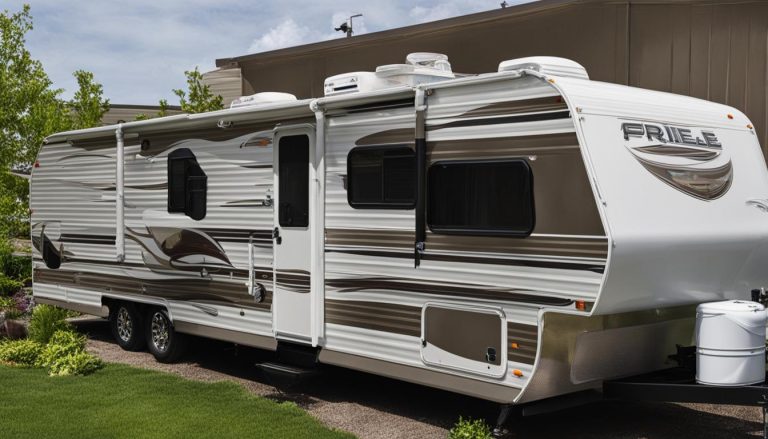
Easy Steps to Check Your RV AC Unit
gorvlifestyle.com and its partners may earn a commission if you purchase a product through one of our links
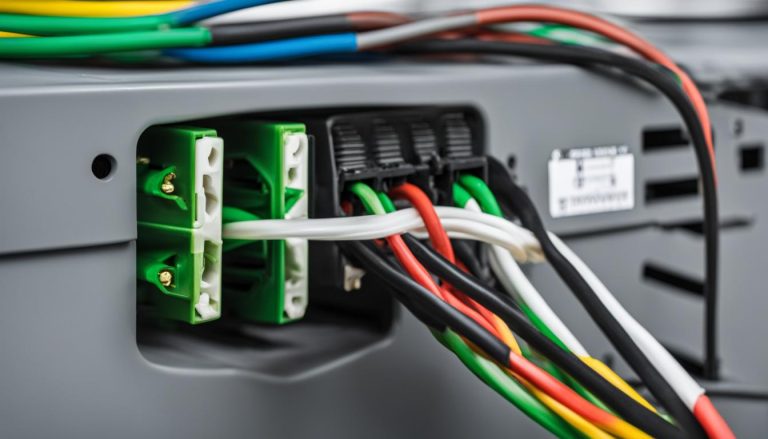
To ensure your RV air conditioner is working properly before your trip, follow these easy steps. First, make sure the power to the RV is off. Inspect the filters for cleanliness or damage and check the fins on the condenser coils for cleanliness and damage. Once everything looks good, turn the power back on and set the AC to high cool. Let it run for at least 15 minutes with all ducts open. Position a thermometer at the AC return and measure the temperature of the air entering the unit. Then, position the thermometer at the closest duct to the unit and measure the temperature of the conditioned air. The temperature difference between the two should be between 16 to 22 degrees, indicating proper operation. For more detailed instructions, you can refer to the downloadable tip sheet provided.
Key Takeaways:
- Make sure the power is off before conducting any inspections.
- Inspect the filters and condenser coils for cleanliness and damage.
- Measure the temperature difference between the air entering the unit and the conditioned air.
- A temperature difference of 16 to 22 degrees indicates proper operation.
- Download the tip sheet for more detailed instructions.
Troubleshooting RV AC Problems
If you encounter any problems with your RV air conditioner, there are several troubleshooting steps you can take:
- Check the battery voltage and ensure there are no loose connections or corrosion.
- Make sure you are not exceeding your RV’s power capabilities by operating other high-wattage appliances simultaneously.
- Inspect the ductwork and seals for leaks or gaps that could affect airflow.
- Keep the fan speed set on high to prevent the evaporator coils from freezing.
- If your air conditioner continuously trips the breaker, check for low voltage and adjust your power usage accordingly.
- Consider using a dehumidifier to reduce moisture in the air, as humidity can impact AC performance.
By following these steps, you can effectively troubleshoot common issues with your RV AC unit and ensure its optimal functioning.
Signs of a Faulty RV AC Unit
It’s important to be aware of the signs that indicate a faulty RV AC unit:
- Inadequate cooling or reduced airflow
- Strange noises or vibrations
- Unusual odors coming from the vents
- Frequent cycling on and off
- Increased energy consumption
If you notice any of these signs, it’s recommended to further examine your RV AC unit to identify and address any potential issues.
“Regular maintenance and troubleshooting can help prevent major problems with your RV air conditioner and ensure your comfort while on the road.”
Steps to Examine Your RV AC Unit
When examining your RV AC unit, consider the following steps:
- Inspect the exterior of the unit for any visible damage or debris.
- Clean or replace the air filters to maintain proper airflow.
- Check the condenser coils for dirt or debris and clean if necessary.
- Ensure all electrical connections are tight and secure.
- Inspect the thermostat settings and adjust if needed.
- Listen for any unusual sounds or vibrations during operation.
A visual representation of the steps to examine your RV AC unit can be seen in the table below:
| Steps to Examine Your RV AC Unit |
|---|
| Inspect exterior for damage or debris |
| Clean or replace air filters |
| Check condenser coils and clean if necessary |
| Ensure tight and secure electrical connections |
| Inspect and adjust thermostat settings |
| Listen for unusual sounds or vibrations |
Maximizing Efficiency and Performance
To maximize the efficiency and performance of your RV air conditioner, follow these maintenance tips:
- Regularly clean or replace the air filters: Clean filters ensure proper airflow and prevent debris from entering the unit.
- Inspect and clean the condenser coils: Regularly check and clean the condenser coils to remove any dirt or debris that may restrict air circulation. This will enhance the cooling efficiency of your RV AC unit.
- Keep the fan speed set on high: Set the fan speed on high to promote better airflow across the evaporator coils. This will ensure efficient cooling and prevent the coils from freezing.
- Use a dehumidifier inside your RV: Use a dehumidifier to reduce humidity levels inside your RV. Excess humidity can lead to frozen coils and decreased cooling capacity.
- Consider using the air dump feature: The air dump feature allows the cool air to dump straight down into the RV, rather than using individual registers. This can improve overall cooling efficiency.
- Run the air conditioner with the generator before arriving at the campground: Running the air conditioner with the generator prior to reaching the campground helps reduce the initial heat load on the unit, allowing for faster and more efficient cooling.
By following these maintenance tips, you can ensure your RV air conditioner operates at its best, providing efficient cooling and a comfortable climate during your travels.
| Maintenance Tips | Benefits |
|---|---|
| Regularly clean or replace air filters |
|
| Inspect and clean condenser coils |
|
| Keep fan speed set on high |
|
| Use a dehumidifier inside your RV |
|
| Consider using the air dump feature | Improves overall cooling efficiency |
| Run the AC with the generator before arriving at the campground |
|
Common Issues with RV AC Units
RV air conditioners can experience several common issues that may affect their performance and efficiency. By understanding these issues, you can troubleshoot and resolve them promptly, ensuring a comfortable environment during your travels.
Lack of Power
One of the most common issues with RV AC units is a lack of power. This can result from battery voltage problems or exceeding the power capabilities of your RV. To address this issue, you can check the battery voltage and ensure there are no loose connections or corrosion. Additionally, avoid running other high-wattage appliances simultaneously to prevent overloading the power supply.
Airflow Problems
Poor airflow can greatly impact the cooling efficiency of your RV AC unit. It can be caused by dirty filters, dirty condenser coils, or leaks in the ductwork. Regularly inspect and clean the filters to ensure proper airflow. Additionally, clean the condenser coils to remove any dirt or debris that may restrict air circulation. It’s also important to check for any leaks or gaps in the ductwork and seal them appropriately.
Low Voltage and Tripping Breaker
Low voltage can lead to your RV AC unit tripping the breaker frequently. It’s essential to check the voltage supply and adjust your power usage accordingly. If the voltage is consistently low, you may need to consult a professional electrician or RV technician to address the issue and ensure the proper functioning of your AC unit.
Frozen Coils
High humidity levels in the RV can cause the evaporator coils to freeze, leading to reduced cooling capacity. To prevent this, it’s crucial to maintain a lower humidity level inside the RV. You can use dehumidifiers to reduce moisture in the air and maintain optimal humidity levels for effective cooling.
Short Cycling
Short cycling refers to the frequent turning on and off of the RV AC unit. This can be caused by high humidity, improper temperature settings, or other factors. To address this issue, ensure that the AC unit is properly sized for your RV and that the temperature settings are appropriate for the ambient conditions. If the problem persists, it’s recommended to consult with an RV technician for further diagnosis and repair.
By addressing these common issues with RV AC units, you can ensure the optimal performance and longevity of your air conditioning system. Regular maintenance and timely troubleshooting can help you enjoy comfortable travels in your RV.

When to Seek Professional Help
While many RV air conditioner issues can be resolved with basic troubleshooting, there are times when it’s best to seek professional help.
Annual servicing is an essential part of RV AC unit maintenance. It involves thorough cleaning of filters and coils, as well as testing the vital components such as the capacitor and compressor. To ensure the longevity and optimal performance of your RV AC unit, it’s recommended to have this servicing done by a qualified RV service facility.
If, after troubleshooting, you suspect a faulty compressor, it’s crucial to have it replaced by a professional technician. The compressor is a complex component and requires specialized knowledge and equipment for proper installation.
It’s important to note that the capacitor, another crucial part of the AC system, should not be touched or removed unless you have proper training. Mishandling it can cause severe injury or damage to the unit. If you’re unsure about any aspect of RV AC maintenance or repair, it’s always best to consult with an RV technician. They have the expertise and experience to ensure the safety and effectiveness of your RV AC unit.
FAQ
How do I check my RV AC unit?
To check your RV AC unit, start by turning off the power to your RV. Inspect the filters for cleanliness or damage and check the fins on the condenser coils for cleanliness and damage. Once everything looks good, turn the power back on and set the AC to high cool. Let it run for at least 15 minutes with all ducts open. Measure the temperature of the air entering the unit and the temperature of the conditioned air. The temperature difference should be between 16 to 22 degrees, indicating proper operation.
How can I troubleshoot RV AC problems?
If you encounter problems with your RV AC unit, start by checking the battery voltage and ensuring there are no loose connections or corrosion. Make sure you are not exceeding your RV’s power capabilities by operating other high-wattage appliances simultaneously. Inspect the ductwork and seals for leaks or gaps that could affect airflow. Keep the fan speed set on high to prevent the evaporator coils from freezing. If the unit trips the breaker, check for low voltage and adjust your power usage. Consider using a dehumidifier to reduce humidity.
How can I maximize the efficiency and performance of my RV AC unit?
To maximize efficiency, regularly clean or replace the air filters to ensure proper airflow. Inspect and clean the condenser coils to remove any dirt or debris that may restrict air circulation. Keep the fan speed set on high to promote better airflow across the evaporator coils. Use a dehumidifier to reduce moisture and prevent freezing. Consider using the air dump feature to help cool the RV faster. Running the AC with the generator before arriving at the campground can also reduce the initial heat load on the unit.
What are common issues with RV AC units?
Common issues with RV AC units include lack of power due to battery voltage issues or exceeding the RV’s power capabilities. Airflow problems can be caused by dirty filters, dirty coils, or leaks in the ductwork. Low voltage can cause the unit to trip the breaker. High humidity can result in frozen coils and reduced cooling capacity. Short cycling, where the unit frequently turns on and off, can be caused by high humidity or other factors.
When should I seek professional help for my RV AC unit?
Annual servicing, including cleaning filters, coils, and testing the capacitor and compressor, should be done by a qualified RV service facility. If the compressor is faulty, it will need to be replaced. Do not touch or remove the capacitor unless you have proper training. If you’re unsure about any aspect of RV AC maintenance or repair, consult with an RV technician to ensure the safety and effectiveness of your unit.