Wooden RV Carport DIY Guide: Build It Yourself
gorvlifestyle.com and its partners may earn a commission if you purchase a product through one of our links
Building a wooden carport for your RV is a durable and easy DIY project that can protect your vehicle from bad weather. Whether you want to shield your RV from rain, snow, or harsh sunlight, constructing a wooden RV carport can provide the perfect solution. With the right materials, tools, and a bit of planning, you can create a sturdy and functional carport that suits your needs.
Before embarking on this project, it is essential to study the local building codes and regulations in your area. Familiarize yourself with any specific requirements or restrictions that may apply to RV carport construction. Additionally, investing in durable and weather-resistant lumber will ensure the longevity of your carport.
Key Takeaways
- Building a wooden carport for your RV is a durable and easy DIY project.
- Familiarize yourself with local building codes and obtain any necessary permits.
- Invest in durable and weather-resistant lumber for long-lasting results.
- Choose the appropriate materials and tools for the construction process.
- Ensure proper foundation setup and anchoring for stability.
Materials and Tools for Building a Wooden RV Carport
To successfully build a wooden RV carport, you will need a variety of materials and tools. Here is a step-by-step guide for gathering everything you need:
- 4×4 lumber: These sturdy posts will form the foundation of your carport.
- 2×6 lumber: Use this lumber for the beams that will support the structure.
- Plywood and shingles: These materials are essential for constructing the carport’s roof to protect your RV from the elements.
- Miter saw: This power tool will allow you to make precise cuts on the lumber, ensuring a secure and professional-looking carport.
- Drill: Use a drill to create holes, attach screws, and assemble various components of the carport.
- Spirit level: This tool is essential for ensuring that all your measurements and alignments are accurate.
- Various construction tools: Depending on the design and specific requirements of your carport, you may need additional tools such as a tape measure, wrenches, and a hammer.
With these materials and tools, you’ll have everything you need to begin the construction process. However, it’s important to note that the specific materials and tools required may vary depending on the size and design of your wooden RV carport.
“Building a wooden RV carport allows you the freedom to create a structure that fits your needs while adding aesthetic value to your property.” – RV Living
Setting Up the Foundation for the RV Carport
The foundation is the crucial starting point for building a wooden carport for your RV. By ensuring a solid and stable foundation, you’ll lay the groundwork for a safe and reliable structure that will protect your RV for years to come. Follow these steps to set up the foundation for your wooden RV carport:
- Start by laying out the carport dimensions using batter boards and string. This will give you a clear outline of the carport’s perimeter and help ensure that it’s properly aligned.
- Using a measuring tape and a level, mark the locations for the post holes. These holes will serve as the anchor points for the carport’s support posts.
- Depending on your preference and local building codes, you can choose to set the posts directly into concrete or use adjustable post anchors. Concrete provides a more permanent and sturdy foundation, while adjustable post anchors offer flexibility if you need to make adjustments in the future.
- If you’re using concrete, dig the post holes to the desired depth, typically around 2-3 feet deep. Ensure that the holes are wide enough to accommodate the size of the posts.
- Place the posts into the holes, making sure they are plumb and level. Use a spirit level to check the vertical alignment and adjust as needed.
- Once the posts are properly positioned, fill the holes with concrete mix, following the manufacturer’s instructions. Allow the concrete to cure for the recommended time.
- If you’re using adjustable post anchors, simply secure them to the ground using anchor bolts or screws. Make sure the anchors are level and securely fastened to provide stability.
By setting up a solid foundation for your wooden RV carport, you’ll ensure that it can withstand various weather conditions and provide reliable protection for your RV. With the foundation in place, you can now proceed to the next steps of constructing the support beams and braces.
Constructing the Support Beams and Braces
Now that the posts are securely anchored, it’s time to move on to constructing the support beams and braces for your wooden carport. This step is crucial for adding stability to the structure and ensuring it can withstand the elements.
Start by attaching the support beams to the top of the posts. Make sure the beams are level and secure them in place with screws. This will form the main framework of your carport.
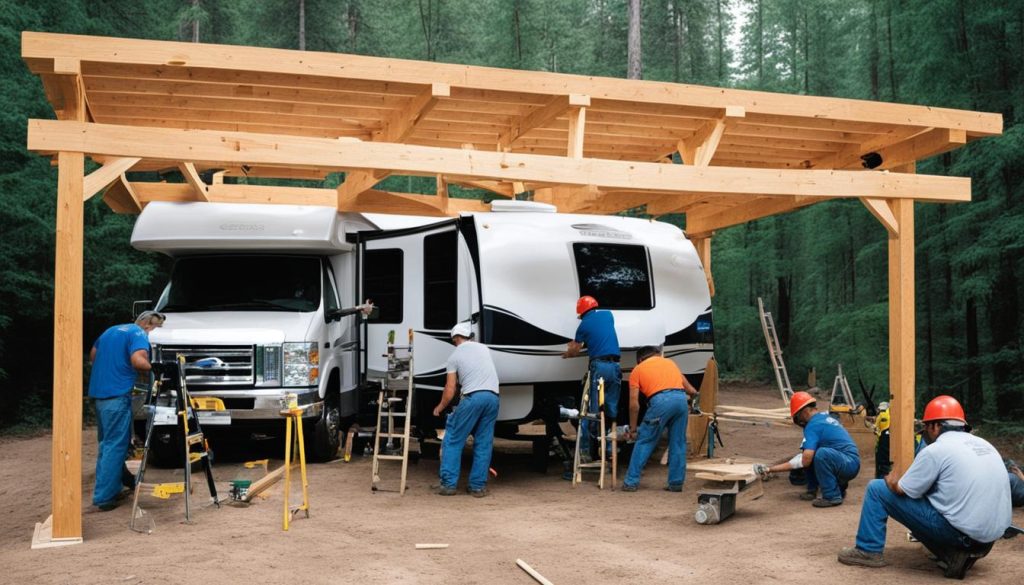
To reinforce the structure further, you’ll need to attach 4×4 braces to the posts at an angle. Cut the ends of the braces at a 45-degree angle to ensure a snug fit. Before attaching the braces, make sure the posts are plumb (perfectly vertical) to maintain the integrity of the carport.
By adding these braces, you’ll enhance the overall stability of your wooden carport, providing extra support against strong winds and heavy loads.
Pro Tip: Use pressure-treated lumber for the beams and braces to protect against rot and decay, ensuring the longevity of your wooden carport.
Installing the Rafters for the Carport Roof
Building and installing the rafters is an essential step in constructing your wooden RV carport. The rafters play a crucial role in providing structural support and forming the roof of the carport. To ensure a sturdy and reliable carport, follow the steps below:
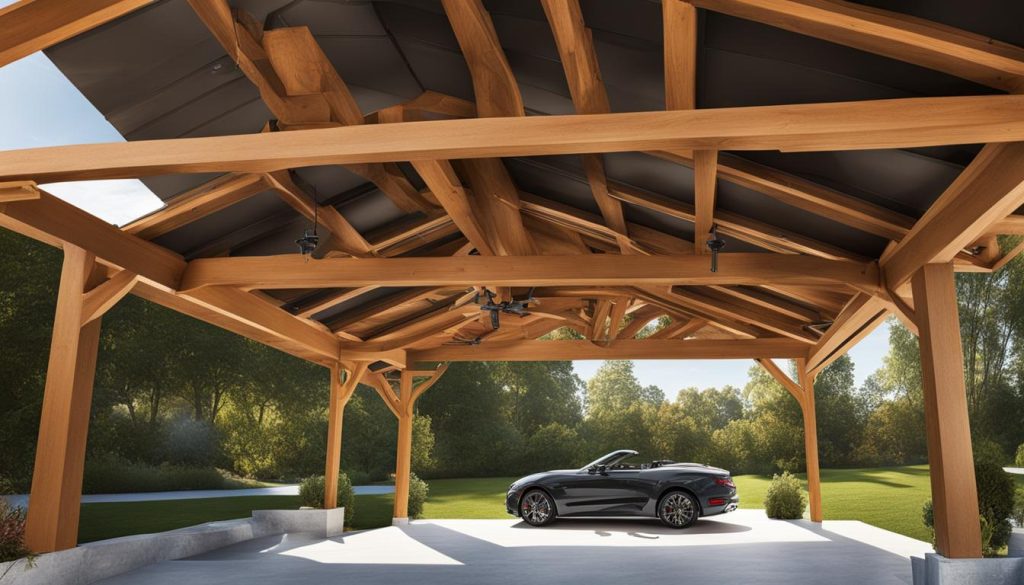
- Attach the rafters: Start by attaching the rafters to the top ridge at one end and the support beams at the other end. This will create a sloped structure that allows water to drain off the roof efficiently. Use screws to secure the connection between the rafters and the support beams.
- Space the rafters evenly: It’s important to evenly space the rafters along the length of the carport. This will provide stability and strength to the overall structure. Measure and mark the spacing between each rafter, ensuring they are evenly distributed.
- Secure the rafters: Once the spacing is determined, secure the rafters in place with screws. Make sure to align them properly, ensuring they are level and aligned with the support beams. This will ensure a uniform and strong roof structure.
Depending on the design of your carport, the angle cuts for the rafters may vary. Make sure to follow the plans or instructions of your chosen wooden RV carport plans to achieve the desired angle cuts for your rafters. The key is to have properly aligned and level rafters to ensure a sturdy and visually appealing carport roof.
| Rafter Installation Steps | Benefits |
|---|---|
| Attach rafters to the top ridge and support beams | Creates a strong and stable connection for the carport roof |
| Space rafters evenly | Provides stability and strength to the overall structure |
| Secure rafters with screws | Ensures a uniform and strong roof structure |
Once the rafters are securely installed, your wooden RV carport is one step closer to completion. The next section will cover the final steps in adding the roofing materials to create a fully functional and protective carport for your RV.
Adding the Roofing to the Carport
To complete your wooden RV carport, the next step is to install the roofing. The right roofing material can enhance the durability and aesthetics of your carport. Two commonly used options are plywood sheets with tar paper and asphalt shingles or PVC and metal roofing sheets.
If you prefer a traditional look, plywood sheets with tar paper and asphalt shingles are a popular choice. These materials provide excellent protection against the elements and are relatively easy to install. Start by attaching the plywood sheets to the rafters, ensuring they are securely fastened with screws or nails. Then, apply a layer of tar paper over the plywood to serve as a moisture barrier. Finally, install the asphalt shingles on top, following the manufacturer’s instructions for proper alignment.
If you prefer a modern or industrial aesthetic, PVC or metal roofing sheets are great options. These materials are lightweight, durable, and resistant to corrosion. They also offer better longevity compared to traditional roofing materials. Just remember to measure and cut the sheets to fit the dimensions of your carport accurately. Secure the roofing sheets in place using appropriate fasteners such as screws or clips.
When choosing the roofing material, consider both your budget and the specific requirements of your RV shelter. Each option has its pros and cons, so take your time to weigh the benefits and make an informed decision.
Comparison Table: Roofing Materials for Wooden RV Carports
| Roofing Material | Pros | Cons |
|---|---|---|
| Plywood with tar paper and asphalt shingles | Provides traditional look | Requires regular maintenance |
| PVC roofing sheets | Modern and industrial aesthetic | Higher upfront cost |
| Metal roofing sheets | Durable and corrosion-resistant | May be noisier during rainfall |
Expert Tip: Weatherproofing Your Carport
“When installing the roofing, ensure that all edges and joints are properly sealed to prevent any water leakage. Apply caulk or a suitable sealant to seal any gaps or potential weak spots. It’s also a good idea to inspect the roofing periodically and make any necessary repairs to maintain the integrity of your carport.” – Mark Johnson, Construction Expert
Finishing Touches and Final Steps
Congratulations on completing the main construction of your wooden RV carport! Now it’s time to add those finishing touches that will enhance both the functionality and aesthetics of your carport.
First, protect the wooden components by applying several coats of wood stain. This will not only give your carport a beautiful finish but also help to safeguard it against the elements and extend its lifespan.
Next, fill any holes or imperfections with wood filler and smooth the surface for a seamless look. Take the time to check that all screws are properly inserted and tightened, and ensure that all components are aligned correctly.
To add extra privacy or visual appeal to your carport, consider installing lattice panels. These decorative panels can be placed around the sides or back of your carport, providing a touch of elegance while also creating a sense of privacy.
Finally, the most exciting step – test out your brand new carport by parking your RV inside. Ensure that it fits properly and that there is enough clearance for easy access. This final step will give you the confidence and satisfaction of knowing that your RV is now protected and ready for storage.
FAQ
Are building permits necessary for constructing a wooden RV carport?
It is recommended to check with your local building authority to determine if a building permit is required for constructing a wooden RV carport. Compliance with local building codes is essential to ensure a safe and legal structure.
What materials are needed to build a wooden RV carport?
The materials needed include 4×4 lumber for the posts, 2×6 lumber for the beams, 4×4 lumber for the braces, 2×6 lumber for the rafters, and plywood and shingles for the roofing. Additional materials may be required based on the design and customization preferences.
How do I set up the foundation for the RV carport?
The foundation can be set up by digging post holes and anchoring the posts either in concrete or using adjustable post anchors. It is important to properly align and level the posts for stability and durability.
How do I construct the support beams and braces for the wooden carport?
To construct the support beams, attach them to the top of the posts and secure them with screws. Braces can be added by attaching 4×4 lumber to the posts at an angle to reinforce the structure.
What is the process for installing the rafters for the carport roof?
The rafters should be attached to the top ridge at one end and the support beams at the other end. They should be spaced evenly and secured with screws. Aligning and leveling the rafters is crucial for a stable roof structure.
How do I add the roofing to the wooden RV carport?
The roofing can be added by attaching plywood sheets to the rafters, followed by tar paper and asphalt shingles. Alternatively, PVC or metal roofing sheets can also be used. Ensuring proper installation and sealing of the roofing material is important to prevent leaks.
What are the final steps and finishing touches for the wooden RV carport?
Apply several coats of wood stain to protect the wooden components and fill any holes with wood filler. Make sure all screws are inserted properly and components are aligned. Finishing touches such as lattice panels can be added for privacy or aesthetic appeal.

