RV Slide-Out Adjustment Made Easy
gorvlifestyle.com and its partners may earn a commission if you purchase a product through one of our links
Slide-outs are a valuable feature in many RVs, providing additional space for comfort and convenience while on the road. However, improper use or neglect of slide-outs can lead to costly damages and repairs. It is important to know how to care for and adjust an RV slide-out to ensure its proper functioning. In this article, we will provide expert tips and step-by-step instructions on how to adjust a slide out on an RV. We will also discuss common problems that may arise with slide-outs and how to troubleshoot them effectively.
Key Takeaways:
- Proper adjustment and maintenance of RV slide-outs are essential to prevent costly damages and repairs.
- Before using your slide-out, check campground regulations, ensure proper hookups, and know the type of slide-out in your RV.
- Electric slide-outs are the most common type and can be adjusted by inspecting the motor, tightening screws and wires, and lubricating the rails.
- Hydraulic slide-outs require checking the hydraulic pump, tightening connections, and following manufacturer instructions for adjustments.
- Tip-out slide-outs are manually operated and adjustments can be made by following the provided instructions or seeking professional help.
- Regular maintenance, such as lubricating tracks and inspecting seals, is essential for slide-out longevity.
- Seek professional assistance for major adjustments or persistent issues with your RV slide-out.
Preparing to Use Your Slide-Out
Before using your RV slide-out, there are a few important considerations to keep in mind.
- Check with your campground to ensure that slide-outs are allowed and if any additional fees apply.
- Know the type of slide-out your RV has: electric, hydraulic, or tip-out. This will affect how you operate and adjust it.
- Take care of all necessary hookups, such as electricity, water, and sewer, before extending the slide-out.
Taking these steps will ensure a smooth operation of your slide-out and help prevent any potential problems. It’s crucial to be prepared and follow proper maintenance practices to avoid common problems with RV slide outs.
If you’re unsure about any adjustments or encounter persistent issues, it’s recommended to consult an expert who has experience with your specific RV model.
Adjusting an Electric Slide-Out
Electric slide-outs are the most common type of slide-outs found in RVs. The good news is that they are relatively easy to adjust on your own, saving you time and money. Here are some step-by-step instructions to help you perform DIY RV slide out adjustments:
Gather the necessary tools
Before starting the adjustment process, gather the tools you’ll need. These may include a screwdriver, pliers, a lubricant designed for slide-outs, and the manufacturer’s manual for your RV model.
Consult the manufacturer’s manual
The manufacturer’s manual will provide specific instructions on how to adjust the slide-out on your RV. It’s important to follow these instructions to ensure a safe and proper adjustment.
Locate the control panel or button
Find the control panel or button that operates the slide-out. This is usually located inside the RV near the slide-out mechanism. Use the control panel or button to extend or retract the slide as needed.
Inspect the motor
Inspect the slide-out motor to ensure it is functioning properly. Check for any loose screws or wires and tighten them securely. If you notice any damaged or worn-out parts, consider replacing them before proceeding with the adjustment.
Lubricate the slide-out rails
Apply a lubricant designed for slide-outs to the slide-out rails. This will ensure smooth movement of the slide-out and prevent any sticking or binding. Follow the instructions on the lubricant product for the best results.
Perform minor adjustments
If you need to make minor adjustments to the slide-out, carefully follow the instructions provided in the manufacturer’s manual. This may involve tightening or loosening certain components to achieve the desired alignment.
Remember, major adjustments or repairs are best left to professionals who have the experience and expertise to handle them. If you encounter any major issues or are unsure about performing the adjustments yourself, it is recommended to seek professional help.
By following these simple DIY RV slide out adjustment techniques, you can ensure that your electric slide-out operates smoothly and efficiently, enhancing your RVing experience.
| Slide-Out Type | Difficulty Level | Recommended Approach |
|---|---|---|
| Electric | Easy | DIY adjustments possible, but seek professional help for major repairs |
| Hydraulic | Moderate | Consult manufacturer’s manual and consider professional assistance if necessary |
| Tip-Out | Advanced | Follow manufacturer’s instructions carefully and seek professional help if needed |
Adjusting a Hydraulic Slide-Out
Hydraulic slide-outs are commonly found in larger RVs and operate using a hydraulic pump. To ensure optimal performance of your hydraulic slide-out, it is important to regularly inspect and adjust it as needed. Here are the key steps to adjust a hydraulic slide-out:
- Start by locating the hydraulic pump. It is typically located near the slide-out mechanism.
- Check for any loose connections or leaks. Tighten or repair them as necessary to prevent further damage.
- Consult the manufacturer’s manual for specific adjustment instructions. Each RV model may have different procedures, so it’s important to follow the recommended guidelines.
- Follow the recommended procedures and use the appropriate tools to adjust the hydraulic slide-out. It is crucial to avoid any shortcuts or improvisation that can lead to damage or safety hazards.
- If you are unsure or unable to perform the adjustment yourself, it is highly recommended to consult a professional who has experience with hydraulic slide-outs.
Expert Tip:
Regular maintenance and adjustments can help extend the lifespan of your hydraulic slide-out and prevent costly repairs. It’s important to pay attention to any unusual noises, slow movement, or uneven operation and promptly address any issues.
Remember to always prioritize your safety and take necessary precautions while performing any adjustments to your RV slide-out system. If you’re not comfortable or confident in handling the adjustment process, it is best to seek professional help to ensure the job is done correctly and safely.
| Advantages of Hydraulic Slide-Outs | Disadvantages of Hydraulic Slide-Outs |
|---|---|
| 1. Smooth and quiet operation | 1. Complexity of the hydraulic system |
| 2. Can handle heavier loads | 2. Costly repairs and maintenance |
| 3. More reliable in extreme weather conditions | 3. Requires regular inspection and adjustment |
| 4. Increased stability when extended | 4. Limited floor plan options due to hydraulic system requirements |
Adjusting a Tip-Out Slide-Out
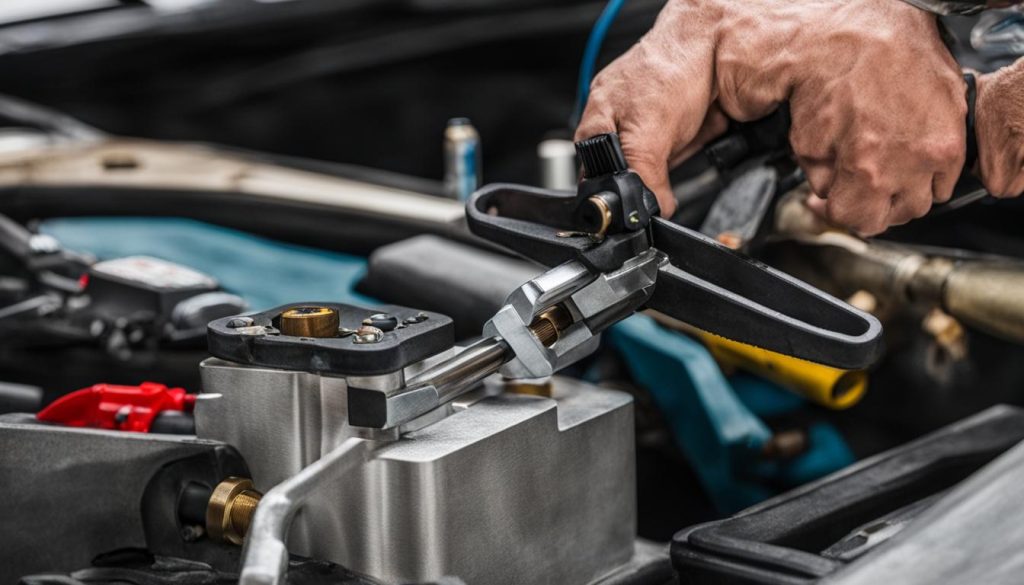
Tip-out slide-outs are less common and are typically found in older RVs. These slide-outs require manual labor to pull out using their hinge. If you have a tip-out slide-out and need to adjust it, consult the manufacturer’s manual or look for a sticker with instructions on your RV. Typically, a wrench is used to turn a nut and adjust the slide cables.
It is important to follow the provided instructions carefully and keep track of the number of turns to ensure proper adjustment. Take your time and make incremental adjustments, testing the slide-out after each turn of the wrench. This will help you find the optimal adjustment for smooth operation.
If you encounter any difficulties or the slide-out is stuck, do not force it. Attempting to forcefully retract or extend a stuck slide-out can cause further damage. Instead, it is recommended to seek professional assistance. A professional RV technician will have the expertise and tools to diagnose and fix the issue effectively and safely.
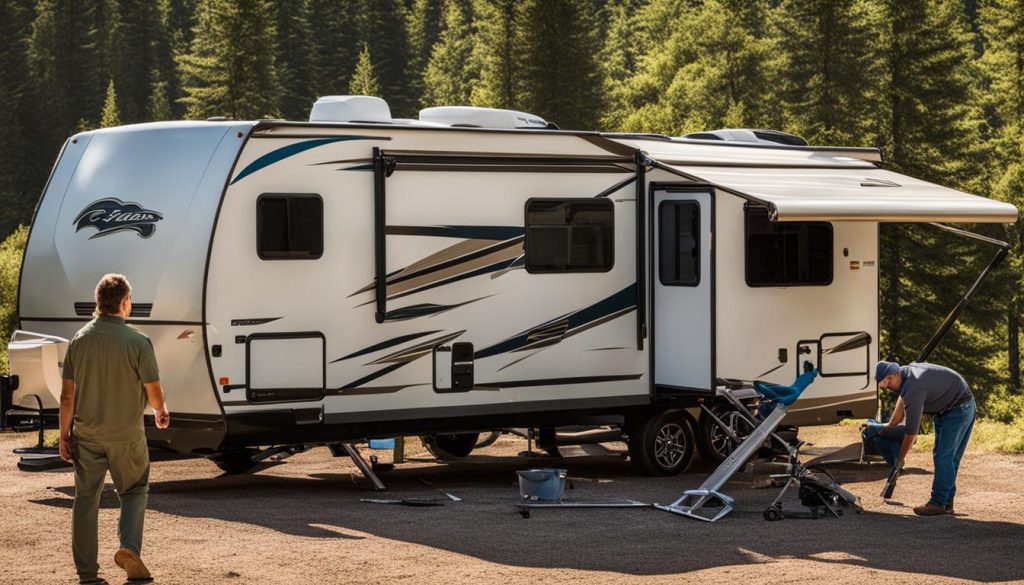
Remember, proper maintenance and regular inspections are key to preventing slide-out issues. By keeping your slide-out clean, lubricated, and in good condition, you can avoid many common problems and prolong the lifespan of your RV’s slide-out mechanism.
Maintenance and Professional Help
Proper maintenance is essential for keeping your RV slide-out in optimal condition. Regularly lubricate the slide-out tracks with a lubricant designed specifically for slide-outs to prevent excessive wear and ensure smooth operation. This simple step can help prolong the lifespan of your slide-out and prevent potential malfunctions.
Inspect the seals and gaskets of your slide-out for any signs of damage or wear. Over time, these components can deteriorate and cause leaks or drafts. If you notice any issues, it is important to replace them promptly to prevent further damage and maintain the integrity of your slide-out.
While minor adjustments and repairs can be done by DIYers, it is important to seek professional help for major adjustments and repairs. RV slide-outs are complex systems with multiple moving parts, and improper handling can lead to further damage or safety hazards. If you encounter persistent issues with your slide-out or are unsure about any adjustments, it is recommended to consult an expert who has experience with your specific RV model.
Taking the time and effort to properly care for and maintain your RV slide-out will not only ensure its smooth operation but also provide you with a worry-free travel experience. By prioritizing regular maintenance and seeking professional assistance when necessary, you can enjoy the comfort and convenience of your slide-out for years to come.
FAQ
How do I adjust a slide out on an RV?
To adjust a slide out on an RV, you need to first consult the manufacturer’s manual for specific instructions on your RV model. Generally, you’ll need to inspect the motor, ensure it’s functioning properly, check for loose screws or wires, and tighten them securely. Lubricate the slide-out rails with a product designed for slide-outs to ensure smooth movement. For major adjustments or repairs, it’s best to seek professional help.
What should I consider before using my RV slide-out?
Before using your RV slide-out, check with your campground to ensure that slide-outs are allowed and if any additional fees apply. Know the type of slide-out your RV has (electric, hydraulic, or tip-out) as this will affect how you operate and adjust it. Make sure all necessary hookups, such as electricity, water, and sewer, are taken care of before extending the slide-out.
How do I adjust an electric slide-out?
To adjust an electric slide-out, consult the manufacturer’s manual for specific instructions on your RV model. Find the control panel or button that operates the slide-out and use it to extend or retract the slide. If adjustments are needed, inspect the motor, tighten any loose screws or wires, and lubricate the slide-out rails. For major adjustments or repairs, it’s best to consult a professional.
How do I adjust a hydraulic slide-out?
To adjust a hydraulic slide-out, start by finding the hydraulic pump and ensuring it’s in good working condition. Check for loose connections or leaks and tighten or repair them as needed. Consult the manufacturer’s manual for specific instructions on your RV model and follow the recommended procedures to avoid any damage or safety hazards. If you’re unsure or unable to perform the adjustment yourself, it’s best to consult a professional.
How do I adjust a tip-out slide-out?
To adjust a tip-out slide-out, consult the manufacturer’s manual or look for a sticker with instructions on your RV. Typically, a wrench is used to turn a nut and adjust the slide cables. Follow the provided instructions carefully and keep track of the number of turns to ensure proper adjustment. If you encounter any difficulties or the slide-out is stuck, it’s recommended to seek professional assistance.
What maintenance is required for an RV slide-out?
Proper maintenance is essential for keeping your RV slide-out in optimal condition. Regularly lubricate the slide-out tracks with a lubricant designed for slide-outs to prevent excessive wear and ensure smooth operation. Inspect the seals and gaskets for any signs of damage or wear and replace them if necessary. While minor adjustments and repairs can be done by DIYers, major adjustments and repairs are best left to professionals.


