Set Up Solar Panels for RV: A Step-by-Step Guide
gorvlifestyle.com and its partners may earn a commission if you purchase a product through one of our links
Solar panels atop RVs are a popular choice for harnessing solar energy while on the road. The concept of RV solar panels dates back to the 1800s when scientists discovered the photovoltaic effect and the use of silicon for efficient solar panels. RV solar panels work by capturing solar energy and converting it into usable electricity for powering devices and appliances in the RV. The energy is stored in batteries, and it can be converted to 120-Volt AC electricity with the help of an inverter. To set up solar panels for an RV, you need to consider factors such as energy consumption, panel placement, battery capacity, and the necessary components of an RV solar system.
Key Takeaways:
- Determine your energy needs before setting up solar panels for your RV.
- Choose the right components for your RV solar system, including solar panels, batteries, and an inverter.
- Install solar panels on your RV with proper placement and considerations for optimal performance.
- Wire and connect the different components of your RV solar system following the recommended wiring diagram.
- Regularly monitor and maintain your RV solar system to ensure its performance and longevity.
How RV Solar Panels Work
RV solar panels utilize solar cells to absorb sunlight and convert it into electrical current. This process allows you to harness the power of the sun and generate clean and sustainable energy for your RV. Understanding how RV solar panels work is key to setting up an efficient and reliable solar power system for your vehicle.
“Solar power is a renewable source of energy that can provide countless benefits for RV owners. By installing solar panels on your RV, you can enjoy the freedom of off-grid camping, reduce your reliance on traditional energy sources, and save money in the long run.”
When sunlight hits the solar cells of the panels, it excites the electrons within the cells and creates an electrical current. This direct current (DC) electricity is then fed into a charge controller, which regulates the flow of current to your RV’s battery. The charge controller ensures that the battery is charged safely and efficiently, preventing overcharging or damage to the battery.
“The charge controller acts as the brain of your RV solar power setup, safeguarding your battery and optimizing the charging process. It helps extend the lifespan of your battery and ensures that you have a consistent and reliable power source.”
Once the battery is charged, it stores the energy for later use. You can directly utilize the DC power from the battery to run 12-Volt devices and appliances in your RV, such as lights, fans, and water pumps. If you need to power appliances that require alternating current (AC), such as a microwave or a TV, you can use an inverter to convert the stored DC power into 120-Volt AC power.
“RV solar panels provide a clean and sustainable energy solution for your travels. By harnessing the power of the sun, you can reduce your carbon footprint and enjoy the benefits of renewable energy while exploring the great outdoors.”
The performance of RV solar panels depends on various factors, including the intensity of sunlight, the placement of the panels, and the overall system efficiency. Maximizing exposure to sunlight and ensuring proper panel placement can significantly increase the energy production of your solar panels.
Determining Your Solar Power Needs
Before setting up solar panels for your RV, it is important to determine your energy needs. This involves calculating how much energy you will consume daily and how much energy your solar panels can provide to your battery. To estimate your energy consumption, you can add up the power requirements of the devices and appliances you will be using in the RV. It is recommended to overestimate your energy needs to ensure you have enough solar panels and batteries to meet your requirements. Factors such as location, time of year, and panel efficiency can affect the amount of power generated by the solar panels.
When determining your solar power needs, consider the following essential tips for RV solar panel installation:
- Calculate your daily energy consumption: Add up the power requirements of all the devices and appliances you plan to use in your RV. This will give you an estimate of how much energy you will need each day.
- Overestimate your energy needs: It’s always better to have more solar panels and batteries than you think you’ll need. Overestimating your energy needs ensures that you have enough power to meet your requirements, especially on cloudy days or during peak usage times.
- Consider location and time of year: The amount of sunlight your solar panels receive will vary depending on your location and the time of year. Keep this in mind when calculating your solar power needs.
- Evaluate panel efficiency: Different solar panels have varying levels of efficiency. Consider investing in high-efficiency panels to maximize the power generated by your RV solar system.
Tips for Maximizing RV Solar Power:
- Optimize panel placement: Position your solar panels to receive maximum sunlight exposure. Place them facing south at an angle between 30 and 45 degrees for optimal performance.
- Use tilt angle kits or mounting brackets: These accessories allow you to adjust the angle of the panels, ensuring they capture the most sunlight throughout the day.
- Monitor your solar system’s performance: Regularly check your charge controller to ensure your battery is being properly charged and that the solar panels are generating sufficient power.
- Maintain and clean your panels: Keep your solar panels clean and free from debris to maximize their efficiency. Regularly inspect them for any signs of damage or wear.
| Factor | Importance |
|---|---|
| Energy consumption calculation | High |
| Overestimating energy needs | High |
| Consideration of location and time of year | Medium |
| Evaluation of panel efficiency | Medium |
| Optimizing panel placement | High |
| Usage of tilt angle kits or mounting brackets | Medium |
| Monitoring and maintenance | High |
| Regular cleaning and inspection | Medium |
Choosing the Right Components for Your RV Solar System
Setting up a functional RV solar system requires careful selection of the right components. Here are the key components you’ll need:
Solar Panels
When choosing solar panels for your RV, consider factors such as panel size, efficiency, and compatibility with your RV’s roof. Opt for high-efficiency panels that can generate maximum power even in limited space. Ensure the panels are suitable for the unique demands of RV travel.
Charge Controller
The charge controller regulates the flow of current from the solar panels to the battery. Choose a charge controller that matches the voltage and current rating of your solar panels and battery. This ensures efficient charging and protects your battery from overcharging or excessive discharge.
Batteries
For your RV’s solar energy system, lithium batteries are recommended due to their superior performance and durability compared to traditional lead-acid batteries. Lithium batteries offer higher energy density, longer lifespan, and lightweight design, making them a preferred choice for RVers.
Inverter
The inverter converts the direct current (DC) power from the batteries into 120-Volt alternating current (AC) power, allowing you to run appliances that require AC power. Select an inverter that meets your power needs and is compatible with your battery and electrical system.
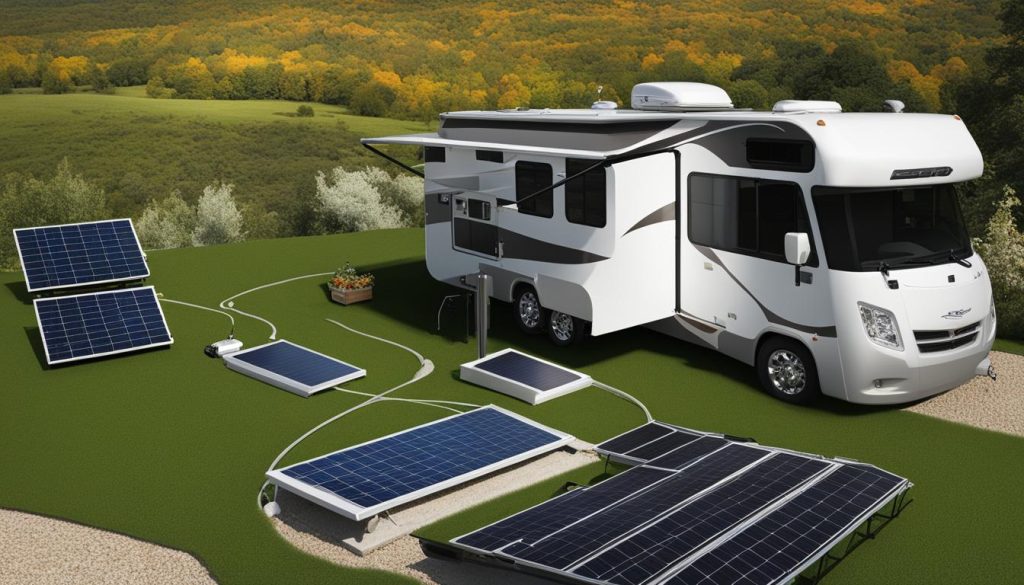
By carefully selecting the right solar panels, charge controller, batteries, and inverter, you can build a reliable and efficient RV solar system that powers your adventures on the road.
| Component | Key Considerations |
|---|---|
| Solar Panels | – Panel size and efficiency – Compatibility with RV roof – Space availability for installation – Durability and weather resistance |
| Charge Controller | – Match voltage and current rating – Overcharge and discharge protection – Efficient power conversion – User-friendly interface |
| Batteries | – Lithium-ion technology preferred – Energy density and capacity – Longevity and cycle life – Weight and size |
| Inverter | – Power output and compatibility – Conversion efficiency – Multiple AC outlets – Safety features |
Installing Solar Panels on Your RV
When it comes to installing solar panels on your RV, there are a few key considerations to keep in mind. Proper solar panel placement for your RV is essential for optimizing the performance of your solar system and maximizing energy production. Here are some important tips to help you get started:
- Choose the right mounting method: Depending on the type of solar panels you have and the material of your RV’s roof, you can choose to mount the panels using screws or adhesives. Make sure to select a method that ensures the panels are securely attached to your RV.
- Maximize exposure to sunlight: Position your solar panels in a way that allows them to receive maximum sunlight throughout the day. For optimal performance, it is recommended to face the panels south and tilt them at an angle between 30 and 45 degrees.
- Allow for air circulation: To prevent overheating of the panels, create some empty space between the panels and the roof. This will allow for proper air circulation and help maintain the efficiency of your solar system.
- Consider tilt angle adjustment: Using tilt angle kits or mounting brackets, you can adjust the angle of your solar panels to capture the most sunlight at different times of the year. This flexibility can significantly improve the energy production of your solar system.
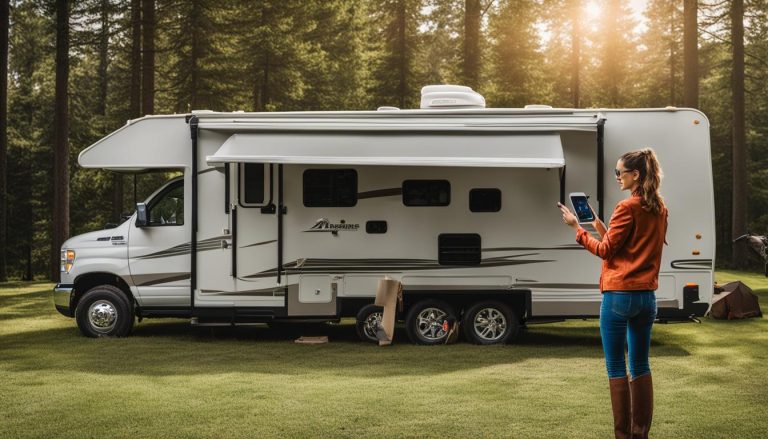
By following these installation tips, you can ensure that your solar panels are properly positioned and optimized for performance. Now, let’s take a look at an example of solar panel placement on an RV:
“Proper placement of solar panels on your RV is crucial for maximizing energy production. By facing the panels south and tilting them at the right angle, you can optimize their performance and make the most out of your RV solar system.” – Mike Johnson, RV Solar Expert
Wiring and Connecting Your RV Solar System
Once the solar panels are installed, it’s time to wire and connect the different components of your RV solar system. This step ensures that the energy harvested by the panels efficiently powers your RV’s devices and appliances. Follow these simple steps to set up your RV solar system:
- Start by running the wires from the solar panels to the charge controller. Use existing holes or the fridge vent for routing the wires inside your RV. This helps keep the wiring organized and minimizes any potential damage.
- Ensure proper cable management techniques are used to securely fasten the wires along their desired path. This prevents any loose or exposed wiring.
- Connect the solar panels to the charge controller according to the recommended wiring diagram provided by the manufacturer. This ensures that the panels are properly linked to the charge controller for efficient power regulation.
- Connect the charge controller to the battery. Make sure to follow the manufacturer’s instructions to ensure the correct polarity and proper connection.
- Finally, connect the battery to the inverter. Ensure that all connections are secure, tightly fastened, and properly insulated to avoid any electrical hazards.
Properly wiring and connecting your RV solar system helps maximize energy efficiency and ensures a safe and reliable power source for your RV adventures.
| Component | Connection |
|---|---|
| Solar Panels | Charge Controller |
| Charge Controller | Battery |
| Battery | Inverter |
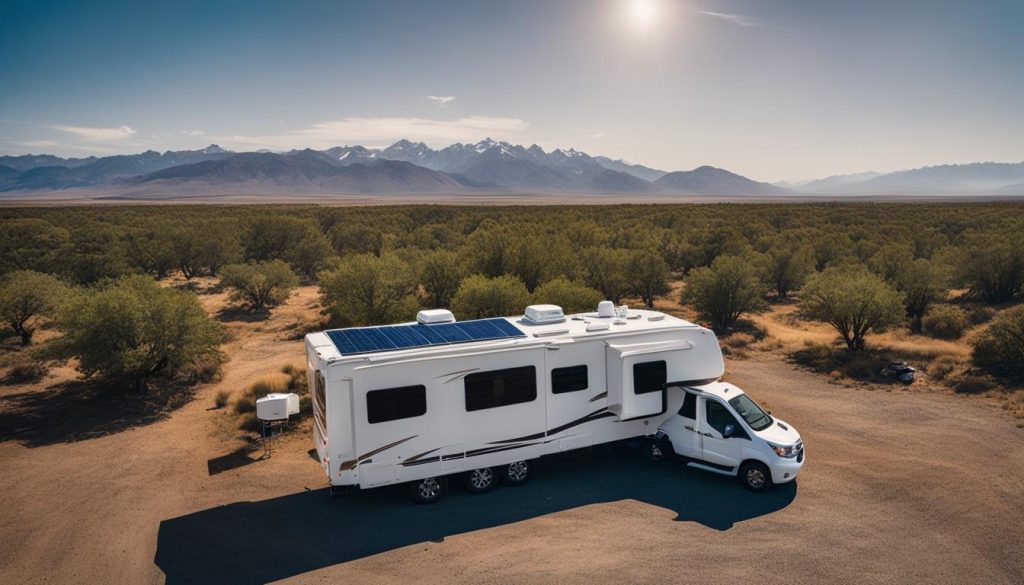
Wiring and connecting your RV solar system ensures that the energy from the sun is efficiently harnessed and utilized to power your RV wherever your adventures take you.
Monitoring and Maintaining Your RV Solar System
Once you have successfully set up your RV solar power system, it is crucial to regularly monitor its performance and ensure its optimal functioning. By keeping a close eye on your system, you can maximize its efficiency and extend its lifespan, providing you with reliable solar power on the go.
Start by regularly checking the charge controller to ensure that your battery is being charged properly and efficiently. The charge controller acts as the bridge between your solar panels and the battery, ensuring a smooth flow of energy. By monitoring its operation, you can make sure that your battery stays adequately charged and ready for use.
In addition to monitoring the charge controller, it is essential to keep your solar panels clean and free from any dirt or debris. Over time, dust, leaves, or bird droppings can accumulate and reduce the efficiency of your panels. By periodically cleaning them, you can optimize their performance and maintain a steady power supply for your RV.
Regularly checking the battery voltage is also crucial in maintaining your RV solar system. Monitoring the battery voltage helps you prevent over-discharging, which can damage the battery and lead to a shorter lifespan. By recharging the battery as needed, you can ensure that it remains in good condition and ready to power your RV’s appliances whenever you need them.
Lastly, be mindful of any external factors that may affect the performance of your solar system, such as shading from nearby objects or changes in weather conditions. By keeping an eye on these potential obstacles, you can adjust the positioning of your RV to maximize sunlight exposure and optimize the performance of your solar panels.
By following these monitoring and maintenance tips, you can optimize the performance of your RV solar system, ensuring a reliable and sustainable power supply for your adventures on the road.
FAQ
How do RV solar panels work?
RV solar panels work by capturing sunlight through solar cells, which convert the sunlight into electrical current. This current is then used to charge the RV’s battery, storing the energy for later use. The DC power produced by the solar panels can be used directly to power 12-Volt devices or converted to 120-Volt AC power using an inverter for running appliances that require AC power.
How do I determine my solar power needs for my RV?
To determine your solar power needs, you need to calculate how much energy you will consume daily and how much energy your solar panels can provide. Add up the power requirements of the devices and appliances you will be using in the RV. It is recommended to overestimate your energy needs to ensure you have enough solar panels and batteries to meet your requirements.
What components do I need for my RV solar system?
You will need solar panels, a charge controller, batteries, and an inverter. When choosing solar panels, consider factors such as size, efficiency, and compatibility with your RV’s roof. The charge controller regulates the flow of current from the solar panels to the battery. Choose a charge controller that matches the voltage and current rating of your solar panels and battery. For batteries, lithium batteries are recommended. Finally, select an inverter that can convert DC power from the batteries into 120-Volt AC power.
How do I install solar panels on my RV?
Solar panels can be mounted on the RV roof using screws or adhesives, depending on the panel type and roof material. Securely attach the panels and position them to maximize exposure to sunlight. Place the panels facing south at an angle between 30 and 45 degrees for optimal performance. Create space between the panels and the roof for air circulation. Use tilt angle kits or mounting brackets to adjust the angle of the panels for maximum energy production.
How do I wire and connect my RV solar system?
Start by running wires from the solar panels to the charge controller, using existing holes or the fridge vent to route the wires inside the RV. Connect the solar panels to the charge controller according to the recommended wiring diagram. Then, connect the charge controller to the battery. Finally, connect the battery to the inverter and ensure all connections are secure and properly insulated.
How do I monitor and maintain my RV solar system?
Regularly monitor the performance of your solar system by checking the charge controller, cleaning the solar panels, and checking the battery voltage. Keep an eye on the battery to prevent over-discharging and recharge as needed. Be mindful of any changes that may affect system performance, such as shading or changes in weather conditions.

